How to Wear a Sweatshirt

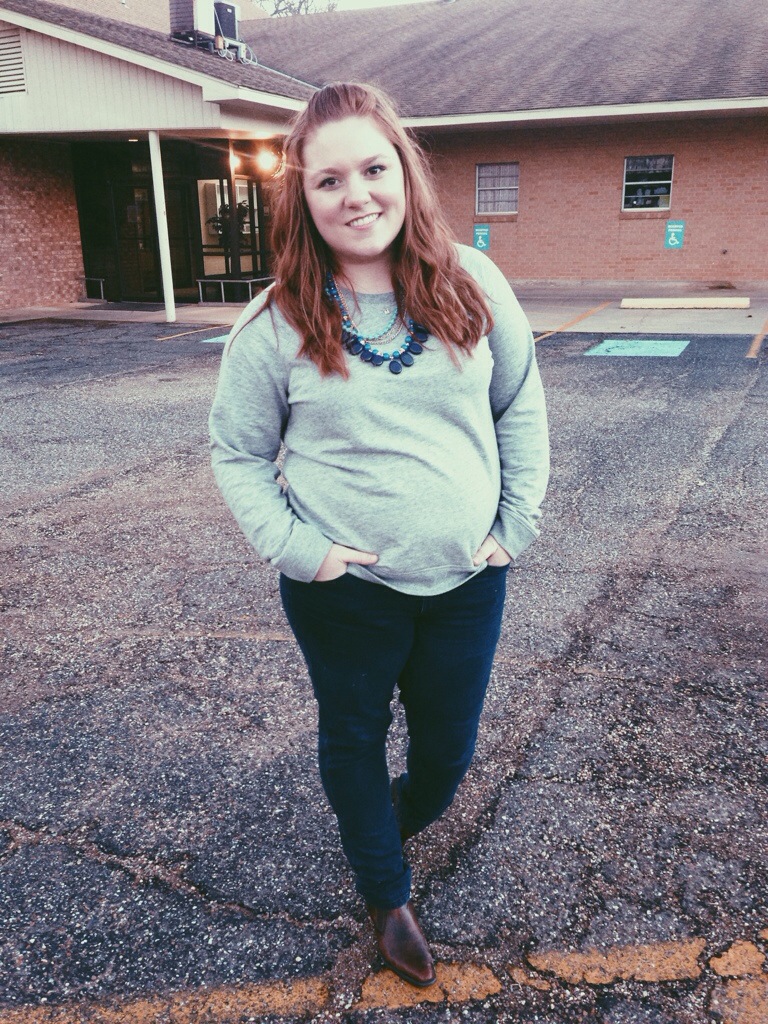
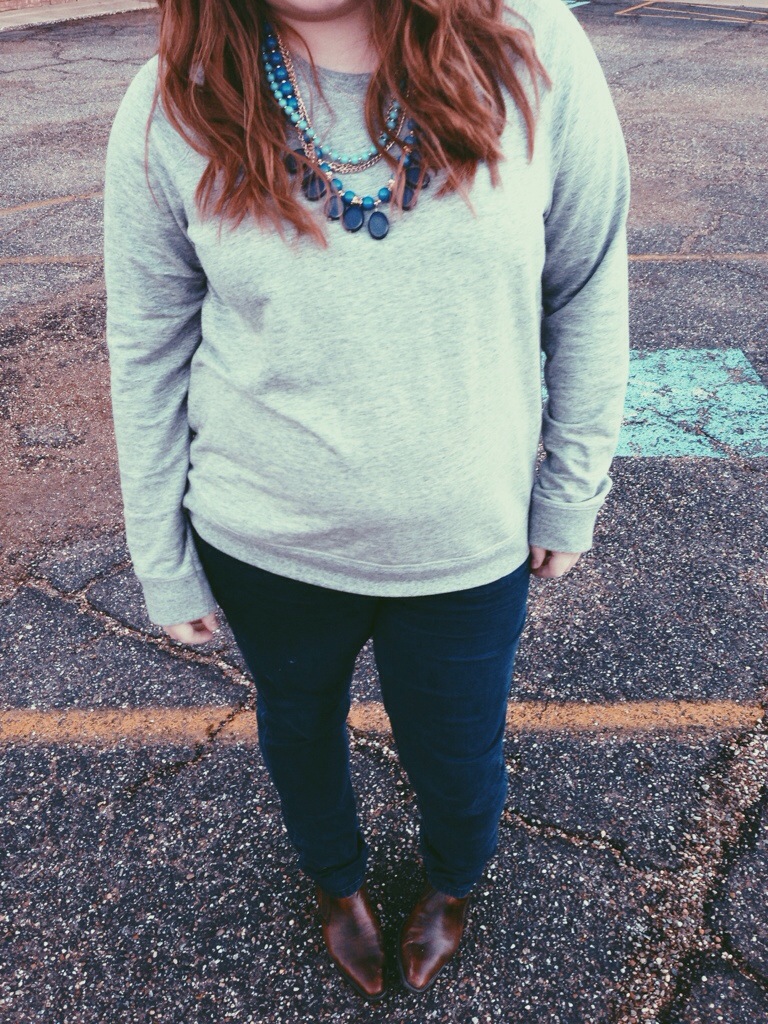
Processed with VSCOcam with p5 preset20131215-174901.jpg20131215-174827.jpgsweatshirt: Old Navy, jeans: thrifted (Target), booties: thrifted, necklace: local boutique (Gaudy Me)

Picture this: it’s Monday. You had a really late night and the weekend ended way before you were ready. Your alarm is literally screaming at you to get up and get going but your body is frozen at the thought of getting into real human clothes and looking presentable. Don’t worry. I got you.

Get the most comfortable, clean, plain gray sweatshirt you own. Add a kewl necklace and jeans. DONE.

YOU’RE WELCOME.

To plan ahead, throw your hair into some French braids Sunday night. Monday morning take them down and spray some light hold hairspray and run your fingers through it. Hair. Done. Makeup? BB cream or tinted moisturizer all day errday.

(Cool segue) Anyway, how is your holiday season going? I’ve really been out of the loop. Finals and work things have really pushed me away from this blog and I hate it. But school is done forever! My diploma will be in the mail soon and that will be the most expensive thing I own. Wee! Since then I’ve been spending my evenings catching up on the dumbest things and applying to jobs and apartment searching. Oh I didn’t tell you?

Yeah, I’m moving to Dallas. HI 🙂

I decided about a month ago to just finally go. Dallas has just been pulling me for years and there’s really no better time than now. I need a change. This year has brought me through some real tough things and while I’m thankful for that I need to do something just for me. To be an adult for once and just go. Right?

Don’t worry, I’m not leaving for a few months. Gotta kind of buy a car first. But once that happens (oh, and a job too) I’m out! This blog will still be here keeping me company and giving me homey comforts all the way there. I can’t wait to tell you guys more about it once the time gets closer but I am real excited. Did you know IKEA has an app? I’ve pretty much already decorated this fictitious apartment already. #girl

Well, I’ve got to go finish up some things for our Christmas party in the baby room tomorrow! Daycare lyfe.

Happy Thursday! 🙂

Beauty Tuesday: Hautelook Haul Laura Gellar Beauty

Happy Tuesday!

Since following Beauty Broadcast on YouTube and learning of Laura Gellar’s baked products, I knew I had to try them somehow, but paying 30+ for a powder foundation or blush? No, thanks. But Hautelook came to the rescue just like always! I bought her Balance-N-Brighten powder foundation in regular/medium (only shade available) and an NYC kit that included a Blush-N-Brighten in Berry, mini size of Real Deal Concealer in medium, and a Light Beams Ultimate Shine Lip Gloss in Passion Fruit.

DSC_0366
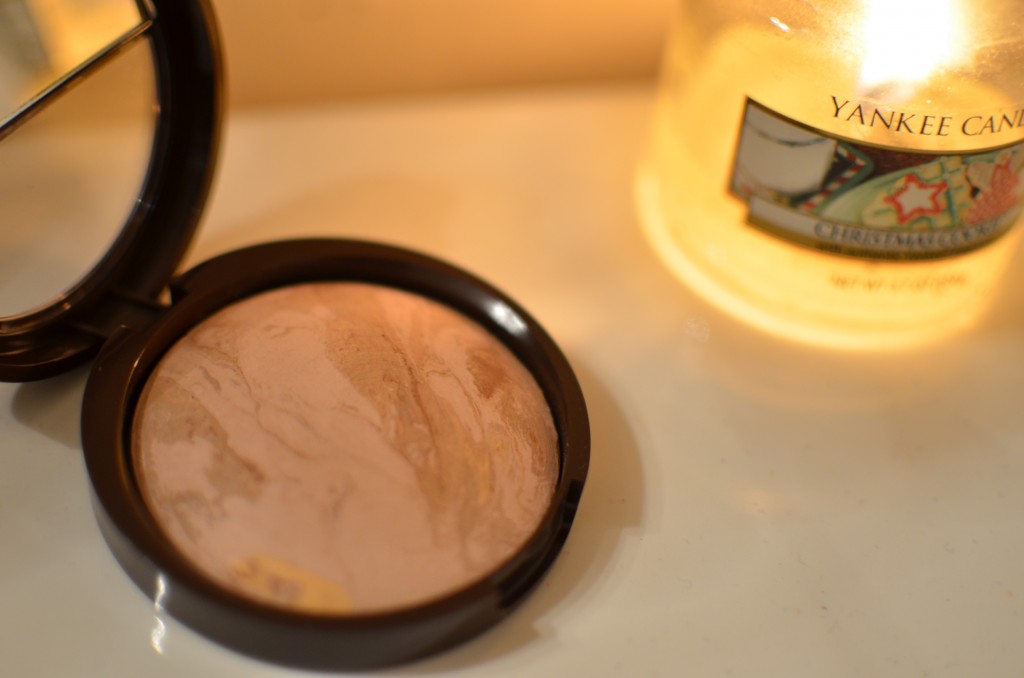
This is the Balance-N-Brighten in regular/medium. There are five shades available: porcelain, fair, regular/medium, tan, and deep. It’s normally $33, I got it for $17.50 on Hautelook, and is sold at ULTA and lauragellar.com. This product is baked on a terracotta tile and is swirled with multiple shades including some yellow. Blended all together it gives a nice color. The regular shade is a pretty good match for me but might be a hair too dark. I have noticed that it seems to cling to the Real Deal Concealer, which is too dark for me, when I put it over top. I have not tried it with a lighter concealer but I have learned to put whatever concealer I’m using on top of the foundation. It has great coverage and is best used with a very dense brush. I have worn it alone and it has decent staying power without any touch-ups, but I’ve used it more on top of a liquid foundation and it lasts just fine.

DSC_0362
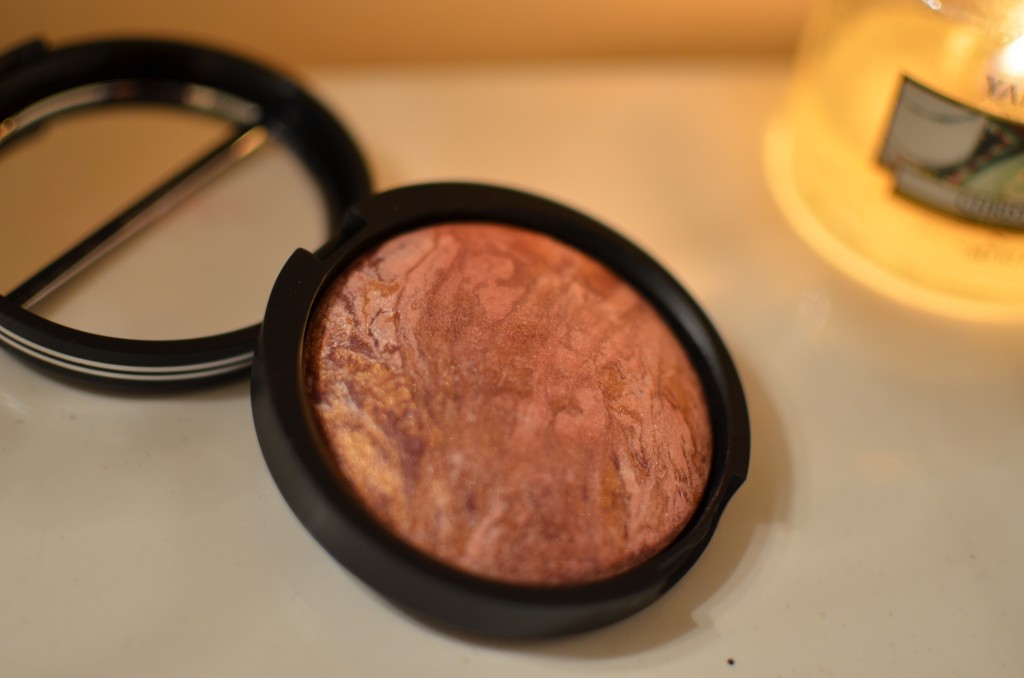
This is Blush-N-Brighten in Berry. It retails for $31, but I got it in a kit with two other products for $21! I am so in love with this blush! It is the perfect amount of gold shimmer. Some less expensive blushes can look very sparkly but this gives such a perfect glow! I love just staring at the gorgeous swirls of color. After I first opened it I couldn’t stop looking at it and even shoved it in my sister’s face for her to appreciate. She didn’t.
There are shades of gold, berry, and purple (but not too purple!) in this. It isn’t a super concentrated berry shade but it gives a great flush of natural berry on the cheeks. I have even used it on top of other berry blushes to give it a more natural glowy look. The staying power is great with this and the product will last me a long time!

DSC_0371

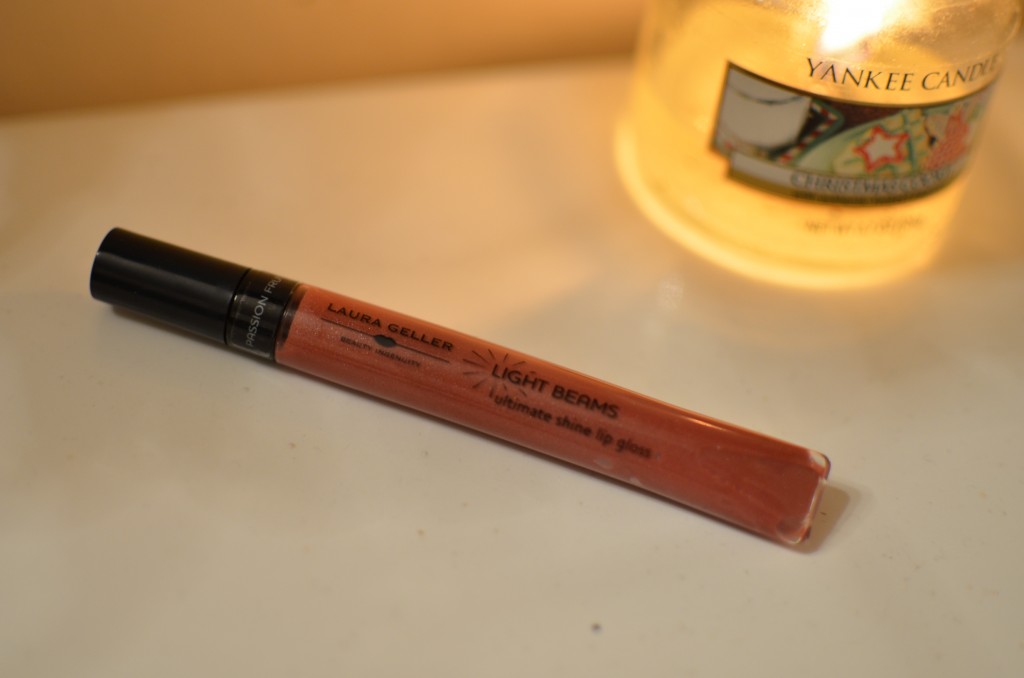
This is the Light Beams Ultimate Shine Lip Gloss in Passion Fruit. Alone it retails for $17. It’s a great mauve-berry color with some shimmer in it. It’s great for a natural look or layered on top of another deeper lipstick. I don’t find it to be particularly unique, but it is a nice shade. The formula is pretty great as well. It’s a little thicker but not sticky which allows it to last longer. I’m not sure if this is full size, but it’s not the biggest gloss I own. It’s a squeeze tube format applicator which I don’t mind, but it does take me a second to make sure the color is evenly applied on my lips.

Laura Geller Beauty | Shop Real Deal Concealer

THIS. Oh. This Real Deal Concealer in medium retails for $22 full size (.7 oz). This is the most FULL coverage concealer I own. It is ridiculous. It takes the most miniscule amount to dab on a problem area and it.is.gone. However, this shade in medium is too dark for me so I have to layer a lighter one on top or make sure and blend it in really well underneath some powder. To me, the price is absolutely worth it. For the coverage and amount you get, it’s a steal. The mini size I have will last me forever! If you’re looking for something that can handle all of your issues, this is it. For real.


So there you go, guys! Hope you enjoyed this mini haul and that you learned a little something. Let me know if you have any questions in the comments!


Happy Tuesday!


x

Mini Haul: Sephora and Hautelook!

Hey all! I’d been eyeing a couple of these things and then others were just impulse buys. 🙂 Thought I’d let you see what I got and see some swatches!

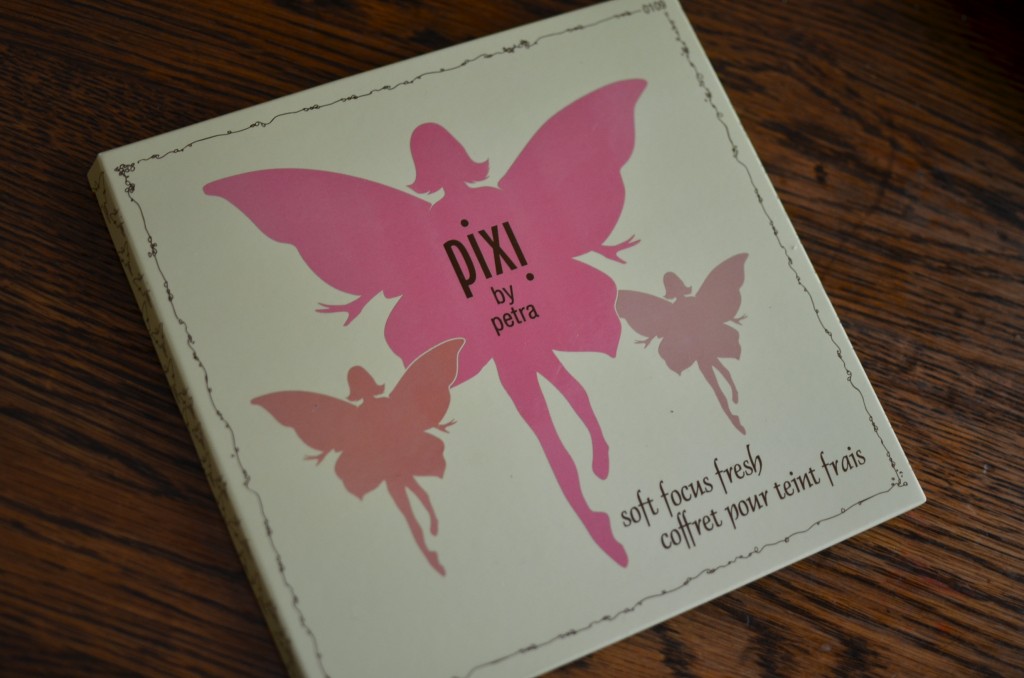
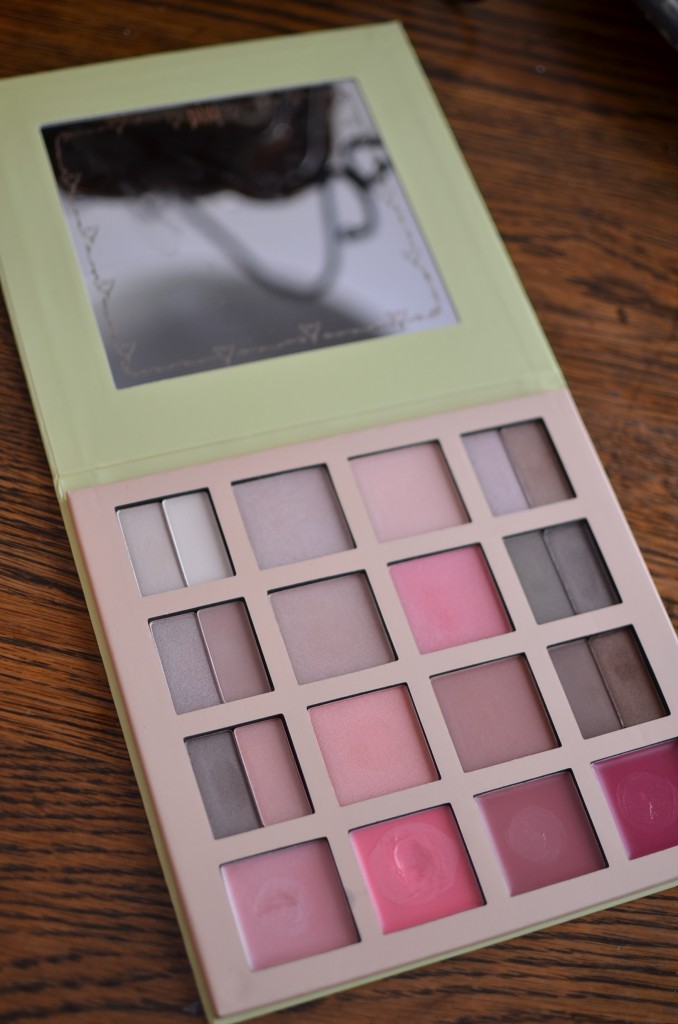
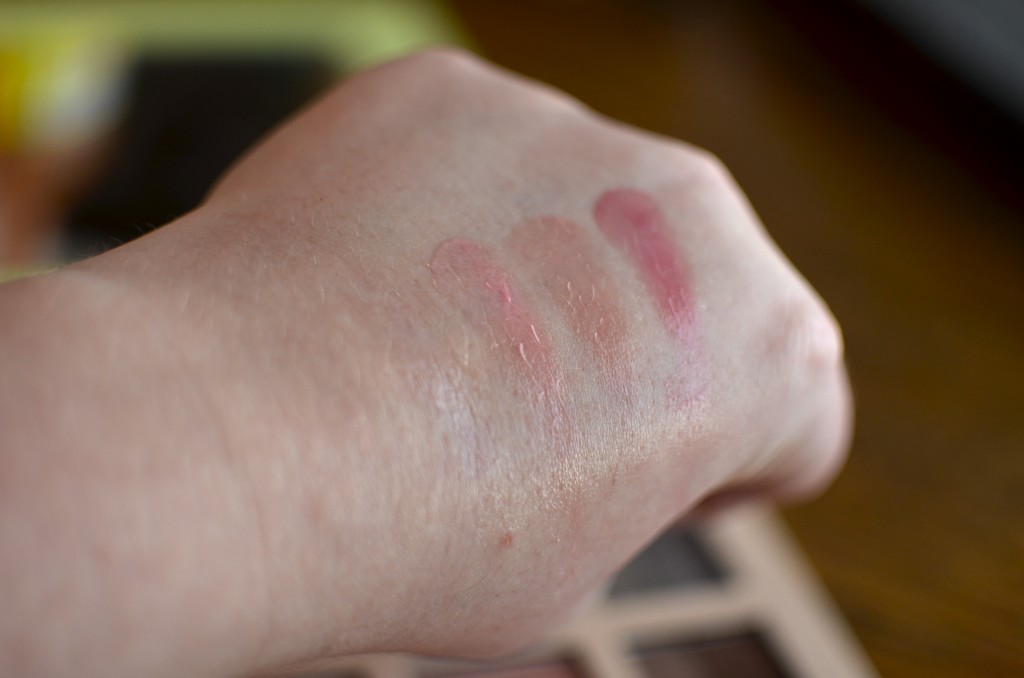
First up: Hautelook! This was an impulse buy, plain and simple. I’ll blame Emily from Beauty Broadcast for this one. 🙂 I saw her wearing it and just had to buy it! For only $9 it was a steal. I didn’t expect the pallet to be this big! The shades are about 1.25″ squared. Nuts, right?! It’s a pretty pinky neutral pallet with beautiful dark browns thrown in. So there’s a wide variety of looks you could get with this pallet. However, the lip glosses in the bottom are rather sheer, so don’t expect much color punch from them.

DSC_9854DSC_9860

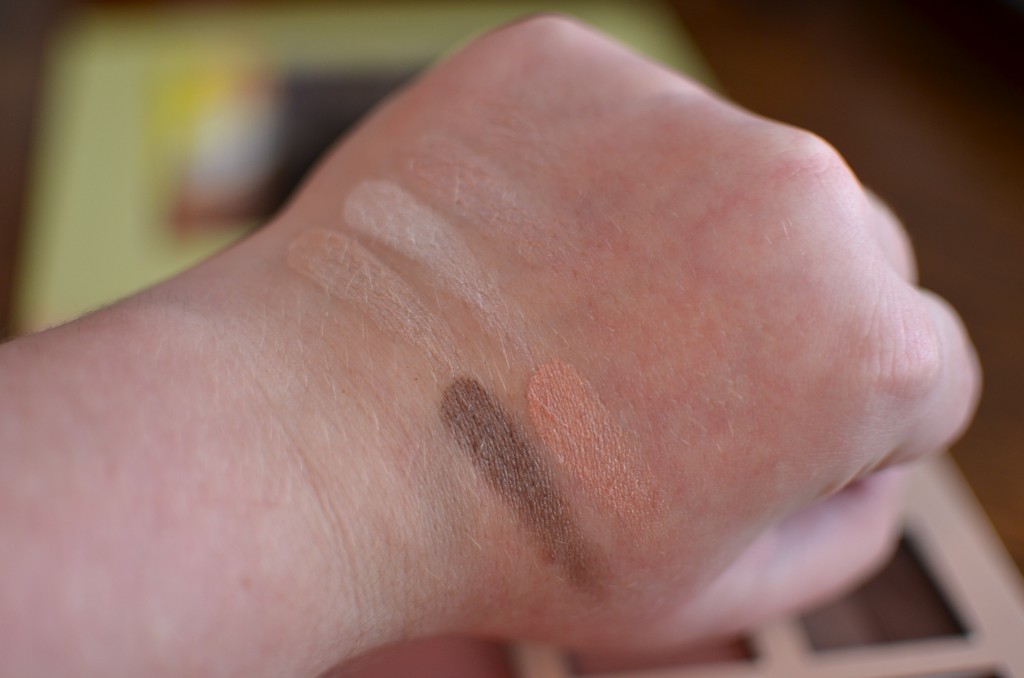
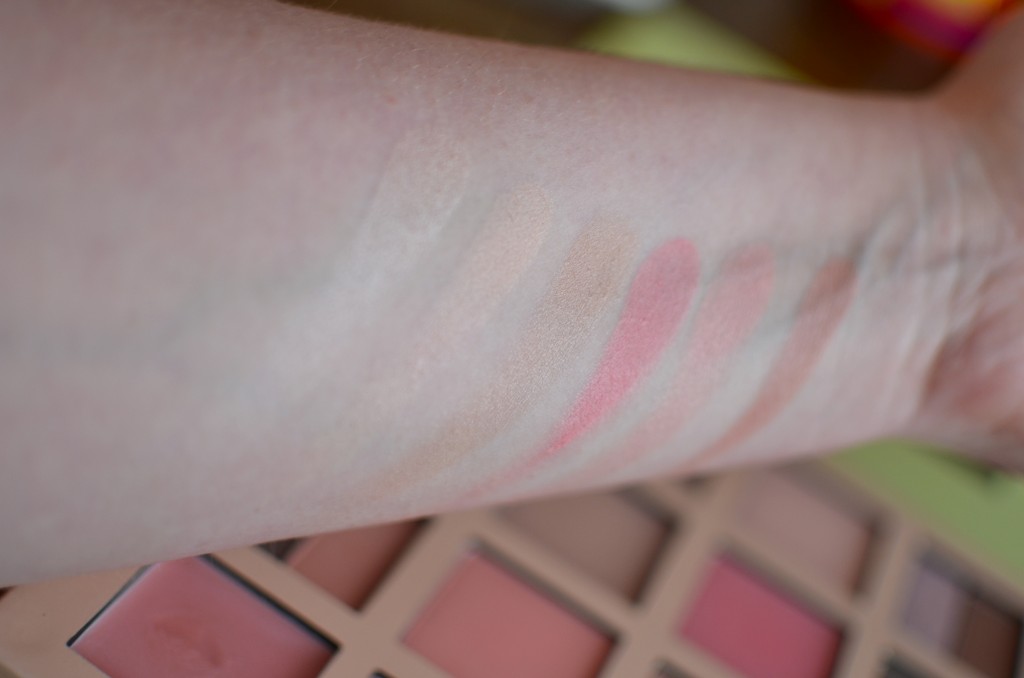
SWATCHES! Starting from the top left and going down.

DSC_9865

These shades aren’t sheer, but by their color they blend into my skin tone. On the eyes they would show up more but could be used as a faint highlight on the brow bone or a transition shade around the crease.

Here are the middle cheek, highlight, and bronzey shades.

DSC_9871

That last shade looks a bit reddish for a bronzer, but used lightly to warm up the skin tone instead of contouring I think it would work really well! The blushes and highlights are just fresh and beautiful pinks and champagnes.

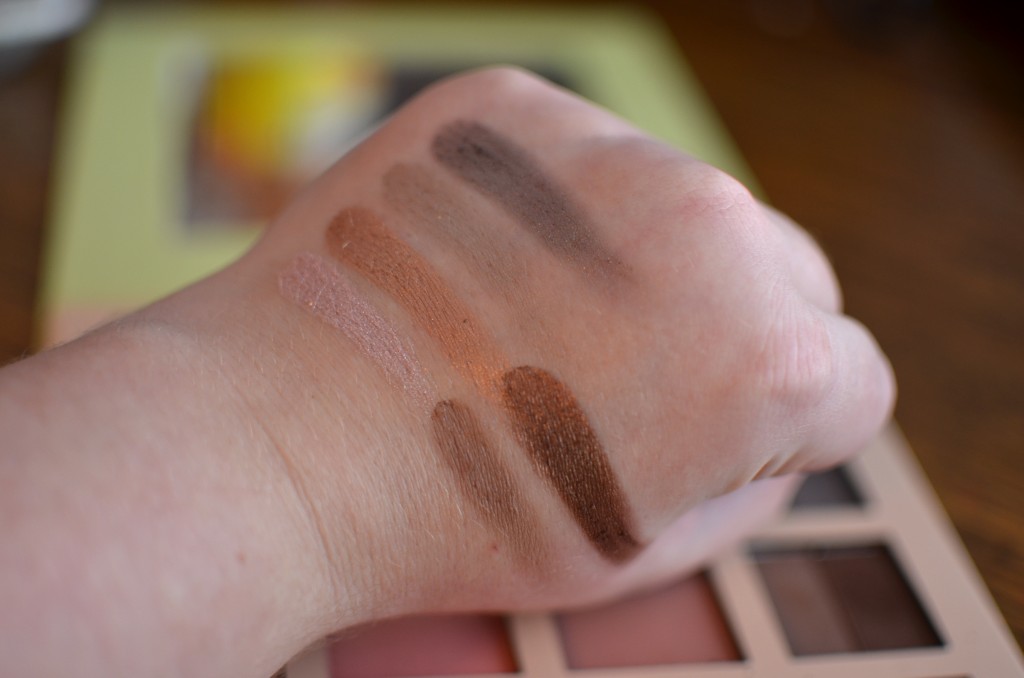
Here are the other shadows on the right side going down.

DSC_9869

Hello smokey browns! These are buttery and soft and very pigmented. That last bronzey brown is gorgeous.

Here are the lippies!

DSC_9876

Like I said, pretty sheer but could work for a natural fresh and flushed look.

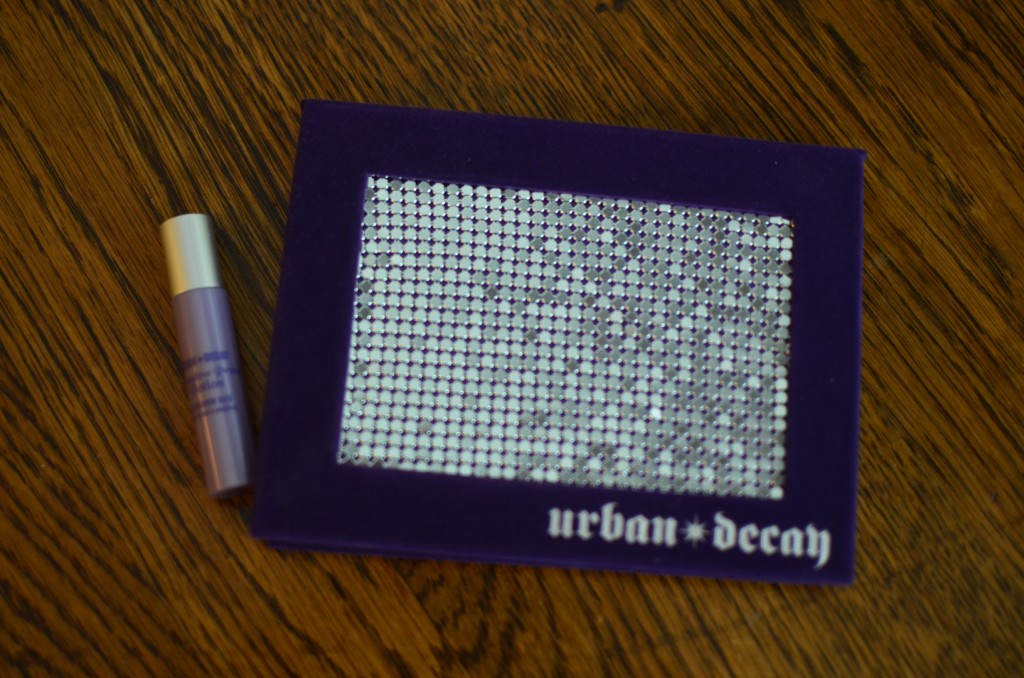
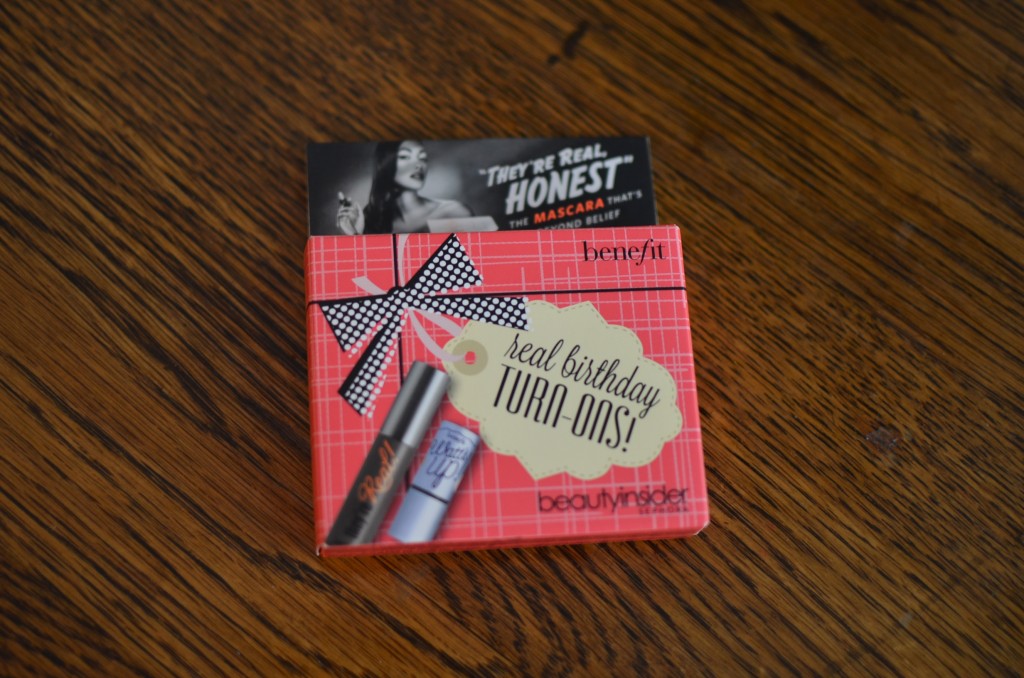
SEPHORA! These two Urban Decay pallets had been on my radar for a while and I finally bought them! They were so cheap and Sephora always offers great samples so I couldn’t pass it up. 🙂 Plus, for my birthday they threw in some great Benefit samples!

DSC_9891DSC_9894

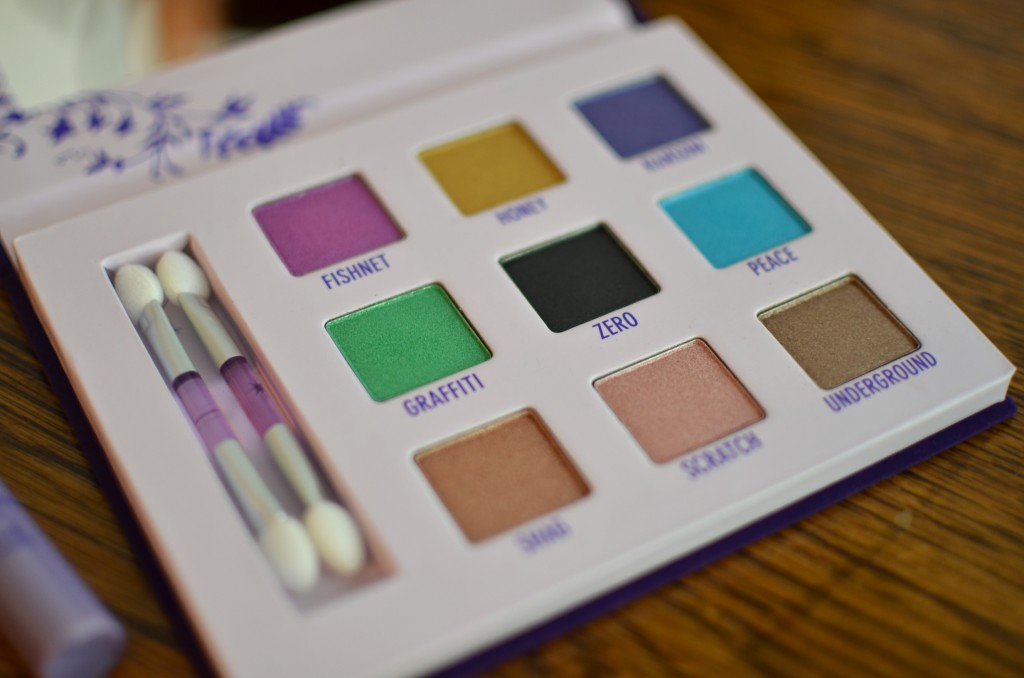
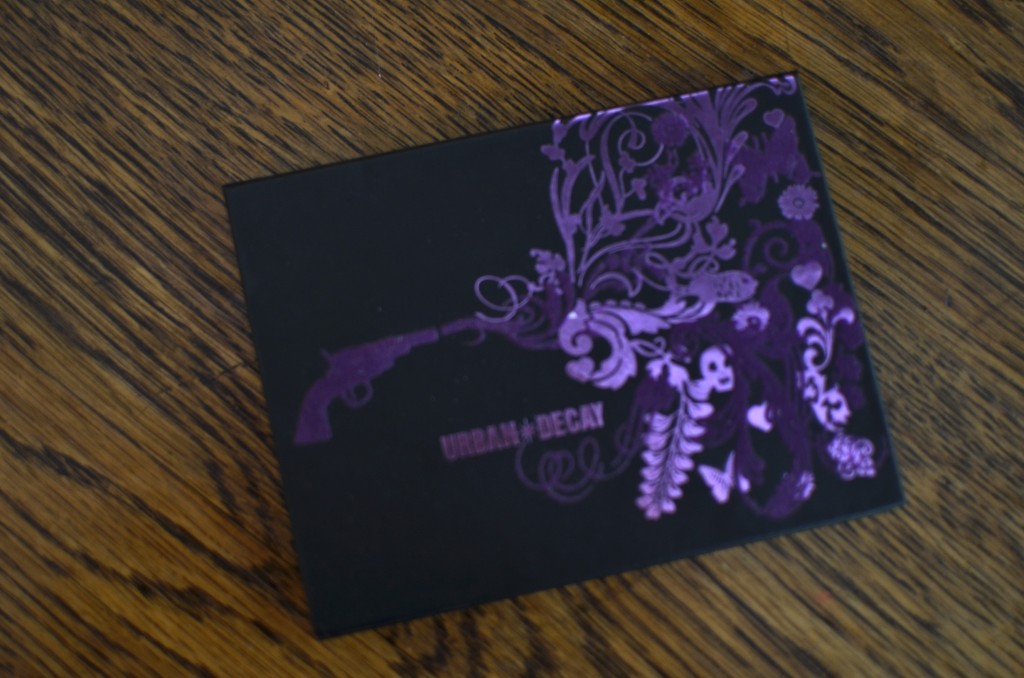
This is the Urban Decay Deluxe Shadow Box. I can’t wait to come up with some bright looks with this!

DSC_9897DSC_9901

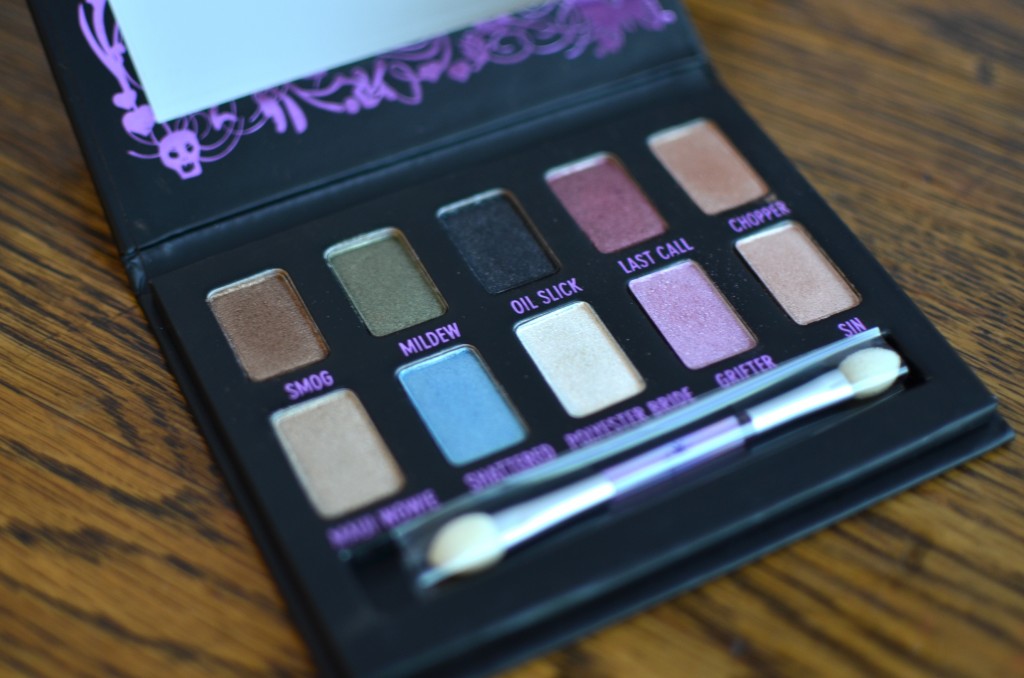
This is Urban Decay’s Ammo Pallet. It’s on sale right now for $10 at Ulta and Sephora, but Urban Decay repackaged the same shades and is reselling it for over $30! Get it while you can!

DSC_9879DSC_9882

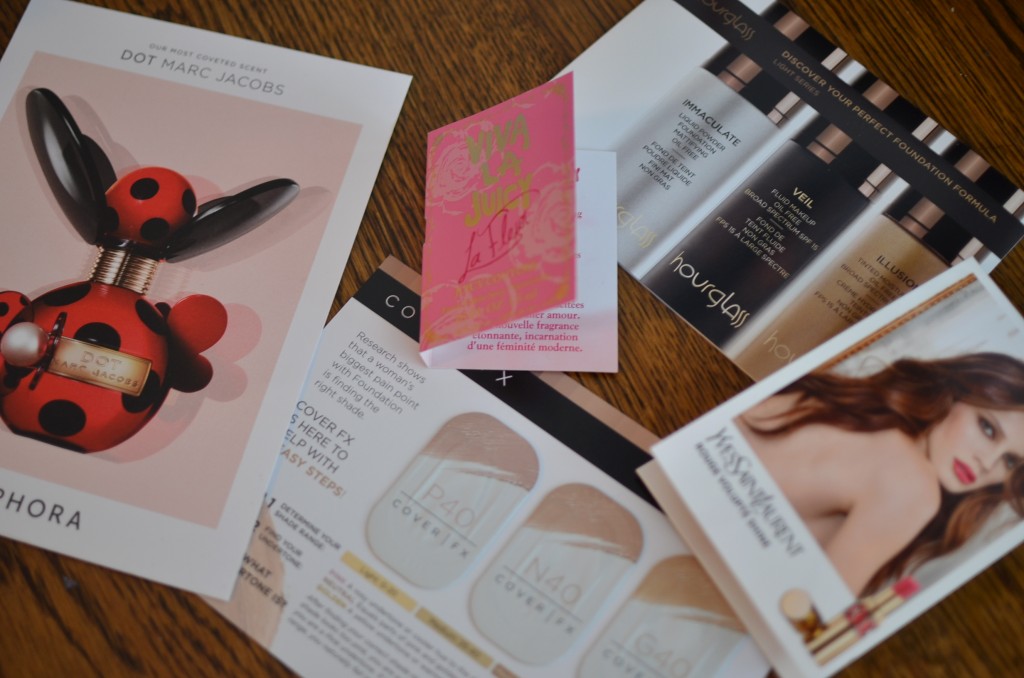
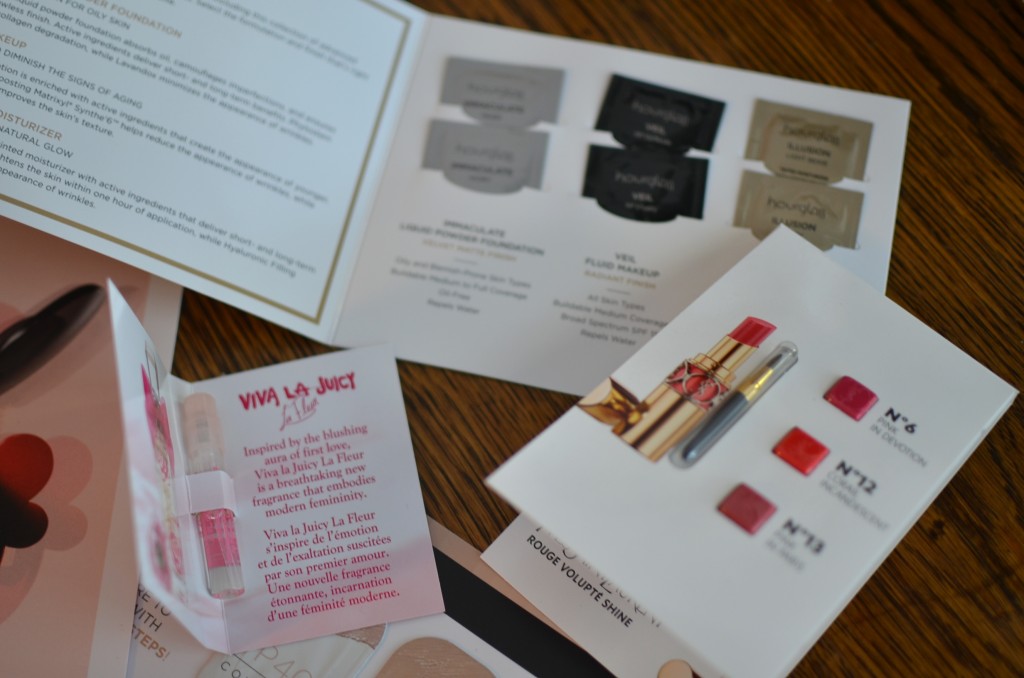
Holy samples! I chose only a few and the Viva La Juicy, Marc Jacobs, and YSL were all bonus! Can’t WAIT to delve into those YSL lipstick samples! That Marc Jacobs DOT perfume is delicious and I’ll be putting that on my wishlist. 🙂

DSC_9884 PicMonkey Collage

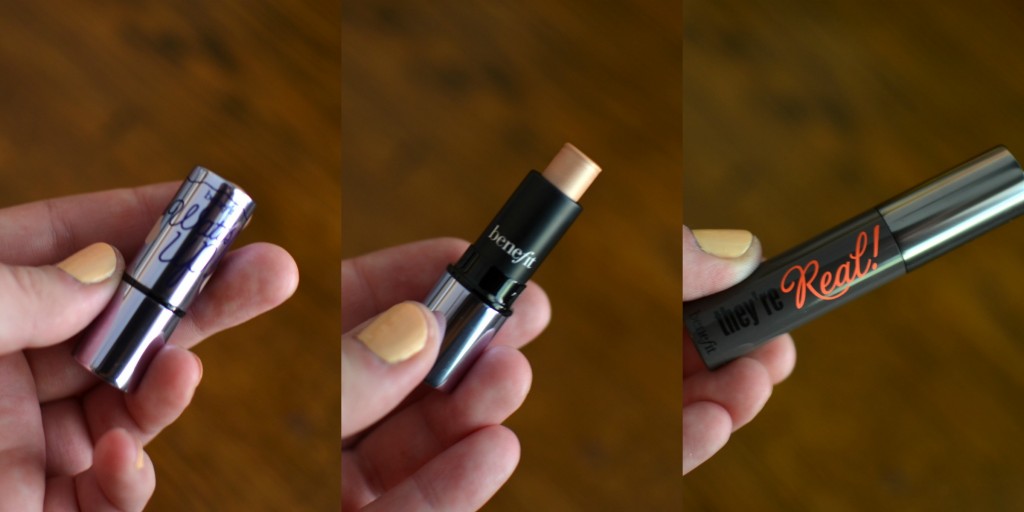
Happy Birthday to me! Sephora included a great sample size of Benefit’s Watt’s Up (a champagney cream highlight) and their classic They’re Real! mascara. Can’t wait to try both of these!

DSC_9903

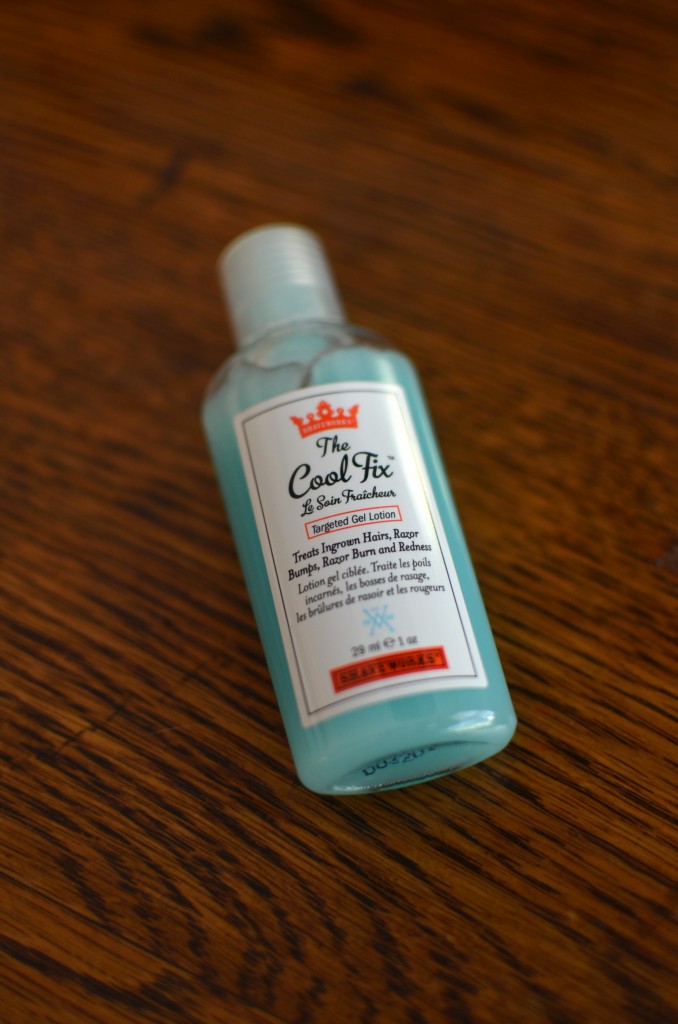
This is a strange product. It’s simply called Cool Fix. I had no idea what it was when I chose it as a deluxe sample but I’m glad I did! It’s an aftershave product that fights ingrown hairs and razor burn. I’ve used it once and it actually works! Pretty cool!

DSC_9906

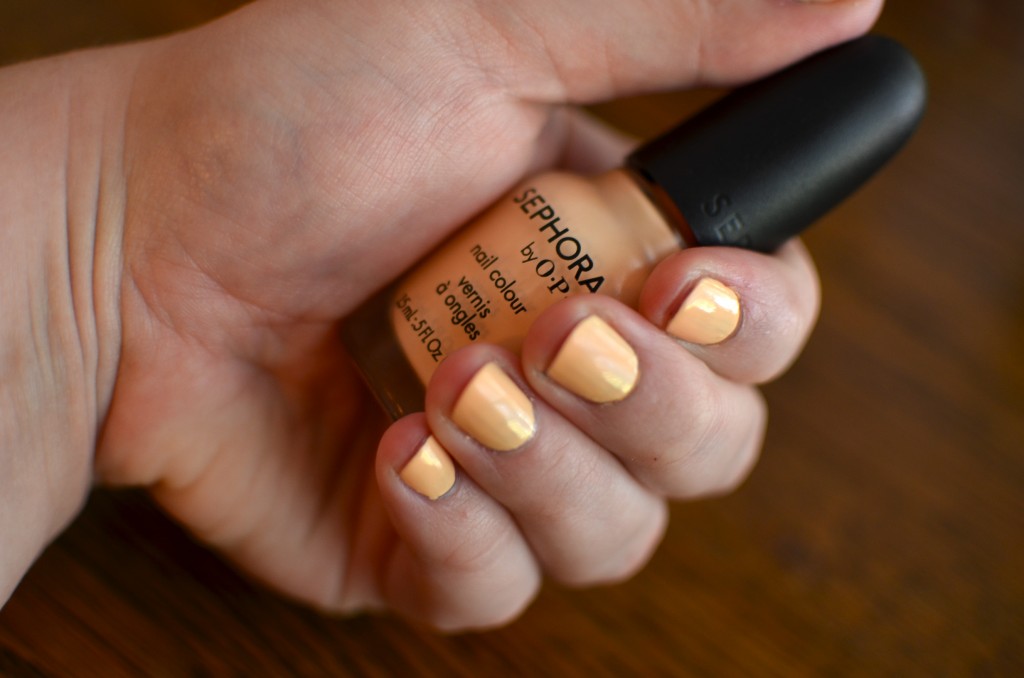
I only chose this because it was on sale and I needed to reach the $25 mark to get more samples. 😛 This is Sephora by OPI in Give Peach a Chance. I was hoping it would come out more nude, but I still love it!

So there’s my haul! Mini haul actually, but I can’t wait to try these products out! Yay new makeup! 🙂

Happy Tuesday!

In Which I Put Makeup On My Dog

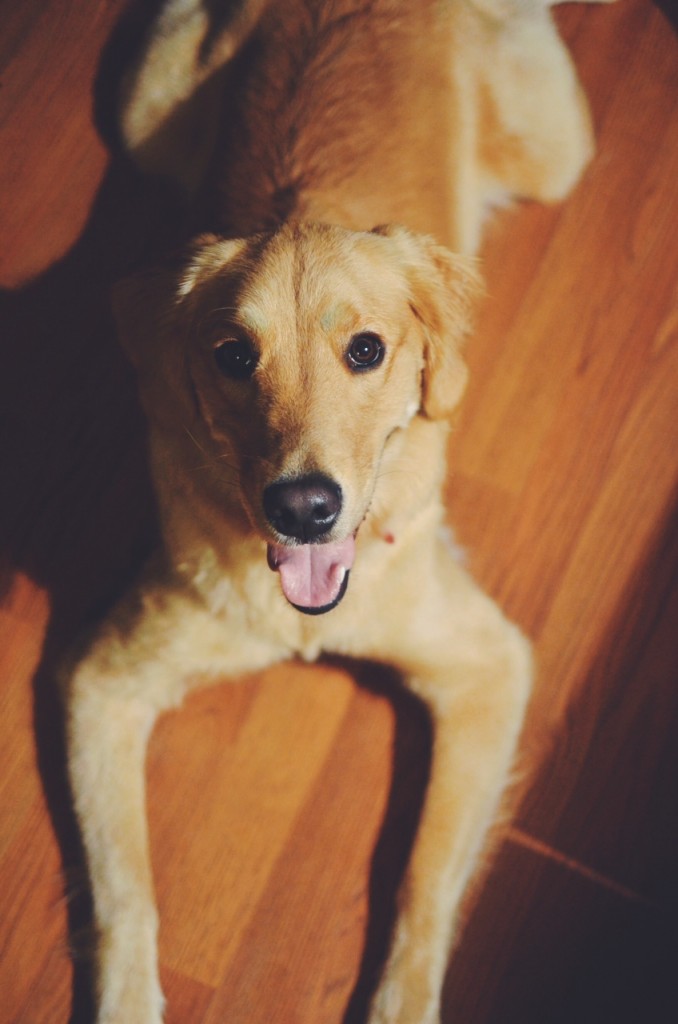
vsco_3Prettiest dog on the planet, everyone.

vsco_4Snarf.

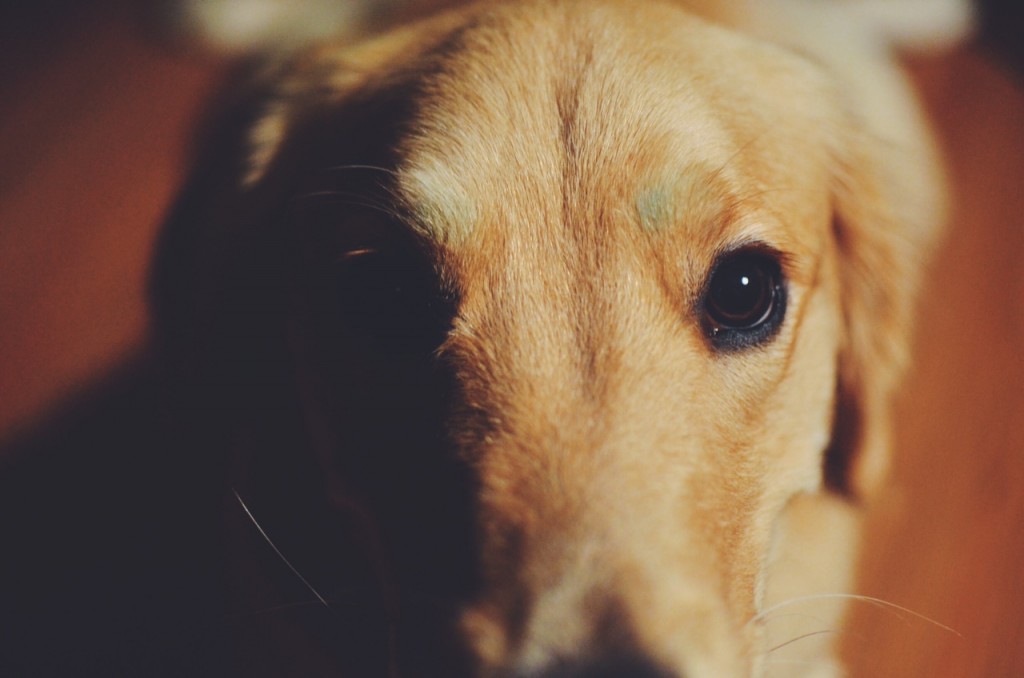
vsco_1vsco_2She’s closing her eyes so you can see her look better.

vsco_0

Don’t be jealous that my dog is better than all other dogs, okay? Right now she is lying on a pile of my sister’s clothes inevitably covering them in her hair even though the clothes are clean. She’s goofy, excited, and loyal. She’s also a girl so we like to dress her up in old t-shirts and necklaces and makeup. 🙂 I successfully got mascara on one of her eyes yesterday. 🙂 If you’re wondering, Pepper’s eyeshadow shade is Urban Decay’s Graffiti. 😛

Happy Hump Day!

Beauty Tuesday: Hot Pink and Black Flick Tutorial

image_24image_3

Hey guys! Happy Tuesday! Today I’m bringing you my first tutorial. 🙂 I’m using all (except for one!) drugstore/inexpensive products that are longwearing and natural with a little kick. 😉 Keep reading to see how to get the look!

STEP ONE:
This product isn’t shown, but I used a sample I had of the Maybelline Dream Fresh BB Cream in Light/Medium. I’m not really a fan of this product. In my opinion, I wouldn’t waste your money! This is basically a tinted moisturizer that has a pretty slick texture and I wouldn’t recommend it for oily skin folks. It isn’t going to cover much redness or blemishes, so be prepared to use a concealer. If you do use it, be sure to set it with a powder. I used the Rimmel Stay Matte powder in Buff Beige.

STEP TWO:

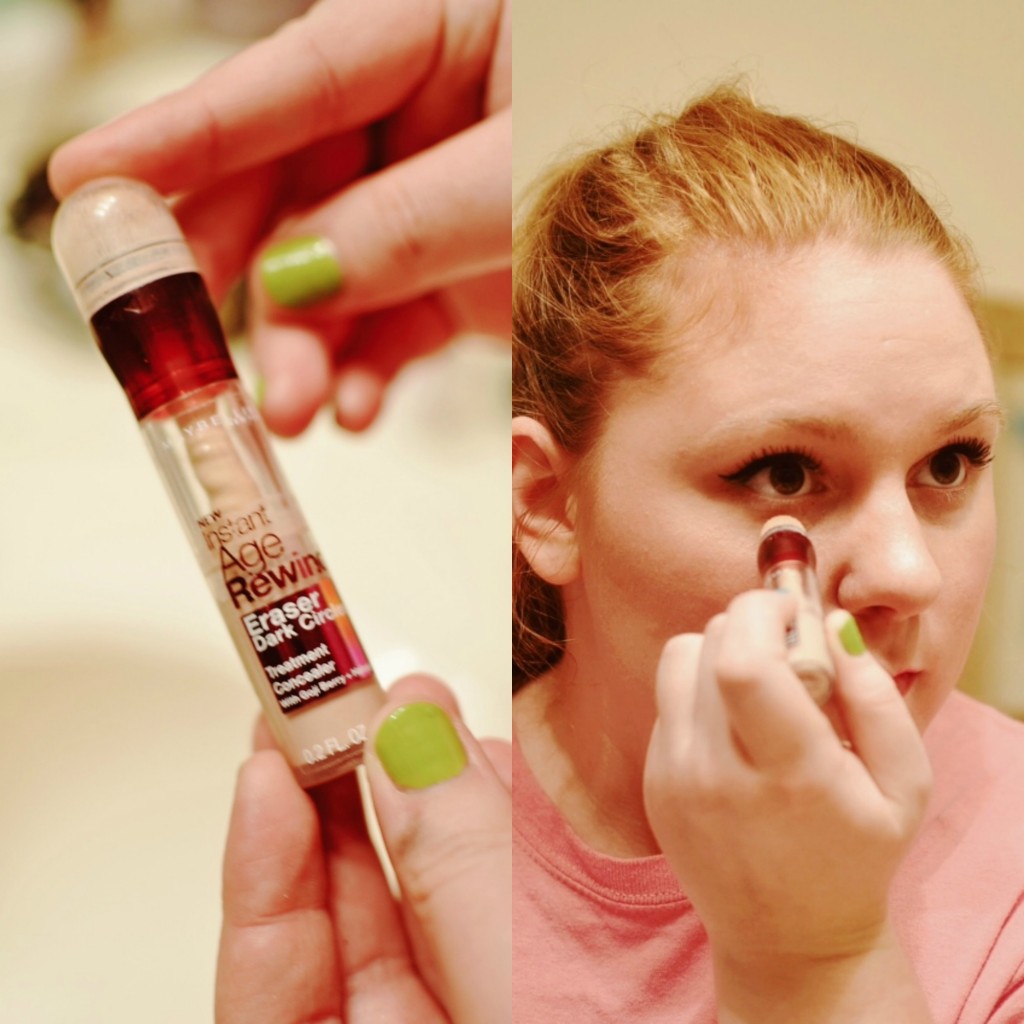
Conceal! I’m using the Maybelline Instant Age Rewind Dark Circle Concealer. It’s a liquidy concealer that comes through a domed sponge making it very easy to apply. I only apply this to my under eyes since it’s not very thick and just blend it with my fingers.
concealer

STEP THREE:

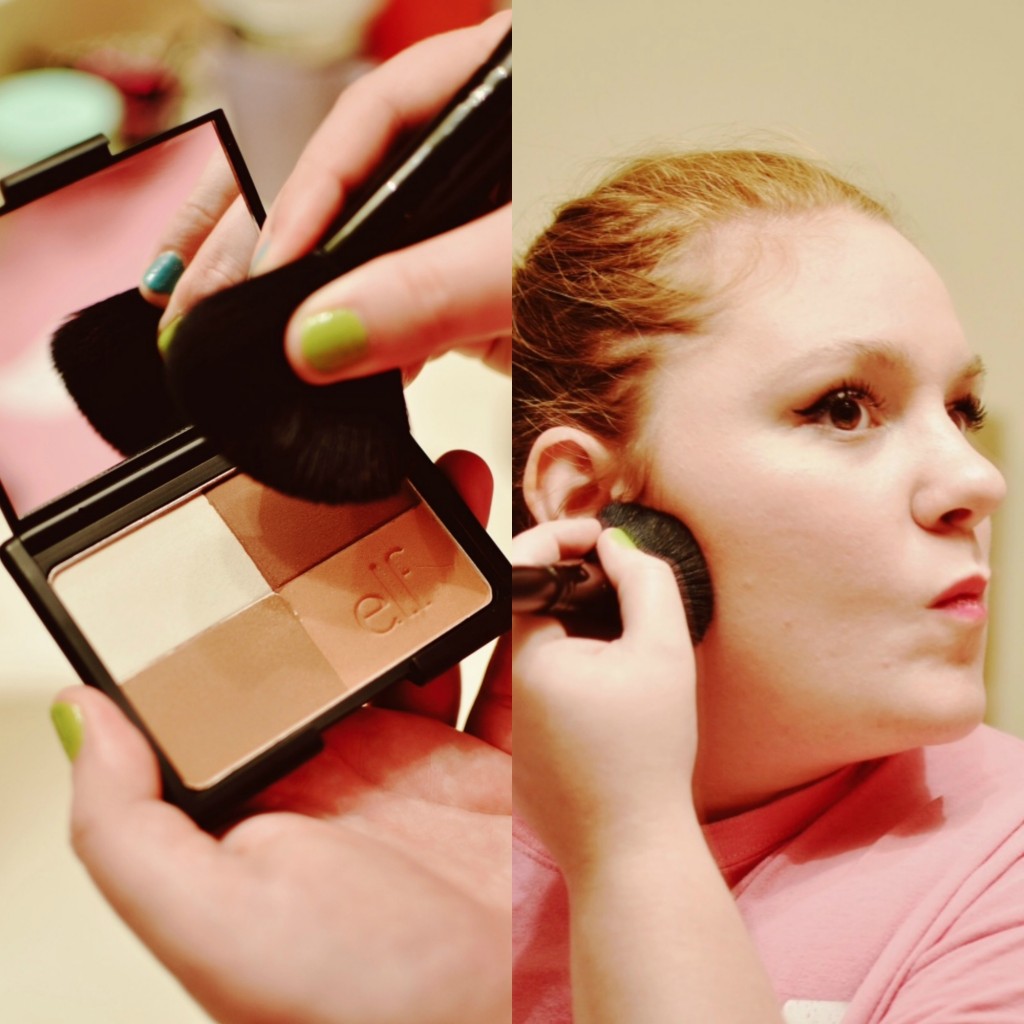
Bronzing and contouring. I’m using the ELF Cool Bronzer pallet. I’m taking an ELF Powder Brush and pinching it to give me a more targeted application. I use the bottom left shade and contour from my ears to about halfway down my cheek toward my mouth and blend it out so I don’t have a harsh line. I’ll also blend my brush over the entire pallet and apply it to my temples or all over my face to warm up my skin tone.
bronzer

STEP FOUR:

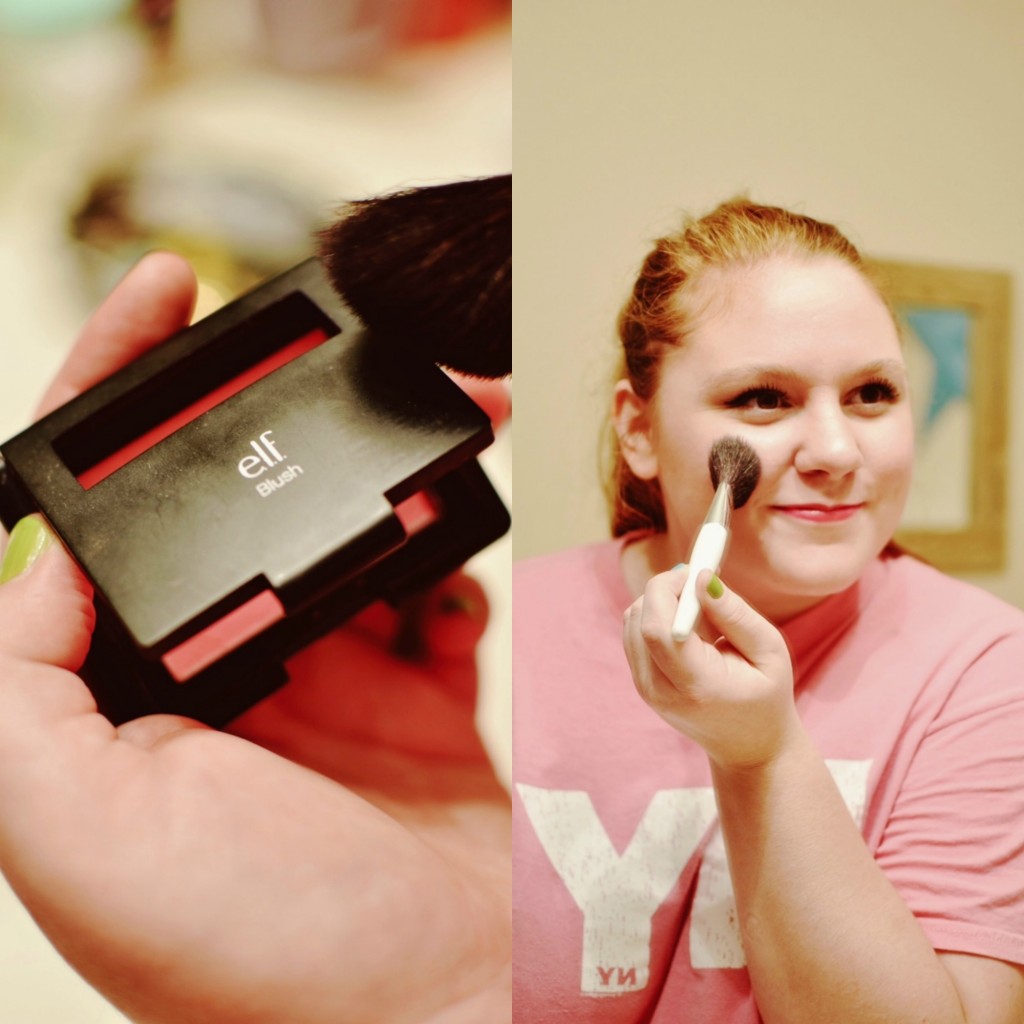
Blush! I’m using the ELF Studio Blush in Pink Passion. Don’t be scared! This is a very bright pink but is sheered out once applied on the face. I’m using a Sonia Kashuk Angled Blush Brush and applying it on the outer apple of my cheek and blending towards my hair line. Putting blush too close to the nose gives a look of redness and we don’t want that!
blush

STEP FIVE:

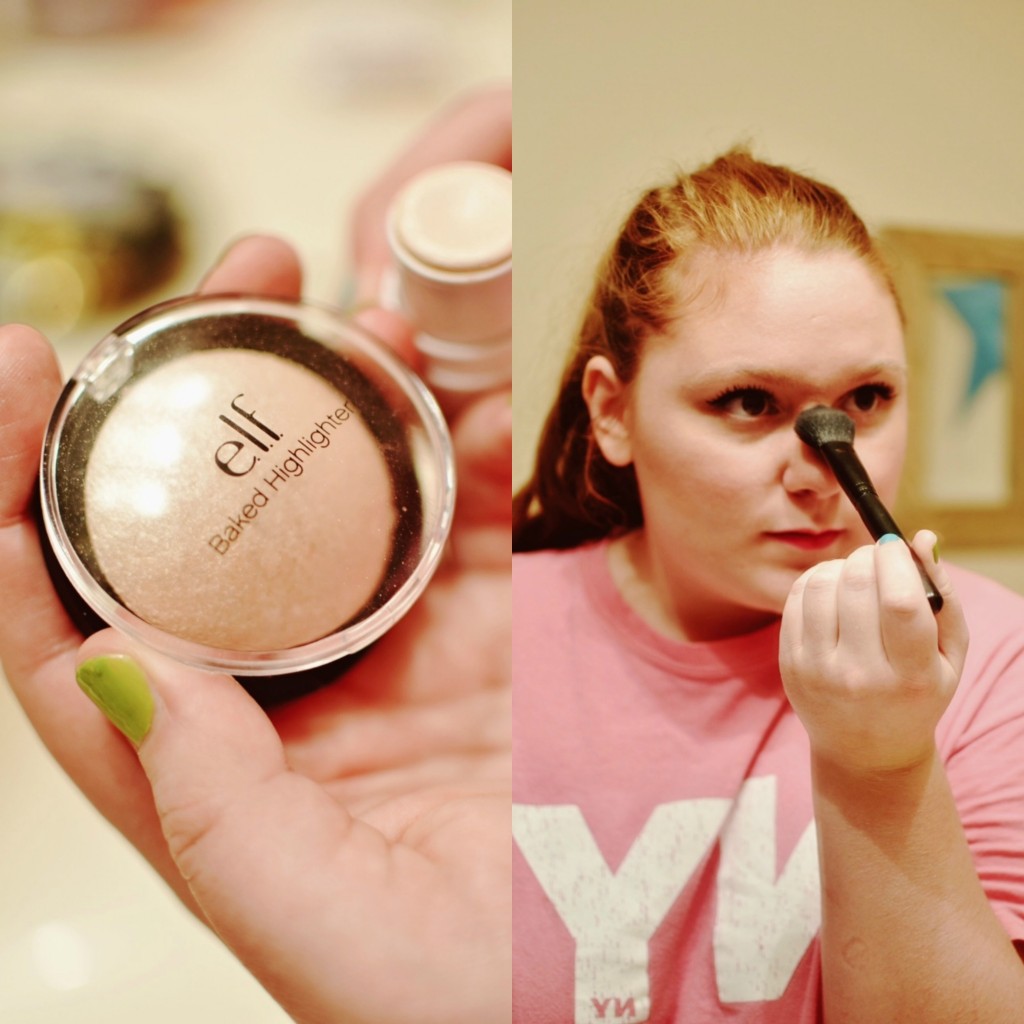
Highlighting! I’m using one of ELF’s newest product, their Baked Highlighter in Moonlight Pearls along with a cream stick in Spotlight also from ELF. First I’ll put down the cream and layer the powder on top. Moonlight Pearls is a very shimmery champagne color so be careful and don’t apply too much. We don’t want a look of oiliness! I apply this down the bridge of my nose and on my cheekbones. Other places you can apply are on the chin and between the brows. I choose to skip this since my skin tends to lean towards the oily side and any shimmer will just enhance that.
highlighter

STEP SIX:

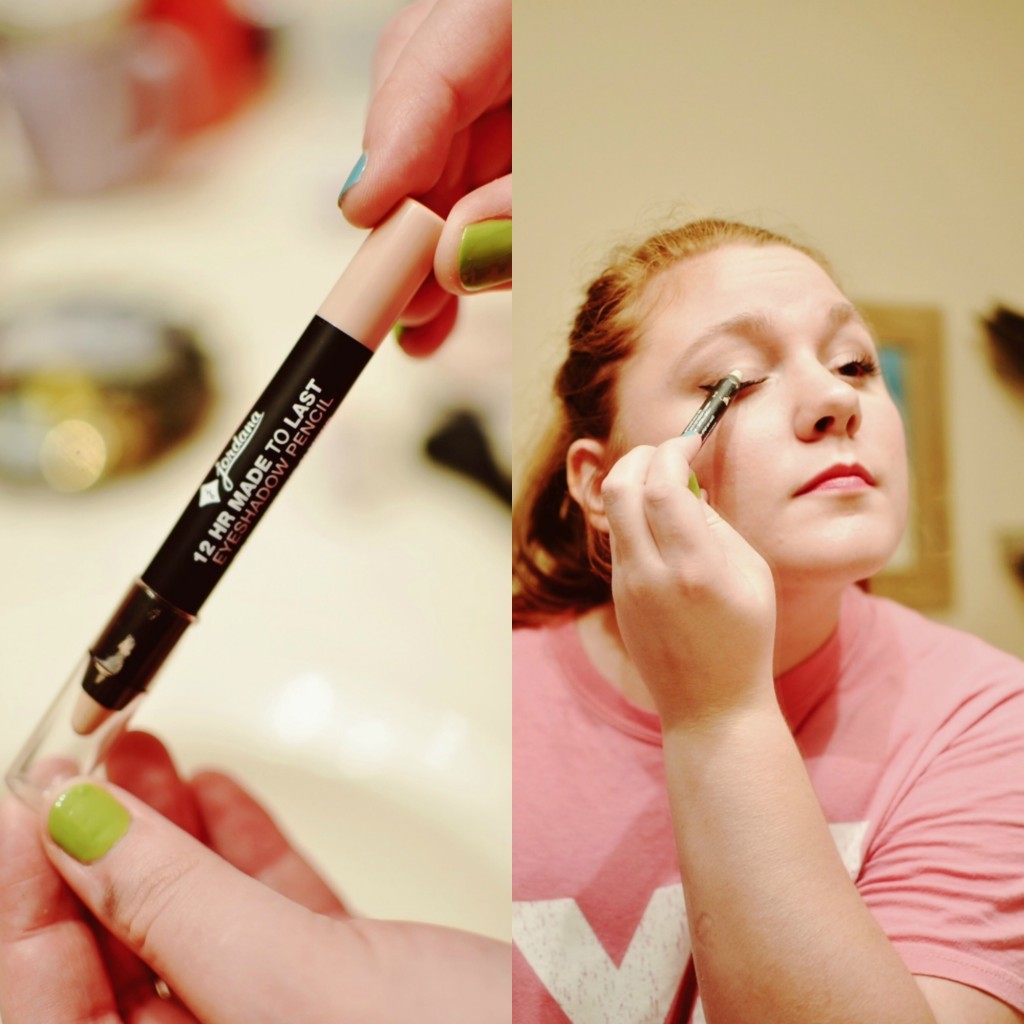
On to the eyes! I’m using a new product from Jordana called the 12 HR Made To Last Eyeshadow Pencil in Continuous Almond. It’s a nude, matte skin tone shade that when layered under shadow helps it to stay much longer! You can find this brand at any Walgreens. It’s very affordable! Check out some of their other products as they are longlasting and inexpensive. 🙂
eyeshadowbase

STEP SEVEN:

Eyeshadow! I’m using my original Naked pallet from Urban Decay. First, I’m going into the shade called Naked on my ELF shadow brush ($1!) which is a little deeper than my skin tone and putting that all over my lid. Second, I’m taking Buck which is a warm, orangey brown and buffing that into my crease to give me a natural depth. Lastly, I’ll take a little of the shade Virgin, a shimmery white, and pop that into the area around my tear duct to brighten up the area. Be sure to blend everything out with a bare fluffy brush.
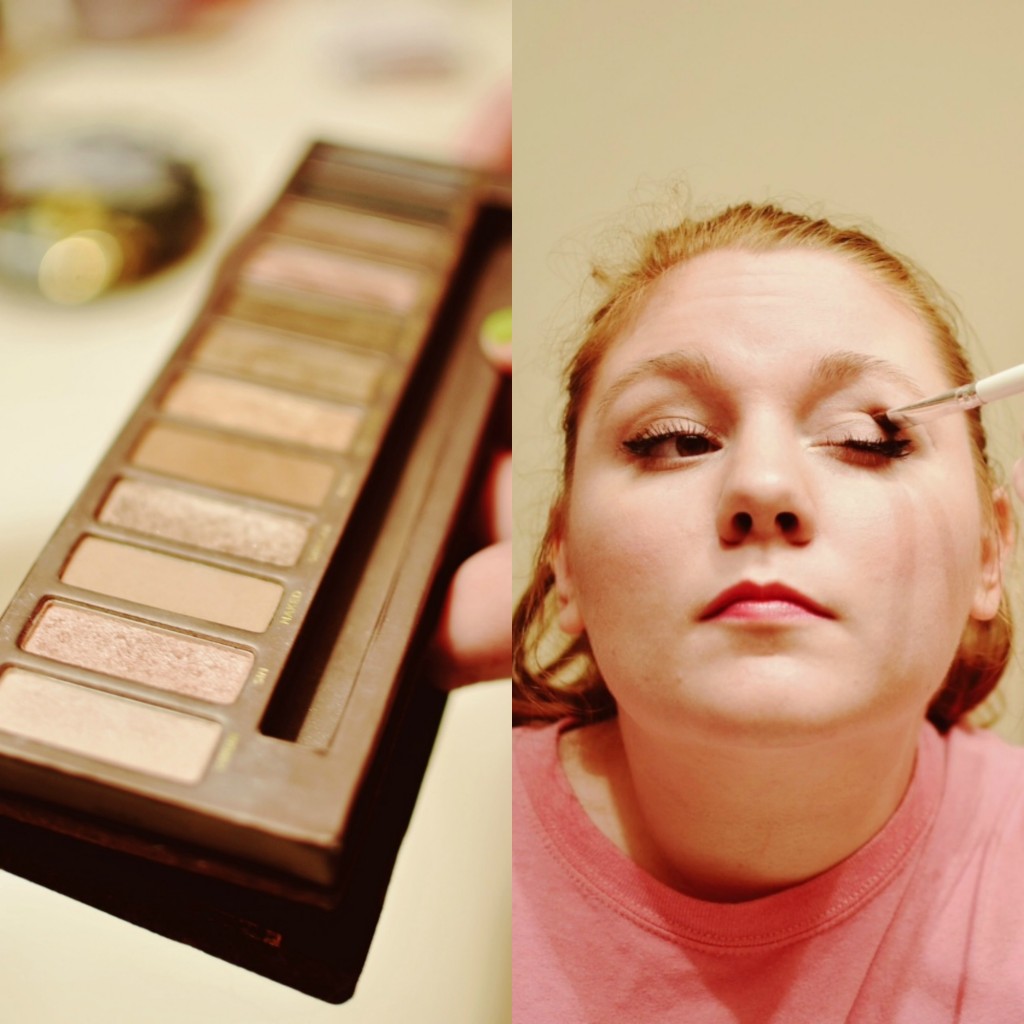
eyeshadow

STEP EIGHT:

Eyeliner! I’m using my Revlon Colorstay Liquid Eye Pen in Blackest Black. Draw this along your lashline and draw a cateye flick on the outer edge of your lid. Since this is in the form of a pen it makes it very very user friendly. Just hold like a pen and write with it! Much easier than using a gel liner with a brush or a liquid liner. This product has been lasting me quite a while as well so don’t worry about it drying out.
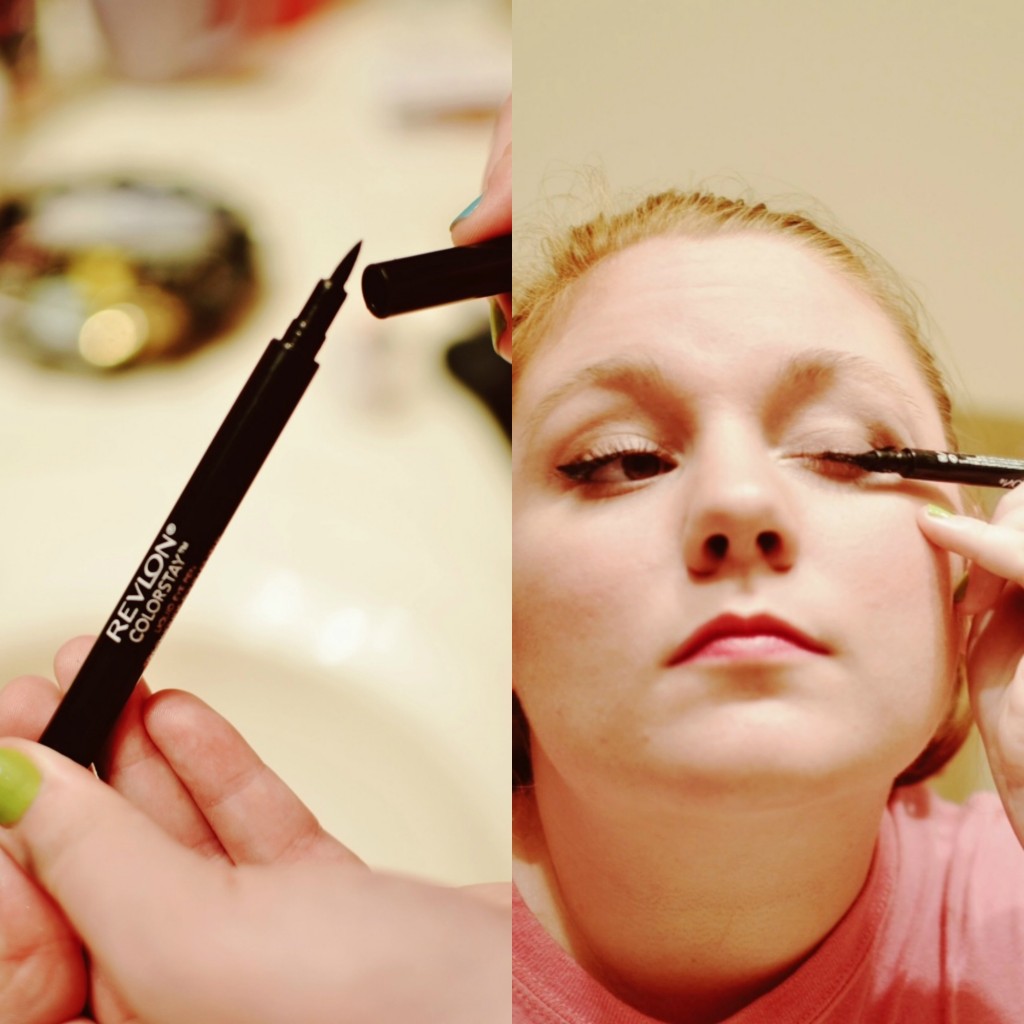
eyeliner

STEP NINE:

Mascara! I’m using the Jordana Best Lash Extreme. It’s $2.99 at Walgreens and is a great formula. It comes out a little clumpy on the brush so I like to clean it off on the tube before applying. If you like, curl your lashes before applying. For this look, leave mascara off your lower lashes to make the cateye stand out!
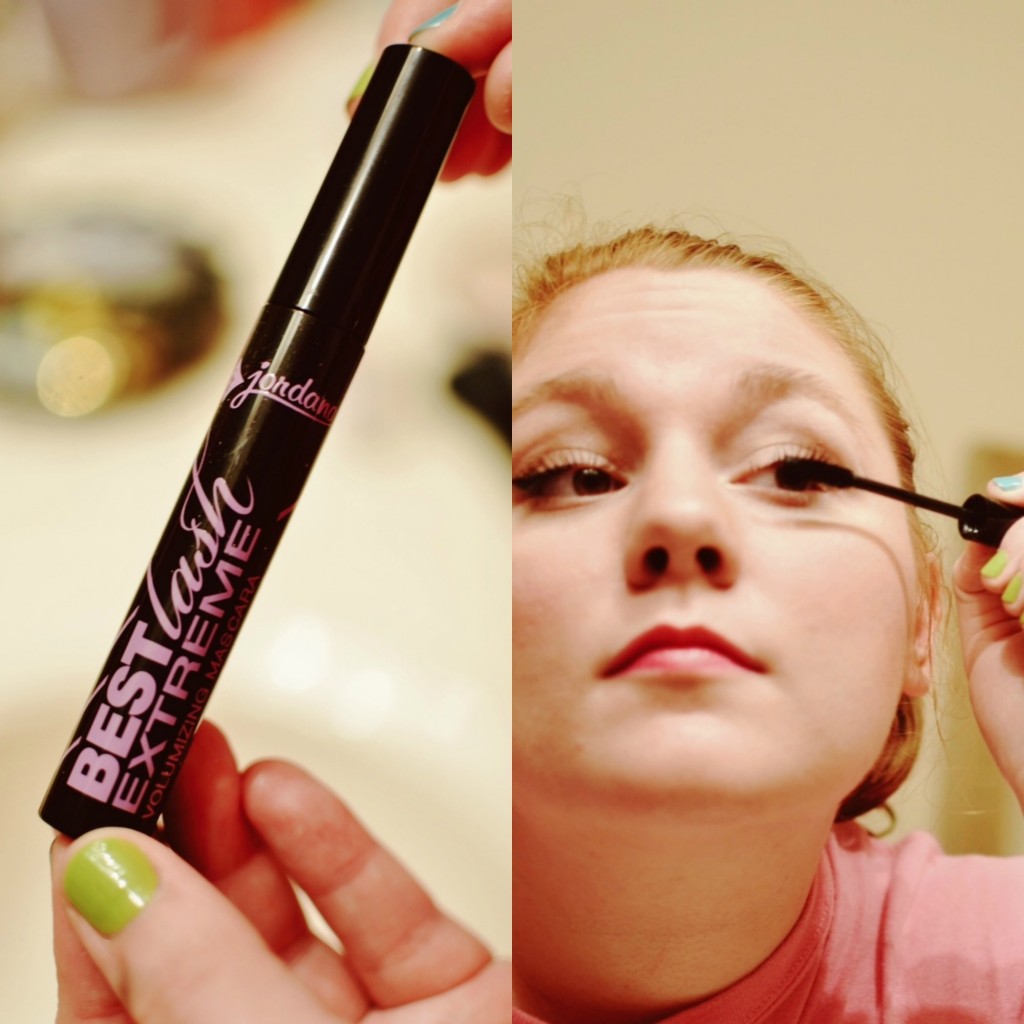
mascara

STEP TEN:

Lips! I’m using the Jordana Twist and Shine Moisturizing Balm Stain in Tropical Frenzy. This is an excellent hot pink color that is easy to apply because it’s in a big pencil form! This product is moisturizing and very pigmented. Even after the shine is gone there will be a noticeable stain on the lips.
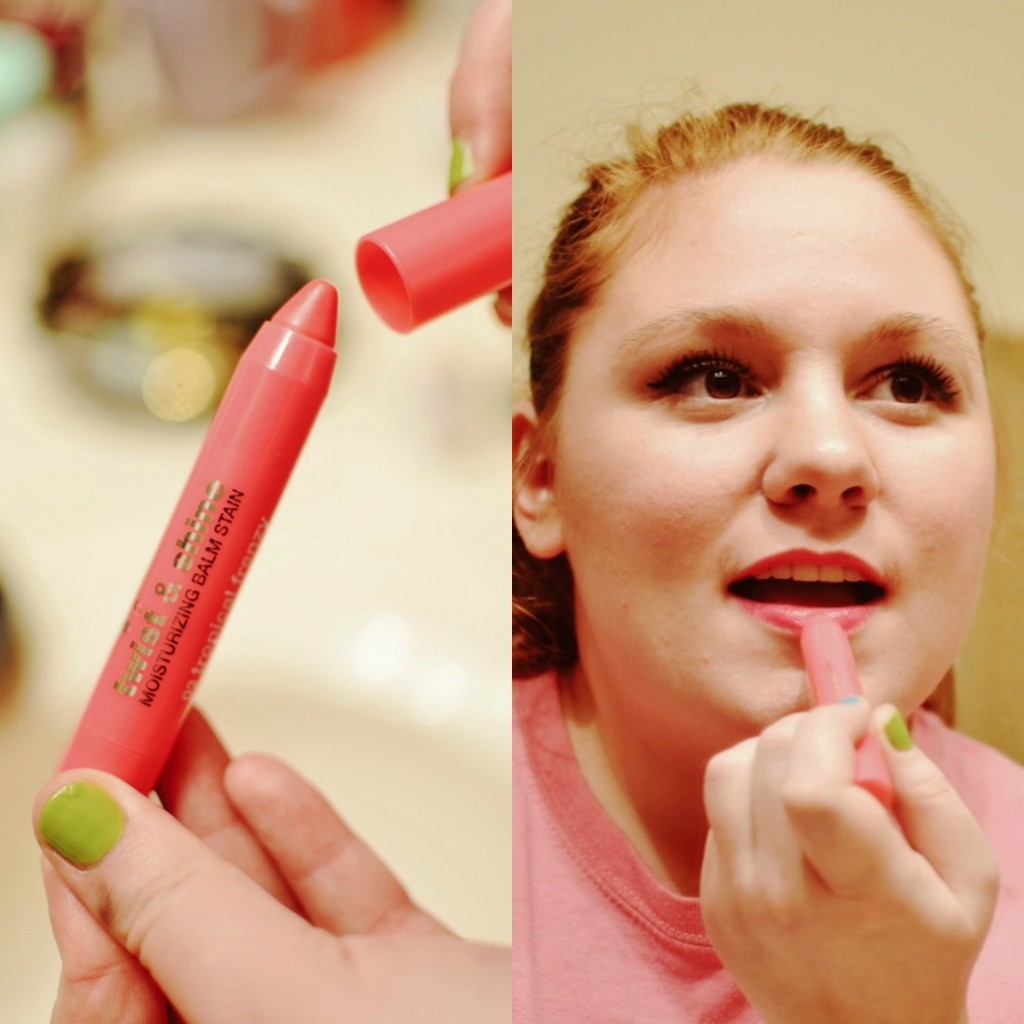
lippy

And there you go! A hot pink and cateye look wearable for day and night. 🙂 If you want to go a little more glam, add a deeper colored eyedshadow on the lid and smudge some on your lower lashline. For even more glam add false eyelashes! Hope you have fun with this look and let me know if you try it!


image_3

Haul: Walgreens + ULTA

Hey-oh! A while back I hit up ULTA (if you’ve never been, go!) and bought a few things then a few days ago I spent my graduation money on some things in Walgreens! So here’s what I got along with my thoughts on some of them.

DSC_8449

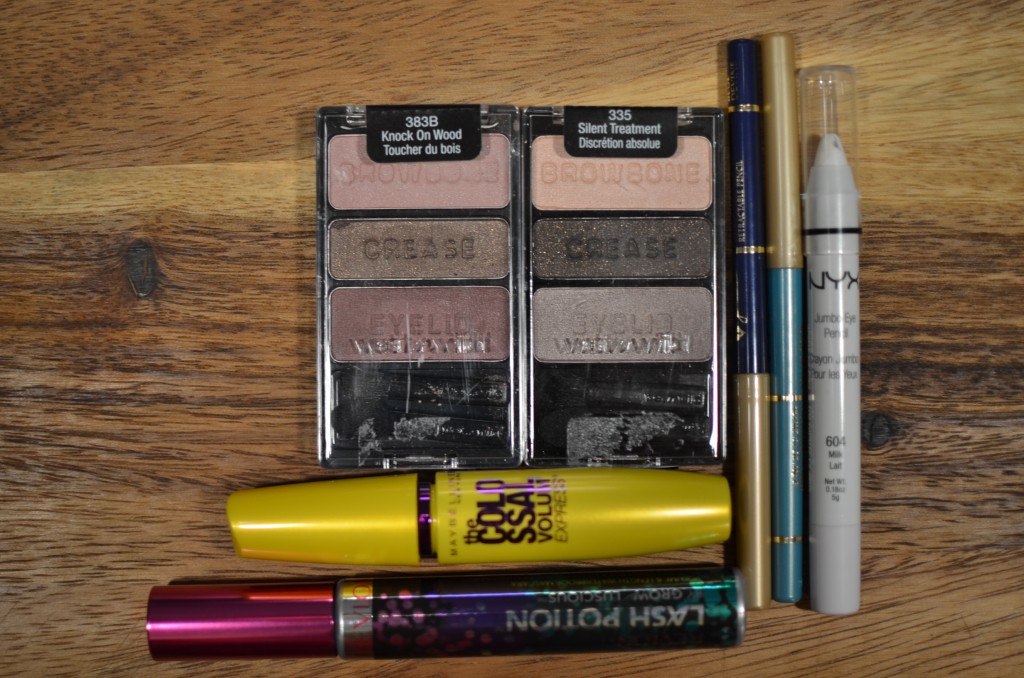
-Wet N Wild eyeshadow trios in Knock On Wood and Silent Treatment ($3)
The pigmentation on these is amazing. I started getting hooked on Wet N Wild after Emily of Beauty Broadcast raved about them over and over. The texture is so velvety and soft and not at all flaky and cheap!
Here are some swatches:
Left is Knock On Wood and on the right is Silent Treatment.

eyeshadowNext up!
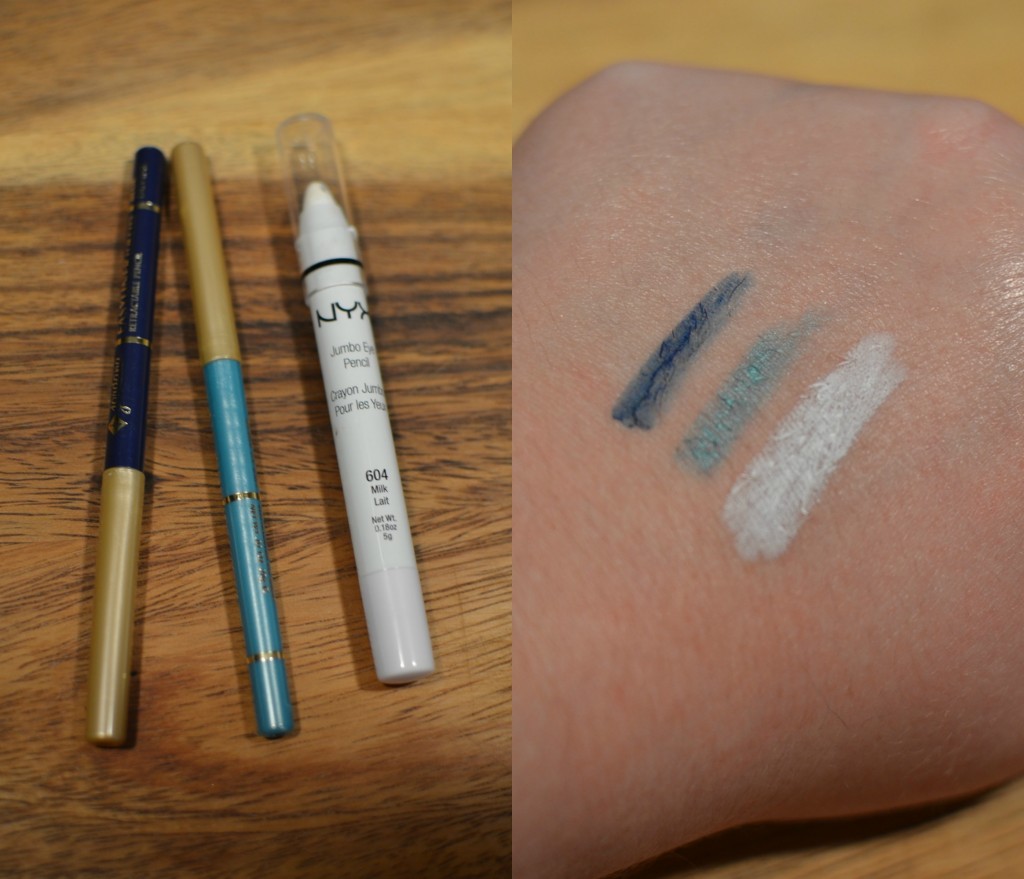
-Jordana eyeliners in Blue Devine and Mint ($2)
I own some of Jordana’s lip liners and they are excellent. Creamy and super pigments and long wearing. I have them in Sedona Red and Tawny, a nude color. These liners seem to be very similar and I can’t wait to try them more!
-NYX Jumbo Eye Pencil in Milk ($6)
I bought this after my younger sister bought it and I used it a little. 🙂 It’s a great base for eyeshadow. Be sure to pat off the excess though to prevent creasing.

eyeliner

Mascaras!
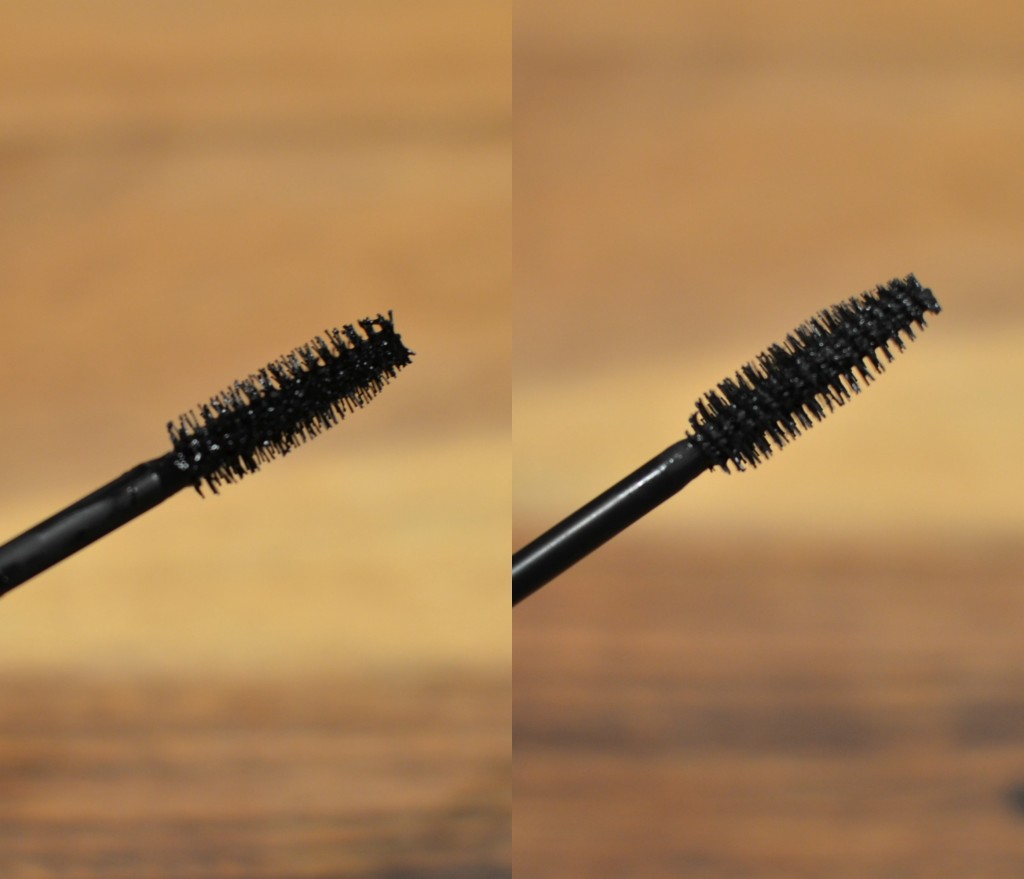
-Revlon Lash Potion ($5-8 depending where you buy)
I haven’t used either of these mascaras yet, but if I’m honest I bought this one solely on the packaging and name. 🙂
-Maybelline The Colossal Volum Express ($5-8 depending where you buy)
My younger sister has used this and likes it and I liked the brush so I’ll give it a go!

Revlon brush on the right and Maybelline’s on the left.

mascara

Lips!
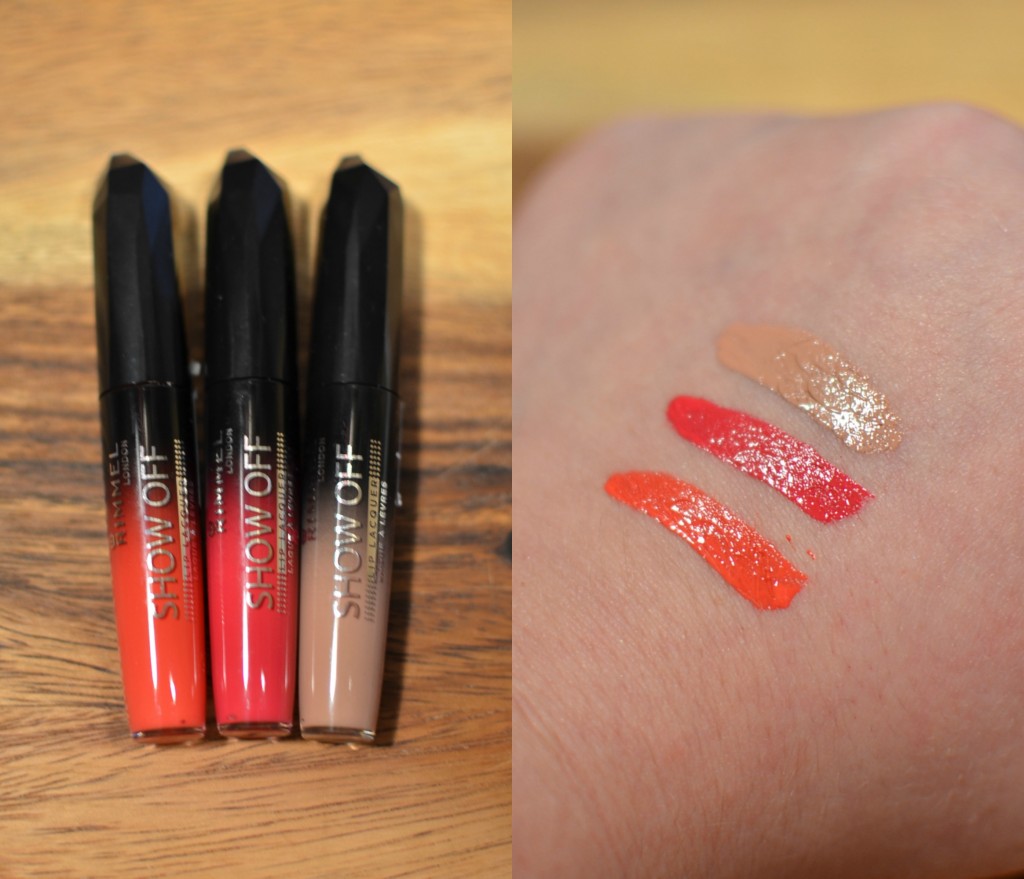
-Rimmel London Show Off Lip Lacquers in Stellar, Nude Eclipse, and Apocaliptic
I.LOVE.THESE. It is literally like a melted lipstick. They are not sticky at all and even though they are very rich and opaque they are easy to apply without a mirror. Please try them if you get the chance! At $5 a piece you can’t go wrong!

L to R: Stellar, Apocaliptic, Nude Eclipse

lips

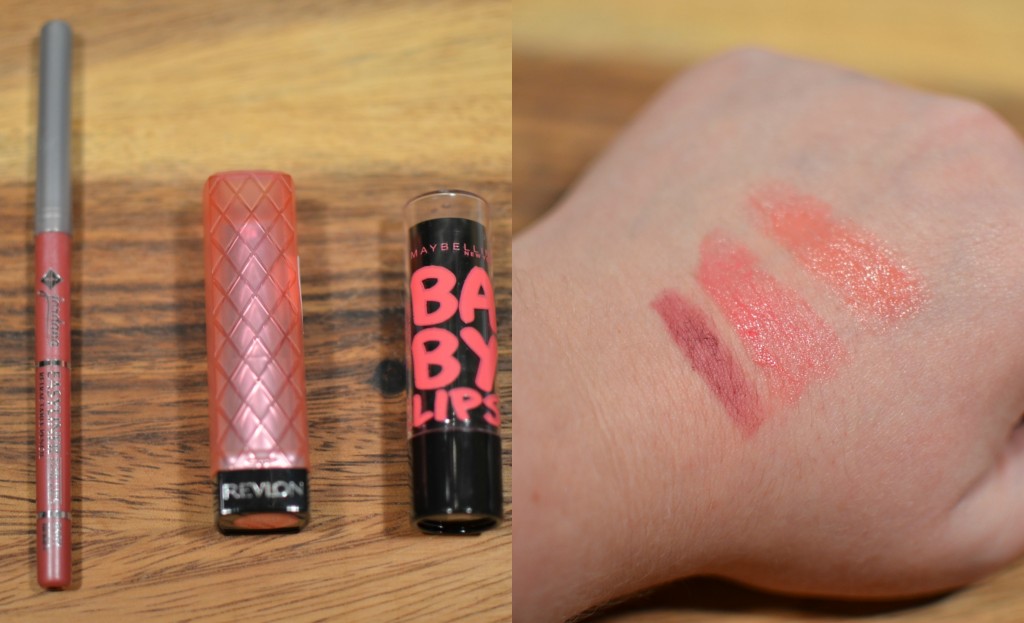
-Jordana lip liner in Baby Berry ($2)
Like I said about the eye liners, the creamy texture is easy to put on and the colors look good on all skin tones.
-Maybelline Baby Lips in Strike a Rose ($3)
These are basically a tinted lip balm. They are very moisturizing and come in a variety of colors. This color is from their new line with a neon yellow, neon green, and a very purple purple! Yikes! I’ll be trying them. 🙂
-Revlon Lip Butter in Strawberry Shortcake ($7)
These are a more sheer and moisturizing lipstick. They have a little shine to them and are super easy to apply. I also have one in Raspberry Pie!

L to R: Jordana lip liner, Revlon Lip Butter, Maybelline Baby Lips

lipss

Face!
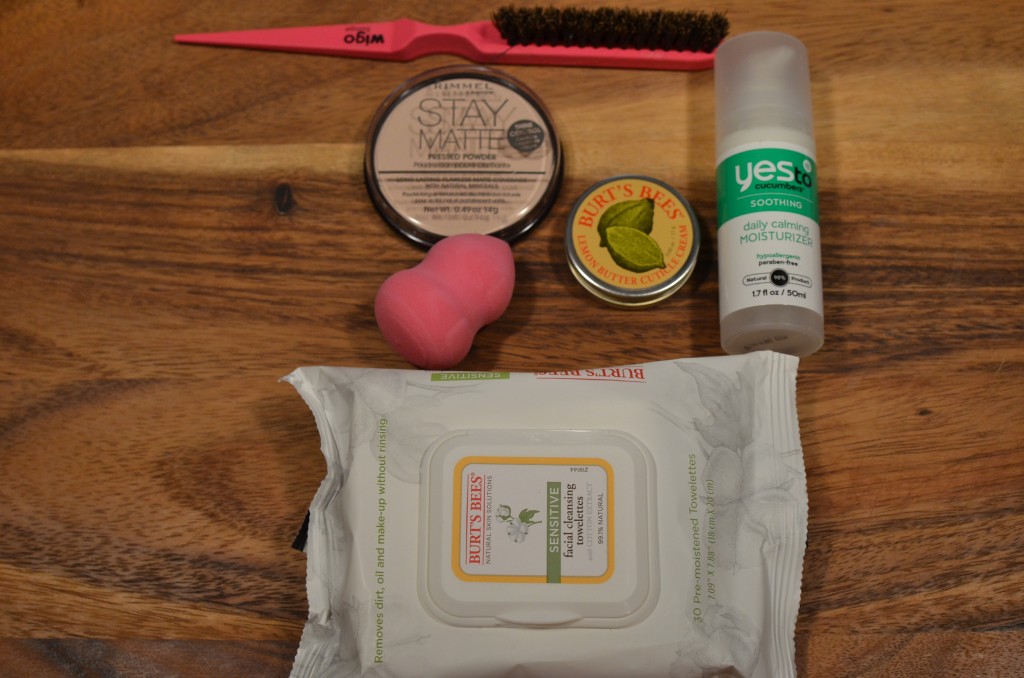
-Rimmel Stay Matte Powder Foundation in Buff Beige ($5)
I stole this powder from my sister when she came home from college and loved it so much I bought my own! It’s great for topping off a foundation and keeping my skin matte most of the day.
-Burt’s Bees Cuticle Balm ($6)
I love the smell of this and can’t wait to use it!
-Burt’s Bees Sensitive Facial Wipes ($5)
I’ve tried a couple other facial wipes and they really messed my skin up. These have not! They won’t take off all of my makeup though, so keep that in mind. I like to use them for wiping off excess makeup or hand swatches or after a day at the beach.
-Yes To Cucumbers Sensitive Moisturizer ($15)
I LOVED this in the beginning. It doesn’t smell like cucumbers unless you push your nose right against it, hah. I don’t have the best luck with moisturizers, but this one worked pretty well!
-Studio 35 Beauty Blending Sponge ($5)
BUY THIS. I kept hearing about the Beauty Blender and how amazing it was but didn’t think it was anything better than a regular sponge. My sister bought this one and I’ve used it the past few days and can’t live without it. It blends the foundation in so much better than my fingers and the finish is so much more natural.
-Wigo Teasing Comb ($4)
This is great. It’s easy to use and I don’t feel like I’m raking hard on my hair when I use it.

DSC_8519

So that’s it! There’s my haul! I hope you found some good things to try! I can’t wait to use these things more and let you know more information then.

Have a good day!

xx