My Early 1900s Apartment: The Before

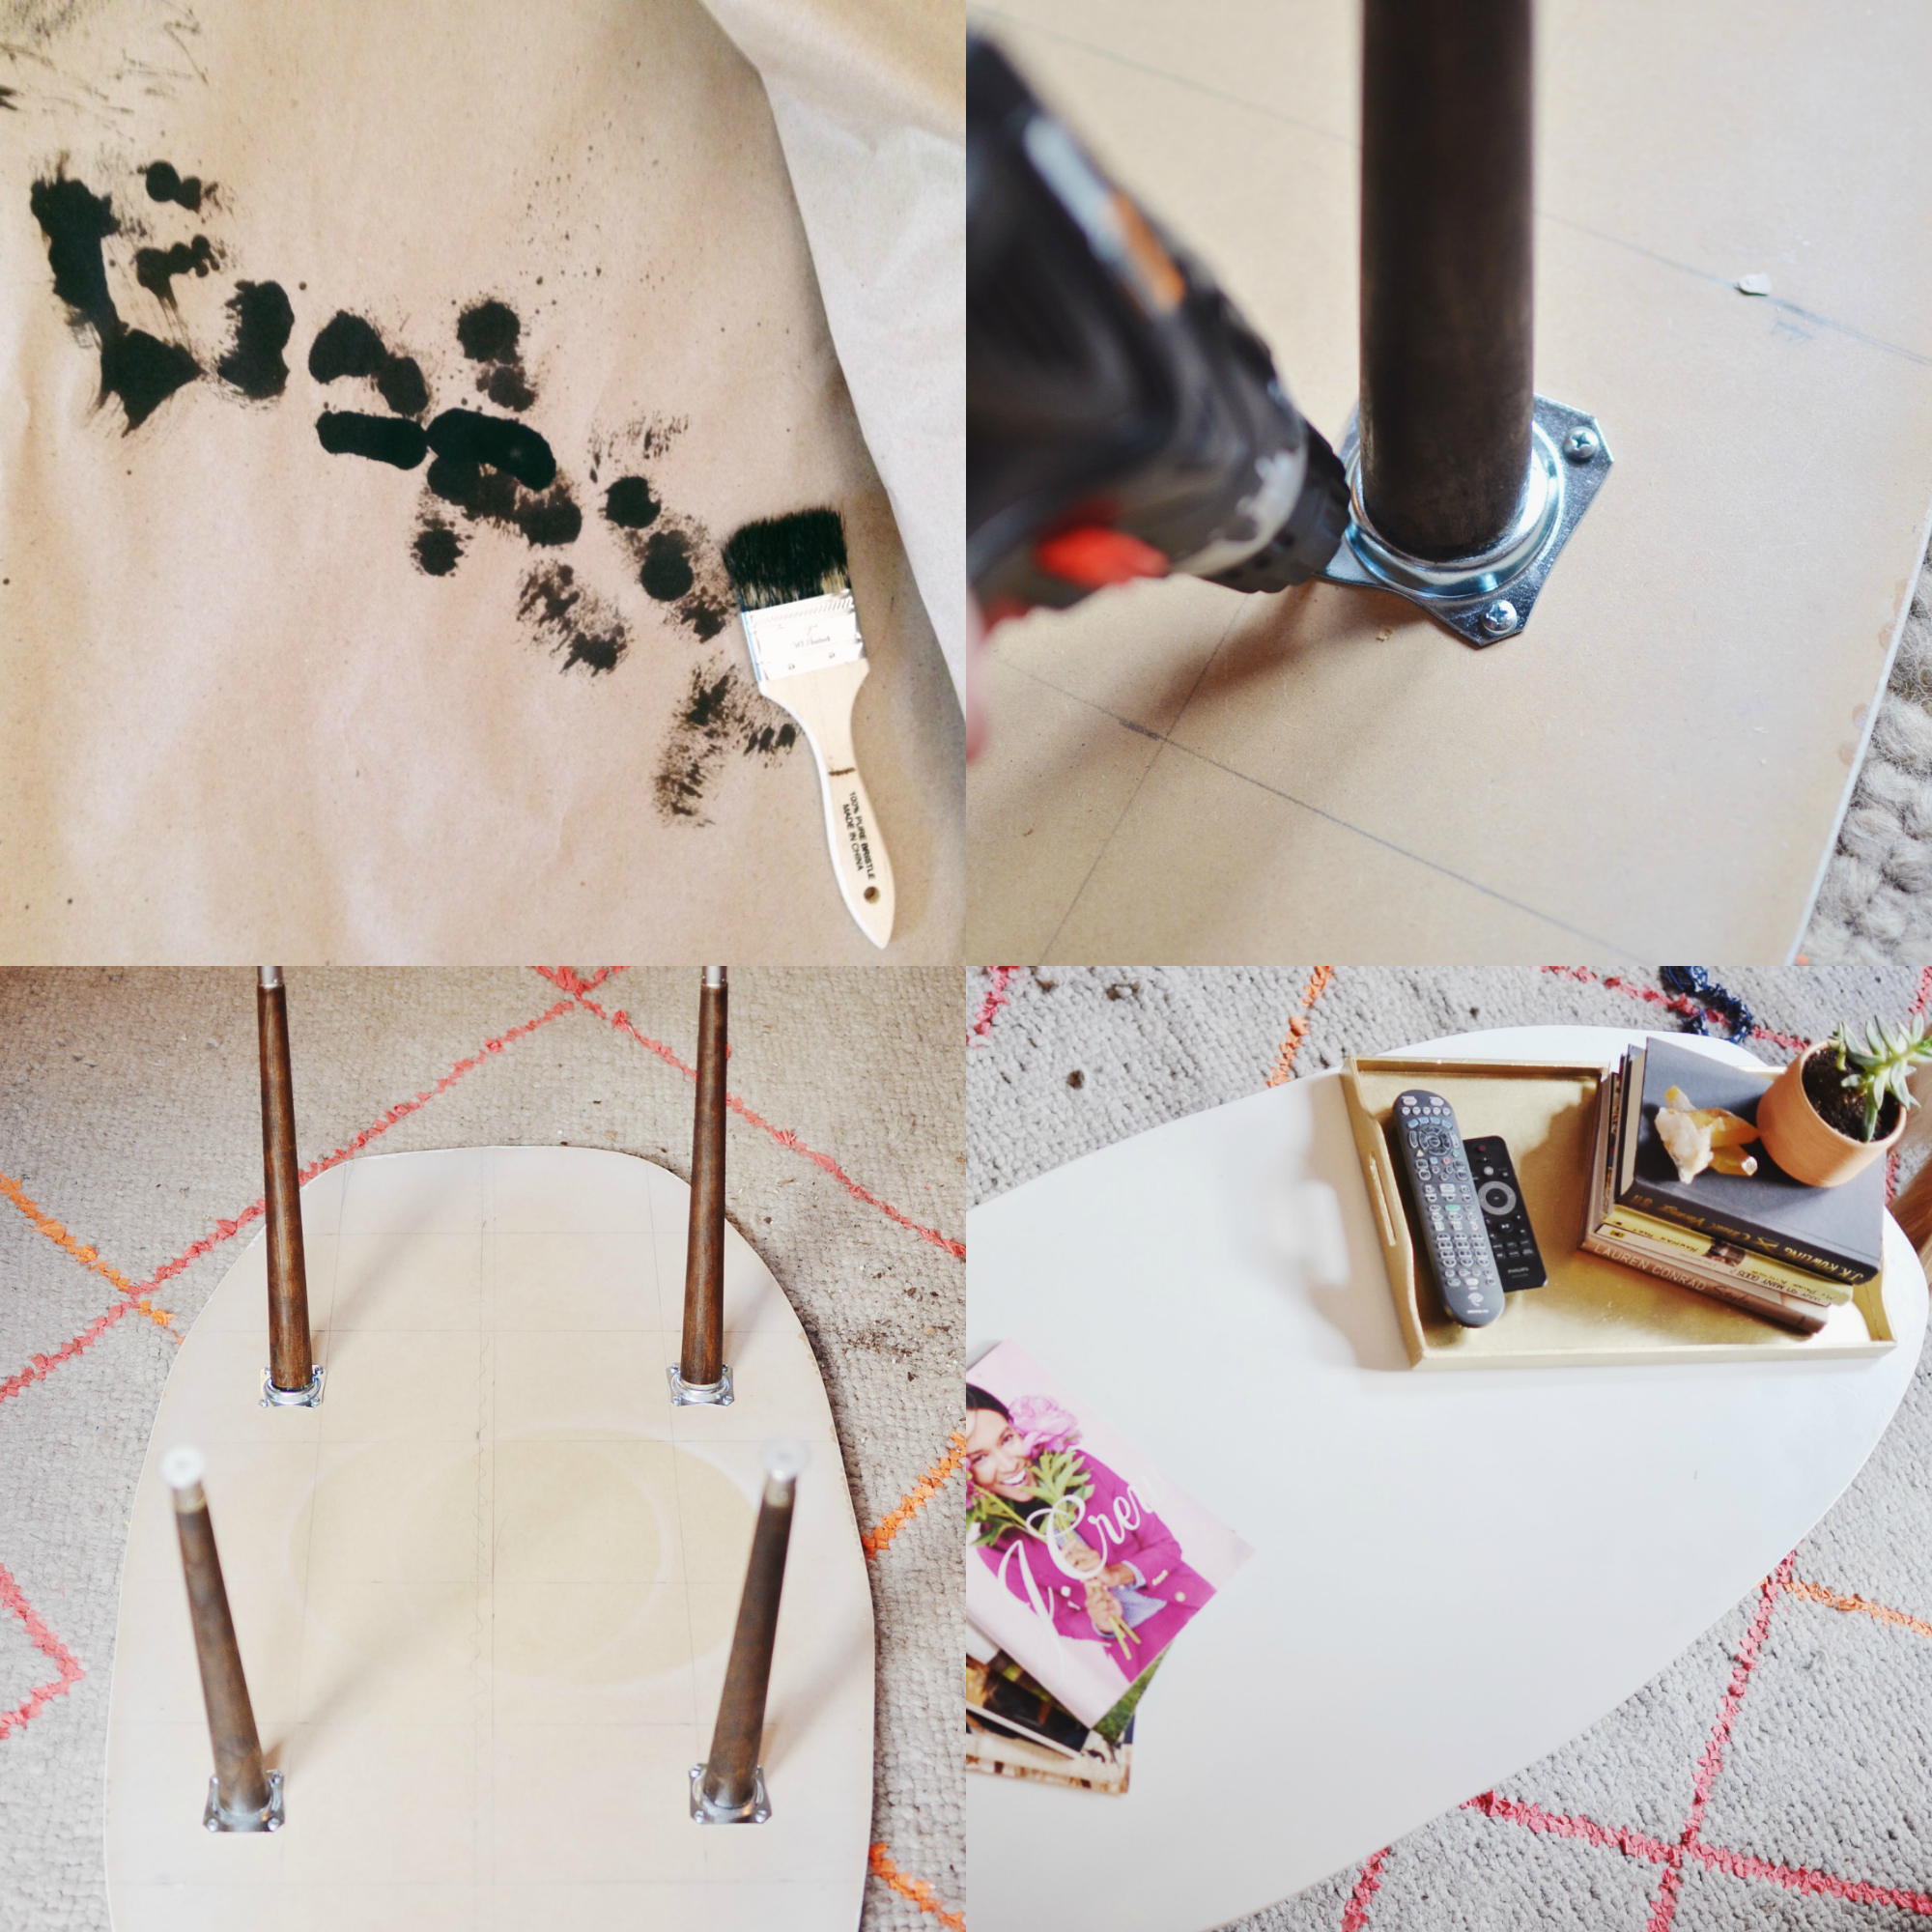
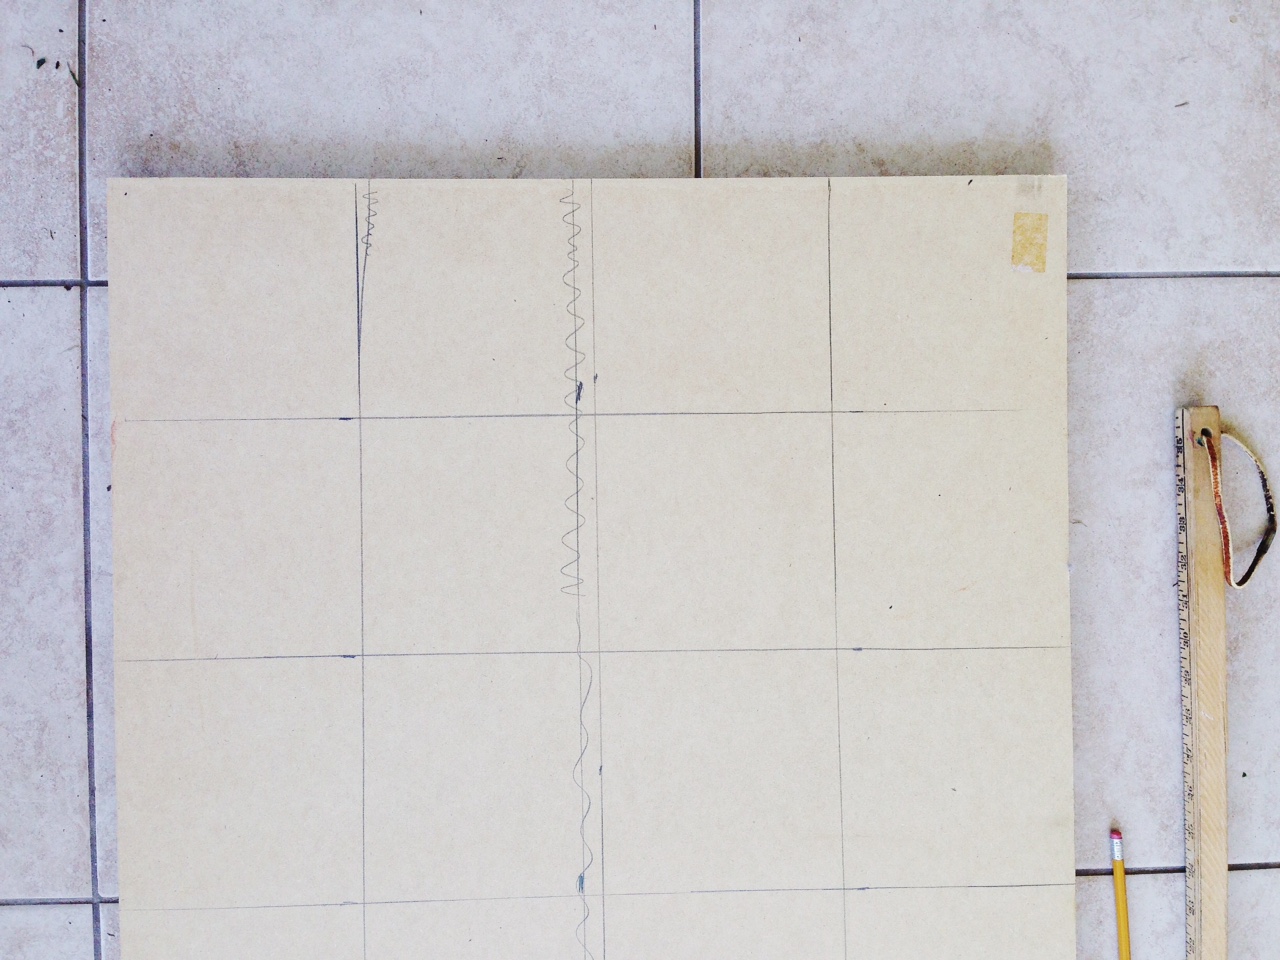
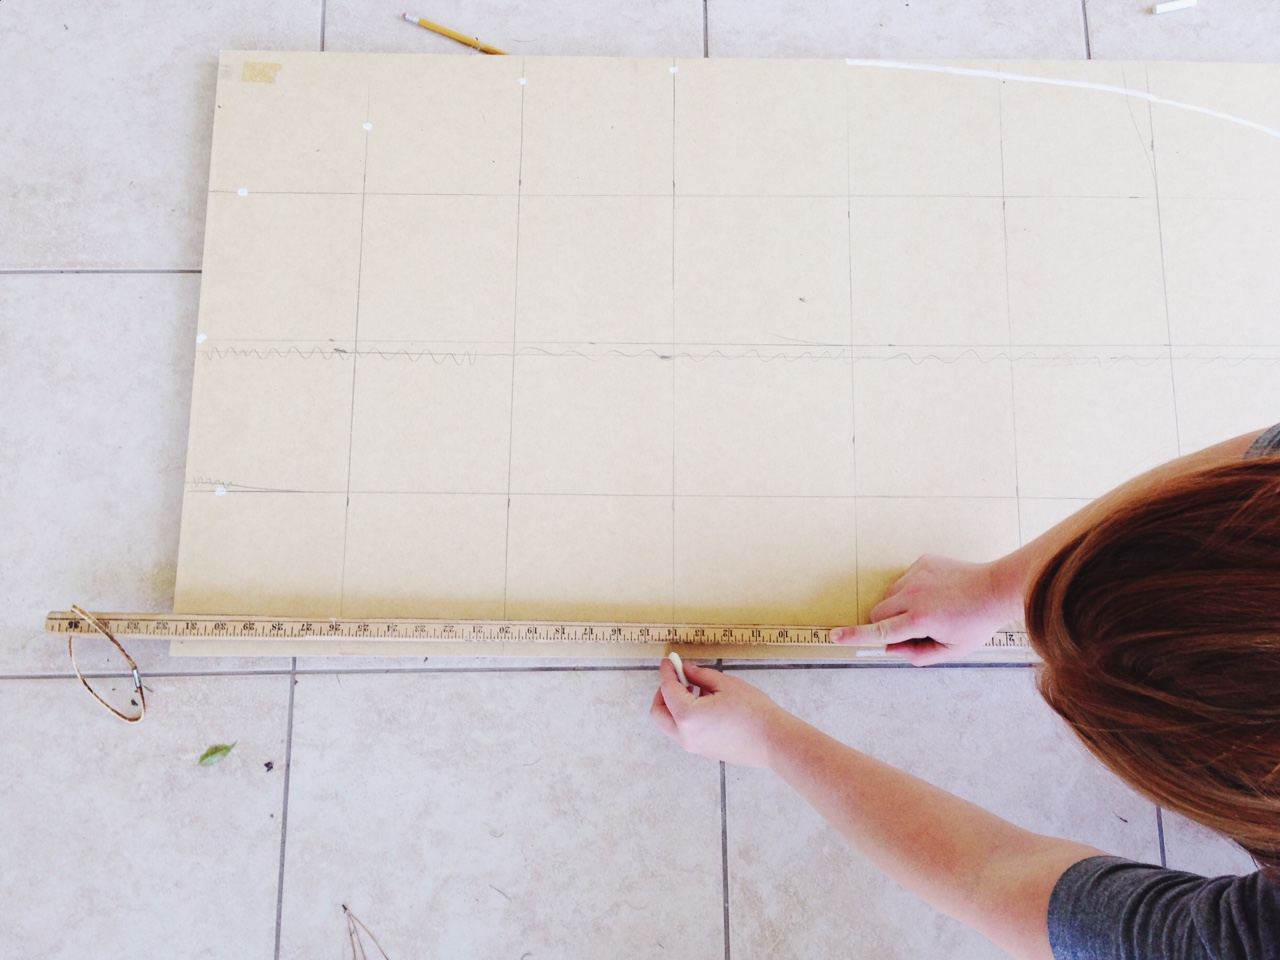
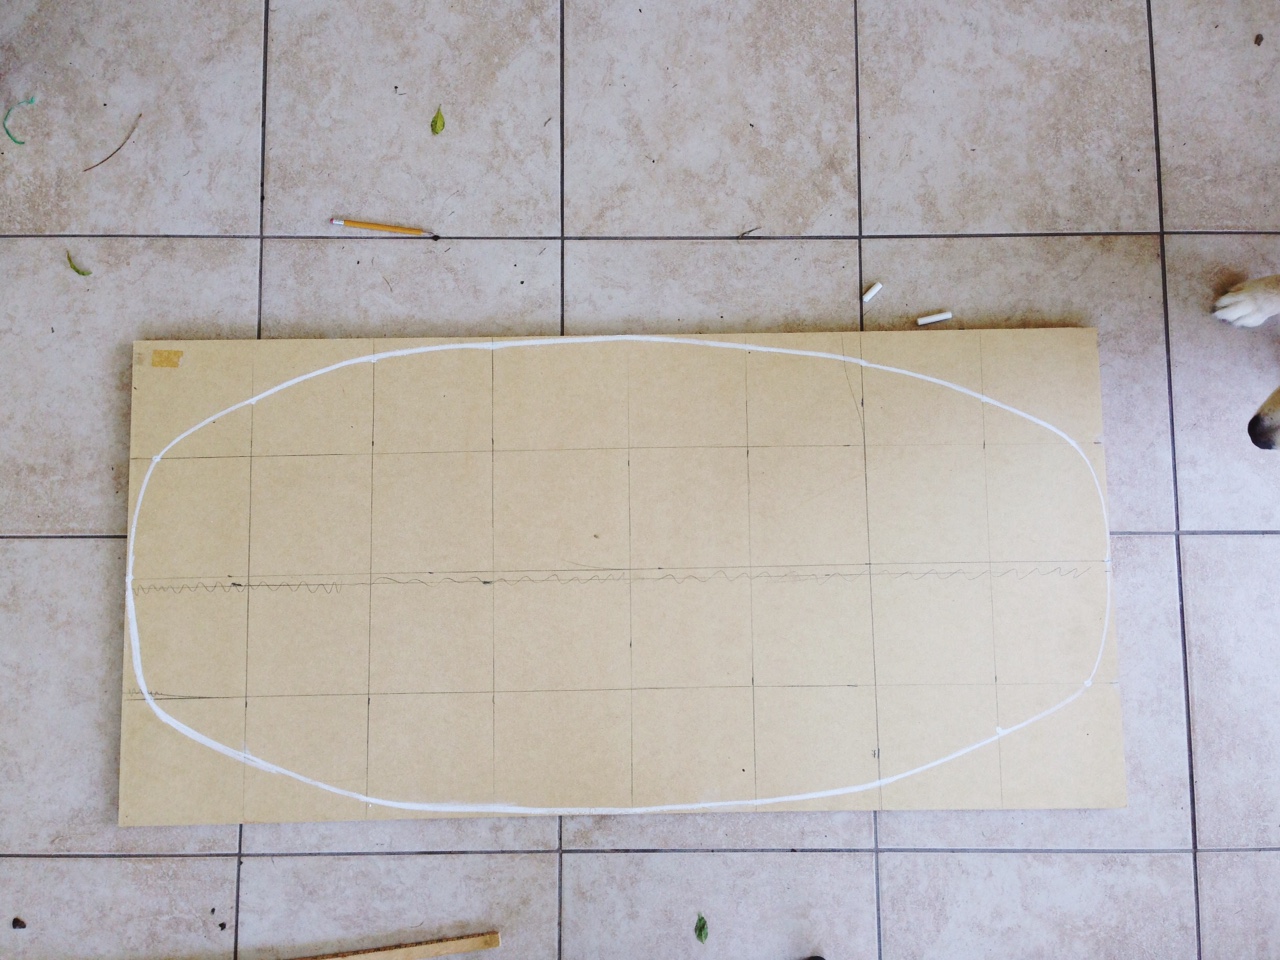
I love that my blog feed here is full of home and apartment renovations lately! I’ve mentioned this before, but it’s my dream to buy and gut a house and start from scratch! Preferably an old baby like the one I live in now. My dream friend, Sarah Rhodes of Arrow and Apple, out in Phoenix renovates homes for a living now with her wood-making husband, Josh. They and their two perfectly adorable desert babies (let it be known my computer wants to correct it to ‘dessert babies.’ I do not want to eat your children, Sarah. Promise.) are livening up Phoenix with wood, concrete and cactus and her feed kills me. I’d snap one of those houses up so fast if I lived out west!

So in an effort to be like Sarah, it is with great pride that I share the beautiful before of my eventual before and after of my 1900s apartment. Try not to drool on yourself too much.

(Psst! See my previous tour here!)

Apartment Before:

Living Room

Before: 1900s apartment

This fireplace is original to the apartment. While it doesn’t work anymore, it’s an incredible feature and I’m so glad it’s been preserved! This is what you see right when you walk in. My apartment actually used to be a house, then it was a duplex, then a four-plex which is what it is now. Amazingly, most of the original features have been kept! The hardwoods, interior doors and doorknobs, windows and trim. It can be difficult to find apartments like this some places. I’m thankful for historical societies that protect these places!

Before: 1900s apartment

Here’s the other side of the living room. The hardwoods are all original and have been redone. They’re in decent shape actually! These windows get gorgeous indirect light and out the two corner windows is a pink crepe myrtle in full bloom. In the afternoon it gives the prettiest dappled light.

Before: 1900s apartment

The living room is a really good size. I can fit my entire family in here and we all have a seat! Something I couldn’t say for my old place. That dark stained door you see is in my bedroom and goes to the balcony which is the size of my old living room! I haven’t gotten a good shot of it just yet, but it’ll be it’s own tour. It’s that big!
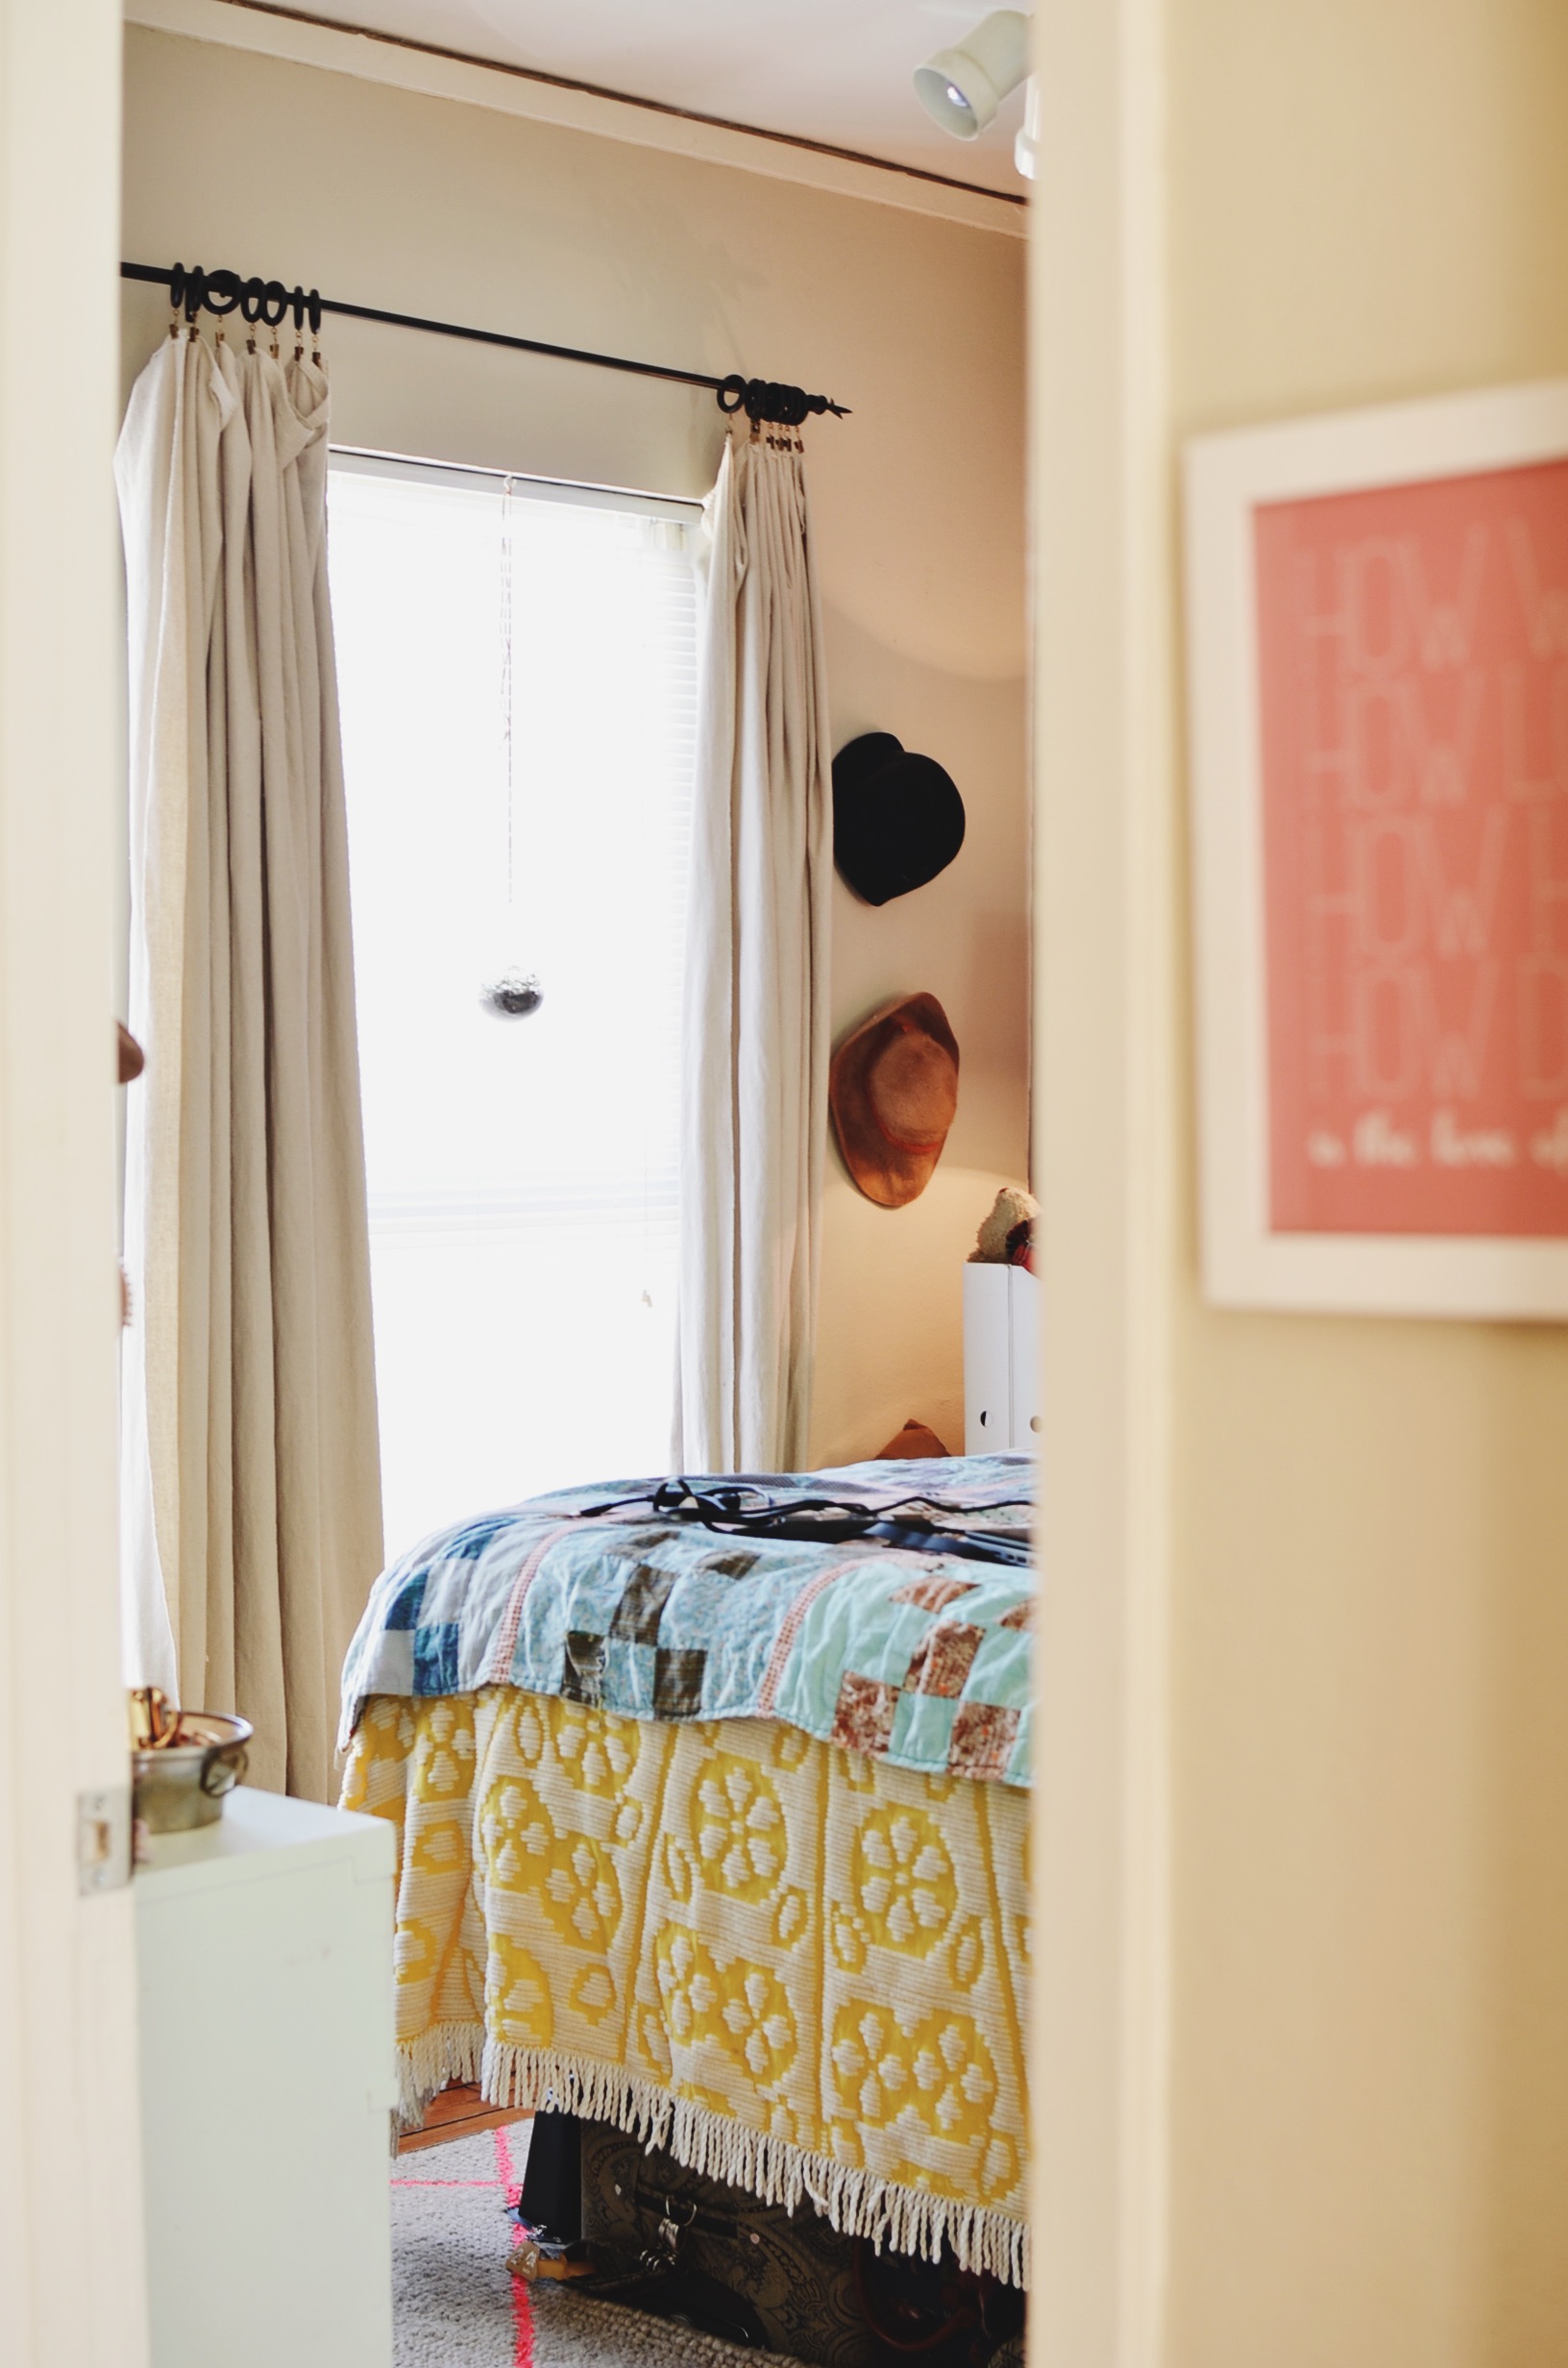
Bedroom

Before: 1900s apartment bedroom

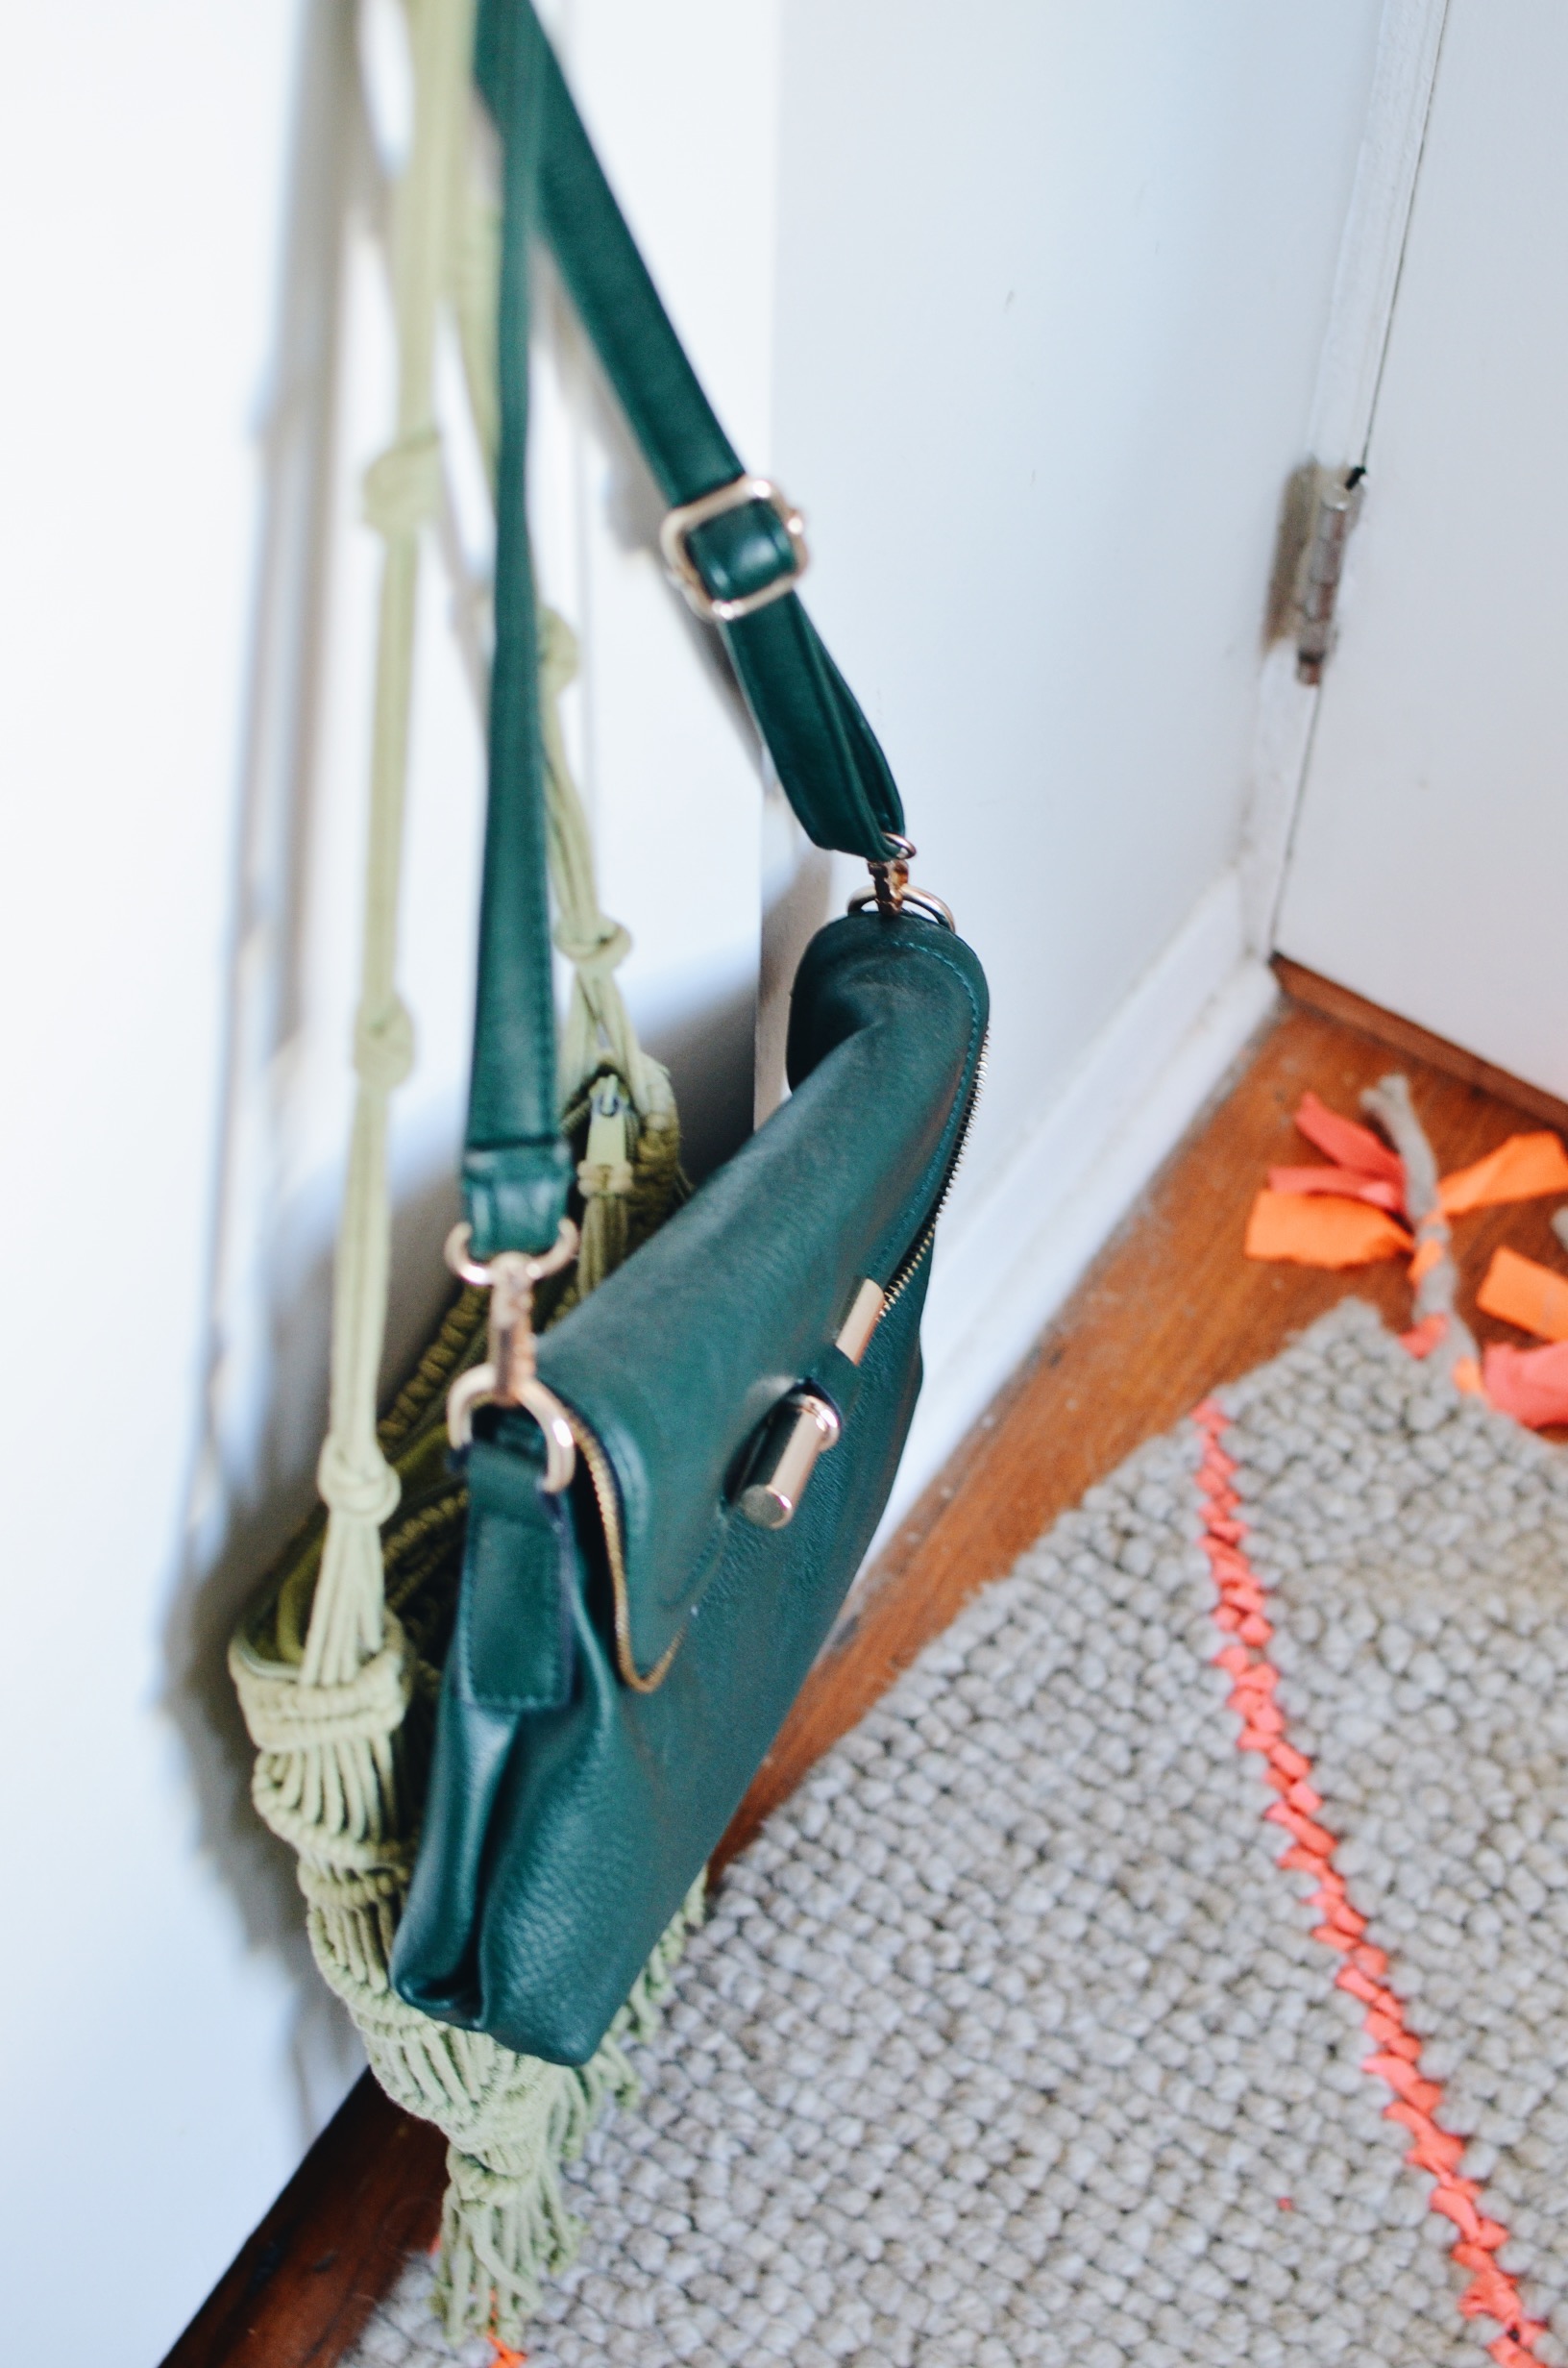
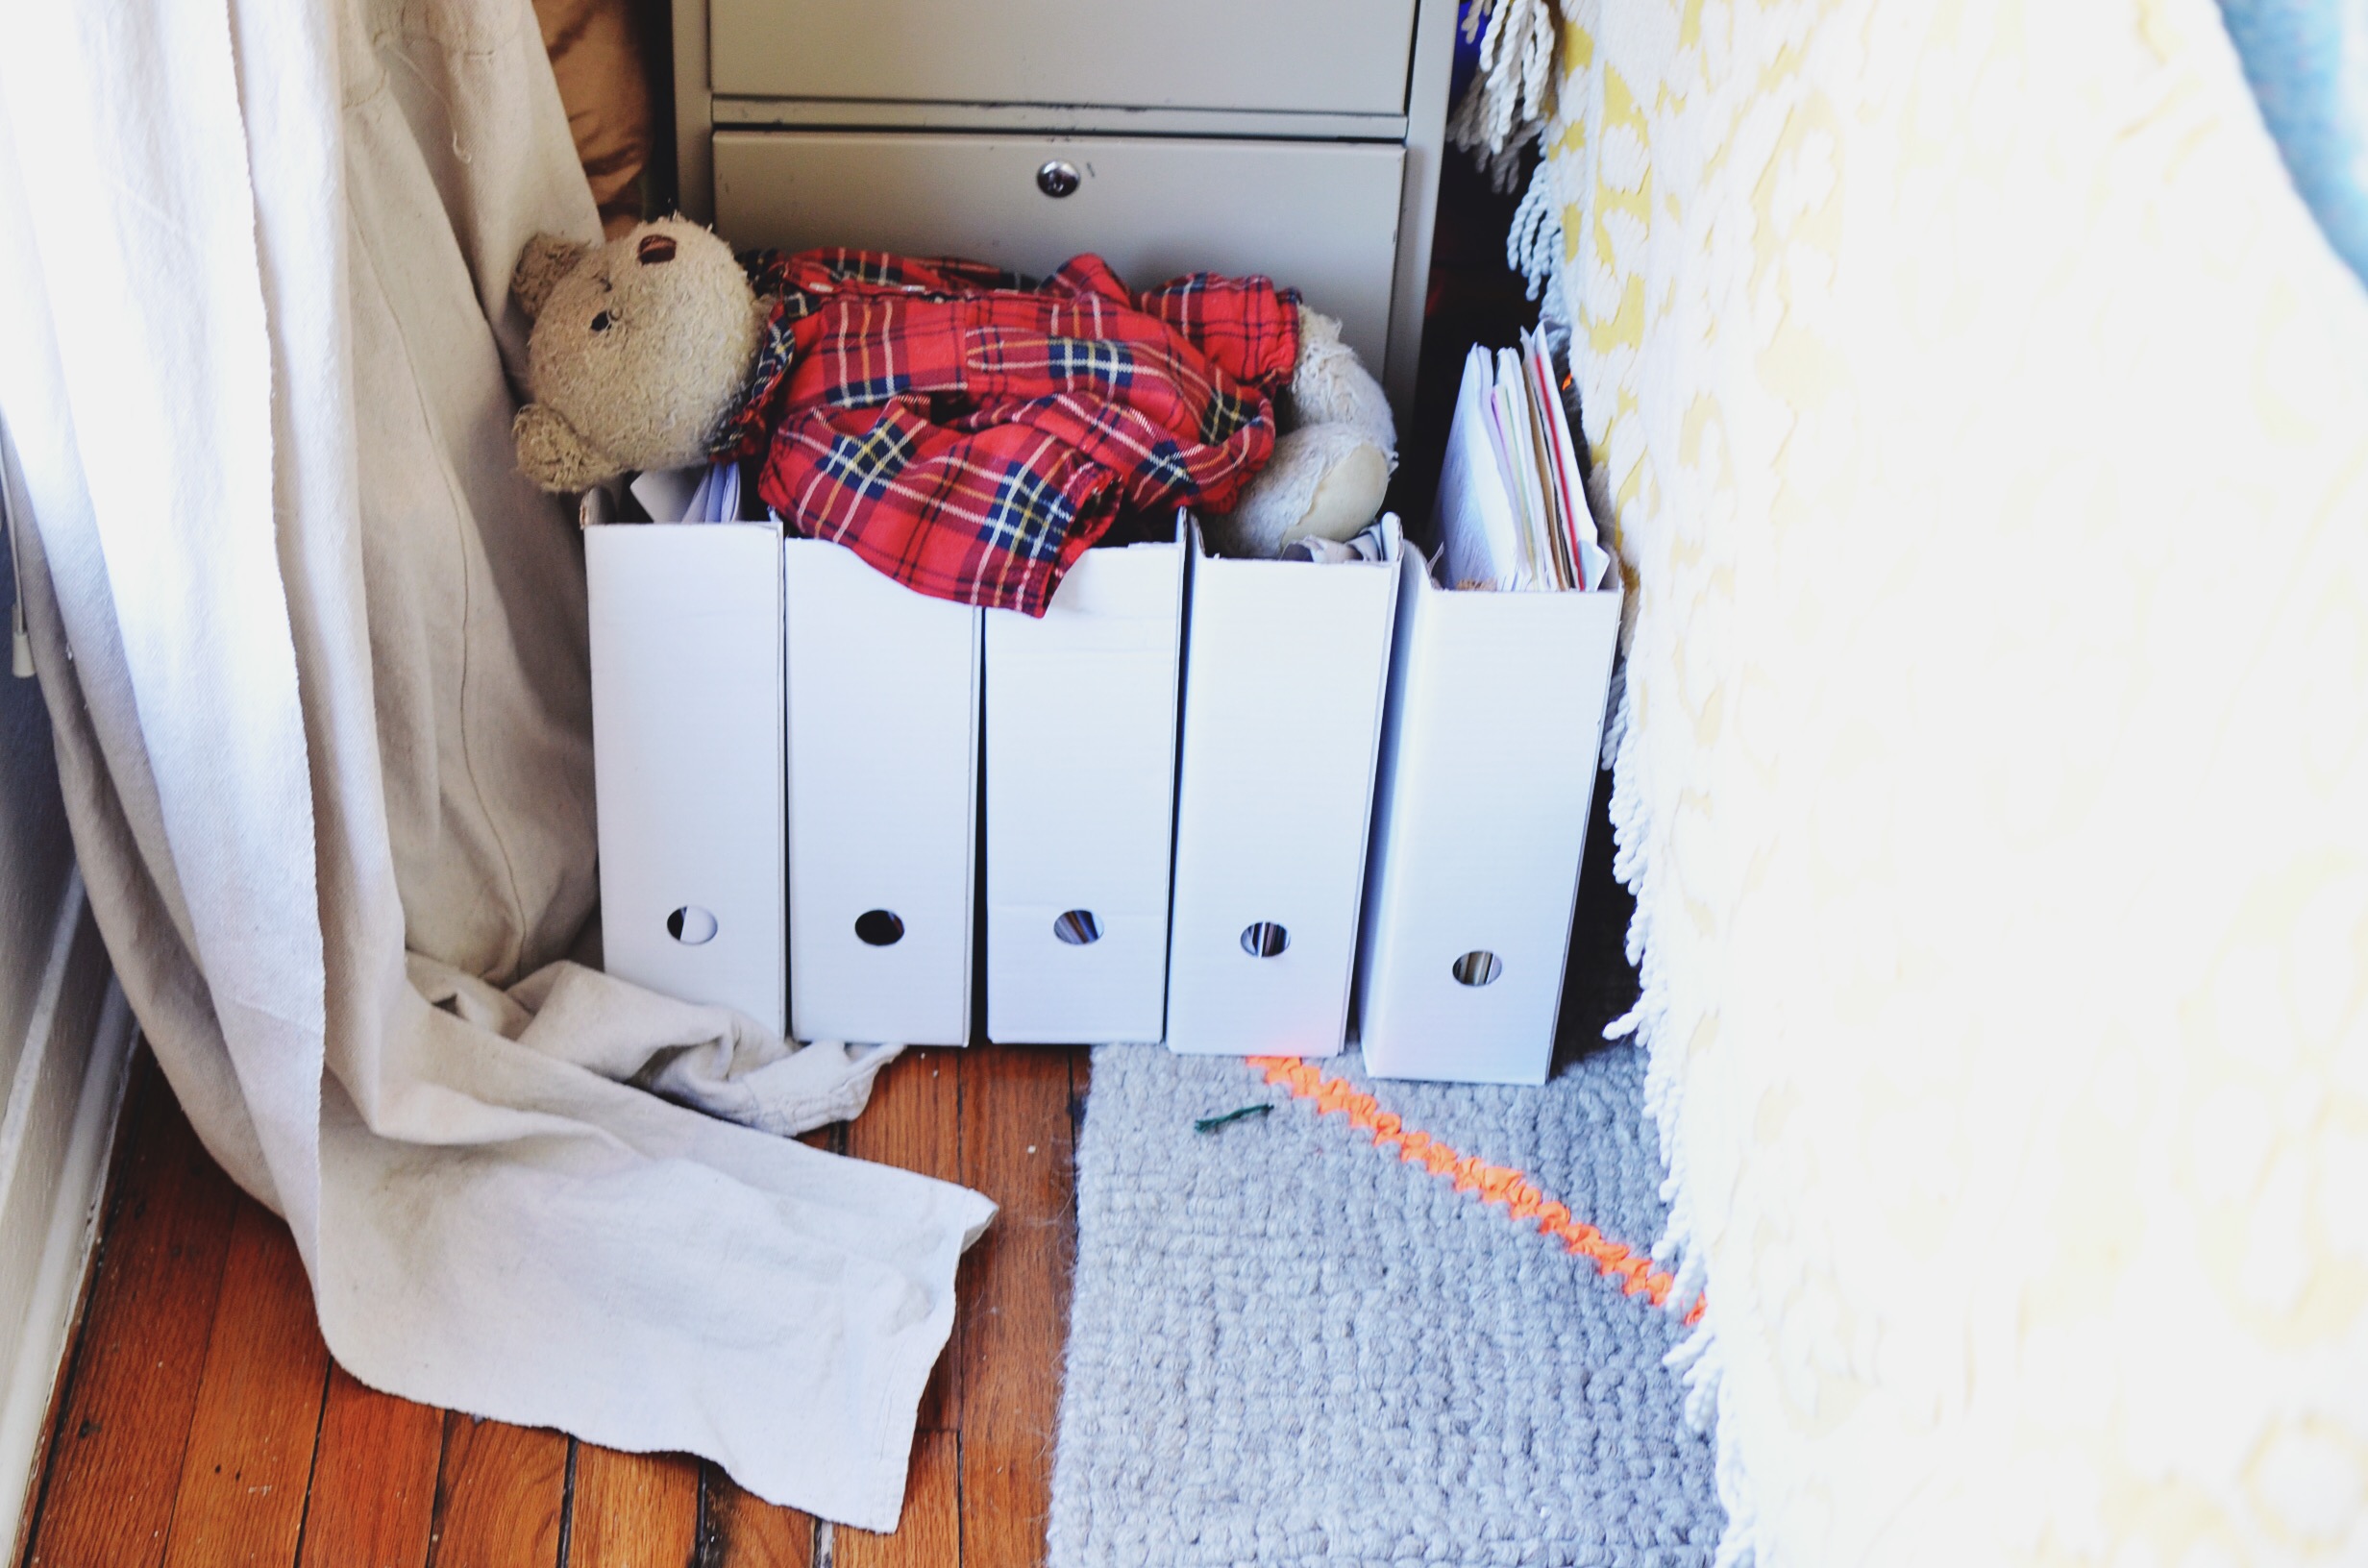
Swing through those little double doors and you get to my bedroom. This shot makes it look a lot smaller than it actually is. I can fit a large mid century desk, a long IKEA dresser and my queen size bed with tons of room to spare! The walk-in closet has two windows and an original bench storage seat that I store my winter stuff in. All the doors and interior knobs are original. I can’t believe I get to live here. What insane luck.

Before: 1900s apartment

The doorknob on the balcony door is sparkly, clear glass. So pretty. The hardwoods in the bedroom could stand a refinish, but since I don’t own this place I’ll pass on that job. Lying in bed at night, I can see straight to the sky through the windows on the door.

Kitchen

Before: 1900s apartment

My landlord told me he and his nephew spent dozens, probably hundreds, of hours sanding down the old linoleum to find this gorgeous original hardwood underneath. They added a fancy dishwasher, a gas stove and the cute stained glass feature above the sink. This kitchen is big enough to hold almost everyone in the Dugger family. Like, no one has to back out butt first so the person at the end of the kitchen can get out like my old place. It was more like the stall a bull is in before he gets ridden in a rodeo than it was a kitchen. THIS is a kitchen. I plan to add a stainless steel island in the middle for extra counter space and to take up all that free space. I feel it will make the space feel more closed in than so open.

Before: 1900s apartment

Swing a little to your right and here’s the door that goes down to the yard. YES. THERE’S A YARD! It’s in really bad shape, though. It’s pretty shaded and bamboo from the neighbors has crept over and all but taken over the soil. When it rains it gets flooded in parts, but crushed granite will be there by the end of the summer to take care of that. I’m looking into grasses that can withstand shade. St. Augustine seems like a good possibility, but what about the bamboo? Would it kill it? I hate bamboo.

Before: 1900s apartment

All the way around again and here is the fridge and where the dryer will go once I buy a set. The washer is just a few feet away in the hallway. Because it’s an old building, there were only ever hookups for a washer. The dryer was added later.

Hallway

Before: 1900s apartment

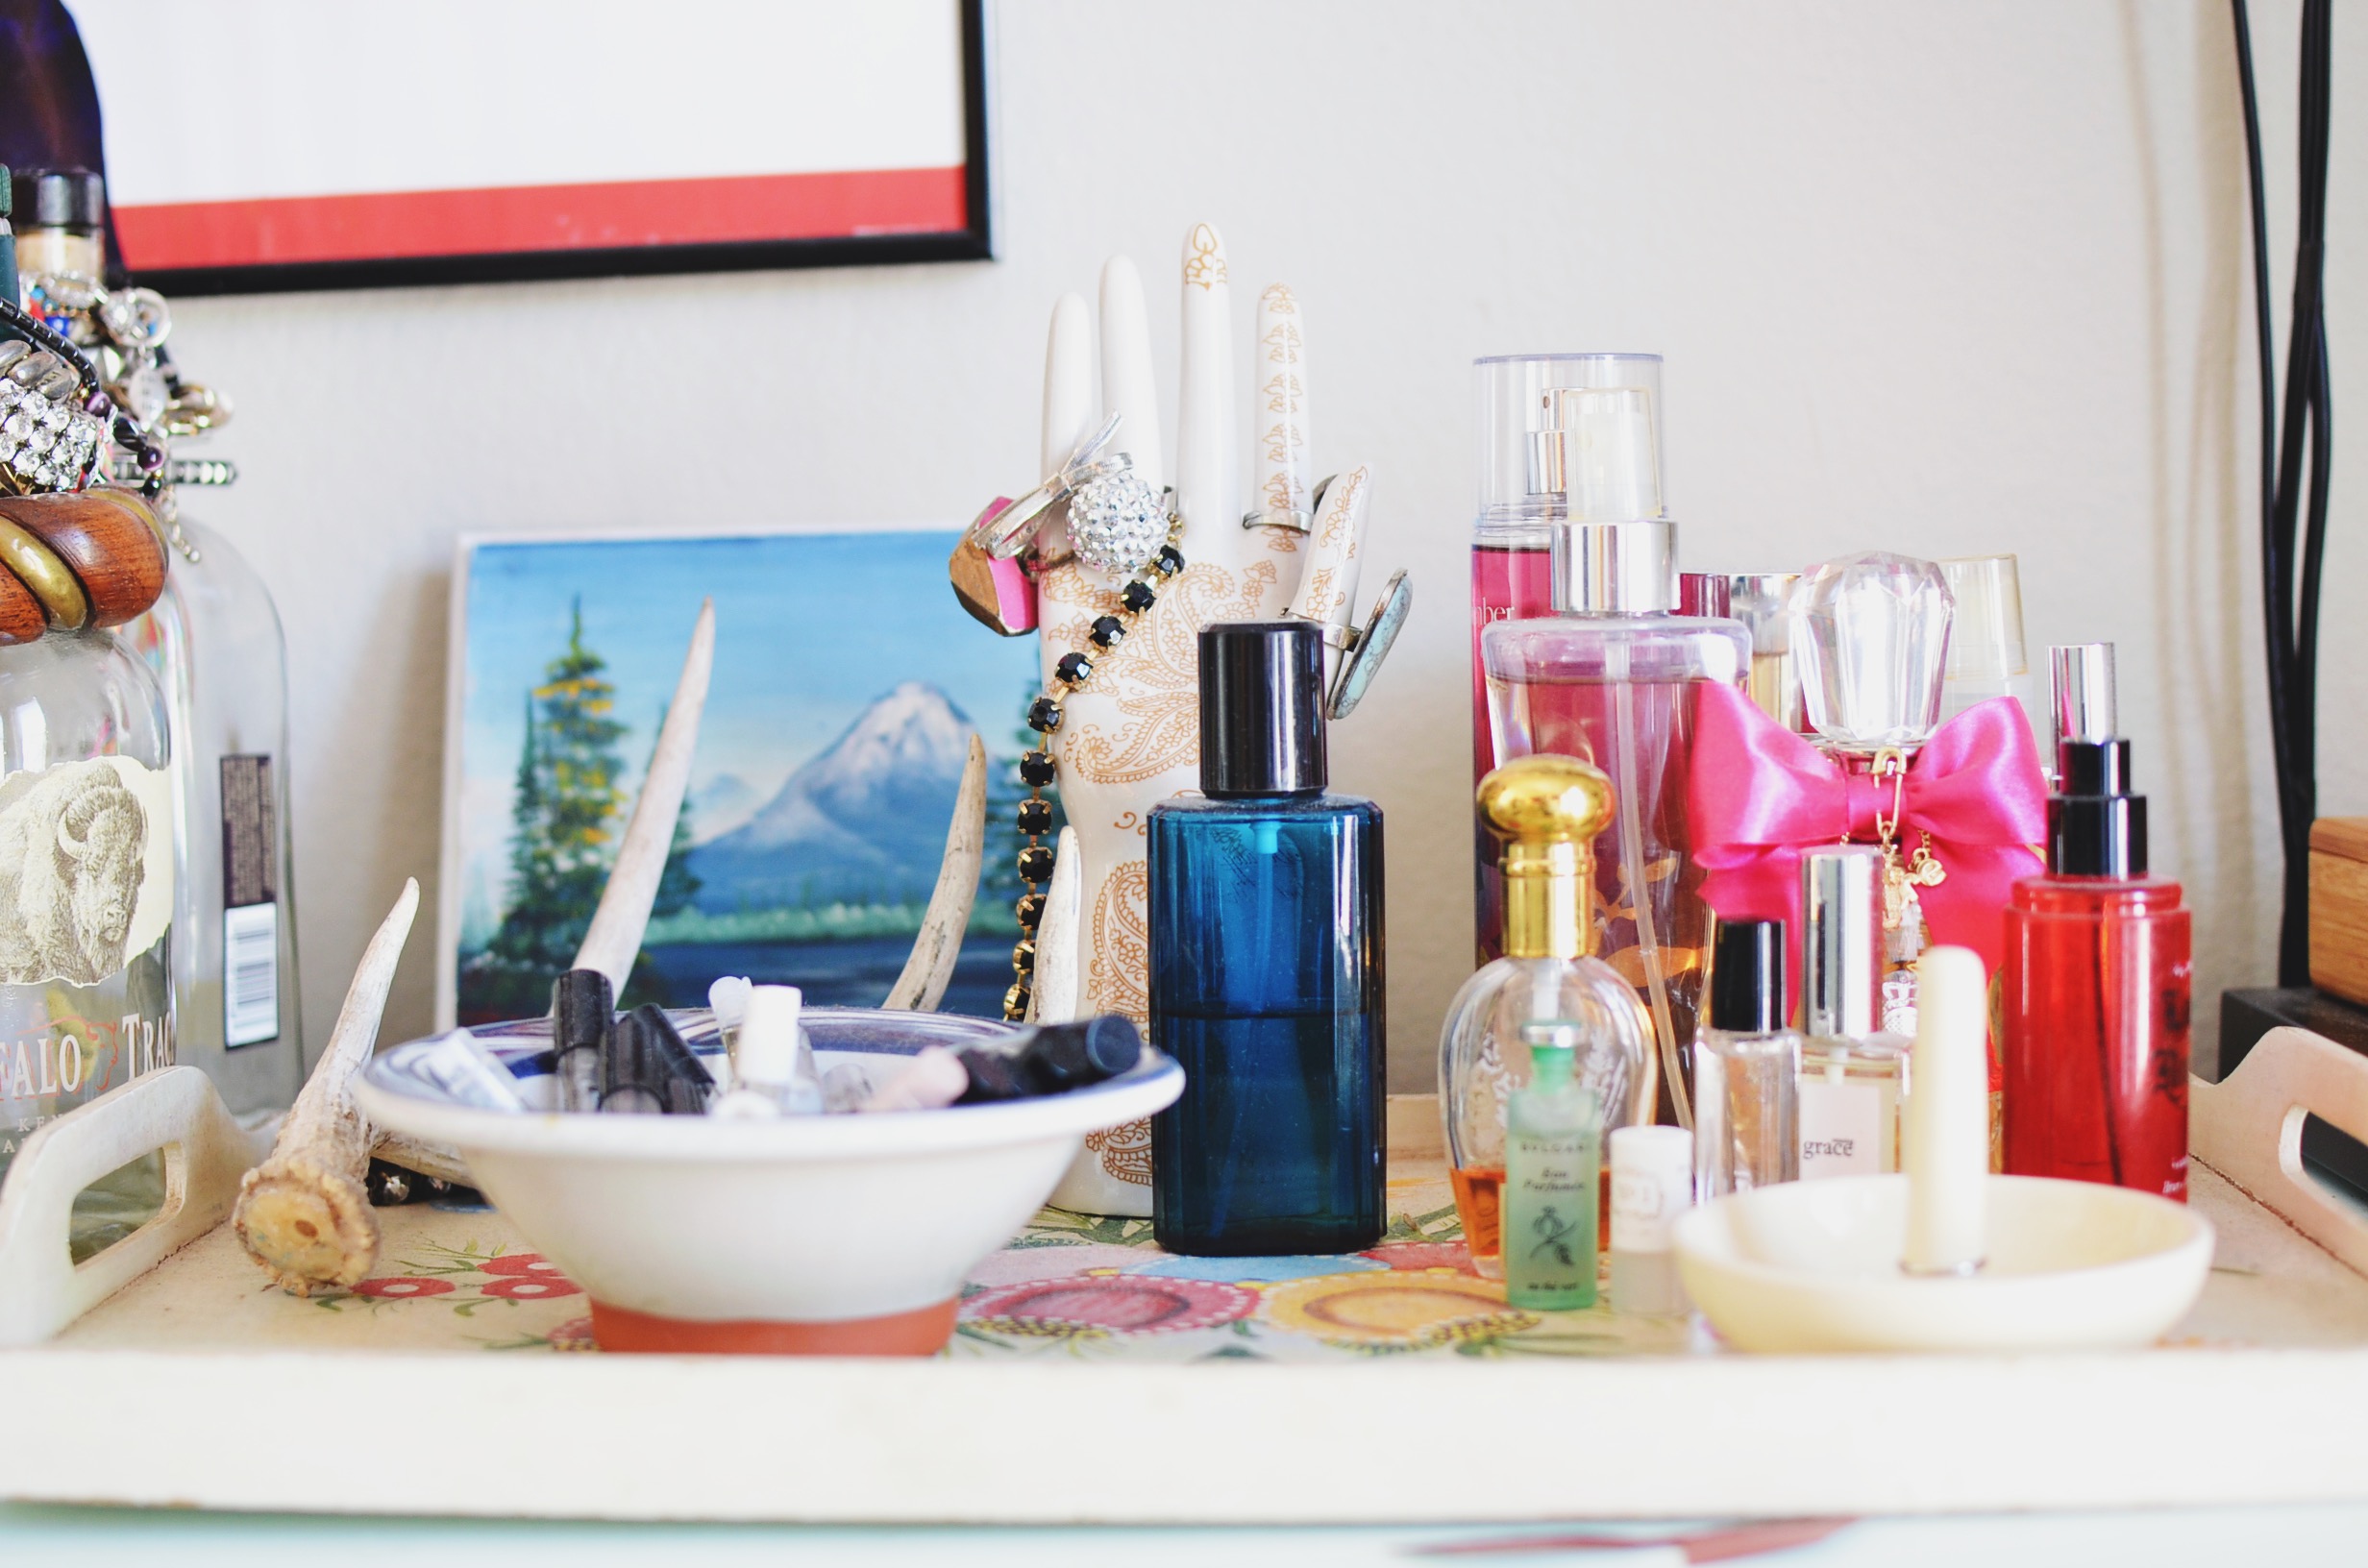
Here’s the hallway off of the kitchen. See that nook to the right? That’s where the washer goes. There are cabinets up above that provide a lot of extra storage for this craft lovin’ (dog) mama. I plan to add some neat hook storage on the far right side of the hallway for my novelty bags. On the left I plan to add some kind of pattern. I was thinking small black cactus? The whole apartment will likely be white at some point this year, so keep that in mind!

Bathroom

Before: 1900s apartment

The bathroom. Oh! The bathroom. That tile. The original hardware on the closet door. The light. Ugh. It’s sickening how gorgeous it is in here! There weren’t any outlets when I moved in, bizarrely enough, but I’m having an electrician come out to add at least one. I’d love at least two in here but since my landlord doesn’t currently have a sheetrock person I’ll settle for one for now. I like the light blue color. It looks beautiful in the natural light, but I’m all for a new paint color. What would you do in here?

And that’s it! This is just the before. I have some ideas already, but there is just so much more space in here than my old place that my want for more shelves just isn’t needed. That means I get to fill up the walls with ART! Wahoo! Point me in the direction of some of your favorite pieces because that hallway is begging for some brightly colored art!

Stay tuned for the progress reports!

xx

D*EYE*Y Painted Statement Wall

D*EYE*Y

Since painting my entire apartment white, I’ve been craving more statements. I love the consistent white throughout the space. Everything is so much brighter and cleaner! But as hard as I tried to keep everything minimal, I just couldn’t. I needed a punch on a wall somewhere! SPOILER ALERT: I put a lot of punches in a lot of places, but you’ll have to stay tuned for my upcoming dramatic apartment tour reveal!

If you’re looking for a weird statement wall idea, check out what I did!

SUPPLIES:

-pencil
-black craft paint
-thin paintbrush


D*EYE*Y

Since my ceilings are pretty high and everything else in the surrounding rooms is still solid white, I decided to go with a medium sized eye. You could easily make a stencil for this (check out this post for a much more precise way of doing it!) but I decided to freehand it with a pencil!

D*EYE*Y

Stencil and pencil away! I tried using a wide-tipped black permanent marker, but my walls are much too textured for any lines to be drawn smoothly. I opted for a thin paintbrush and black craft paint. The end result?

D*EYE*YD*EYE*Y D*EYE*YD*EYE*Y


Obviously there are three on the top right that could use some extra paint. I at least traced them out in the hopes I’ll make it to the craft store for another bottle of black paint!

What do you think? Would you try something this bold in your house? Eye love the way it turned out. Makes me feel like I’m getting side-eyed every time I come home. 🙂


xx

My DIY Mid Century Coffee Table for Under $60

DIY Mid Century Coffee Table

I am SO EXCITED about this post! I haven’t posted a DIY in probably years so I decided to make it a big one!

On a whim several weeks ago I sold my coffee table on Craigslist. It sold in less than 36 hours so I knew my brain was cooking up a scheme. I scoured the internet for a deal on a replacement coffee table and while I found a couple, I really just wanted a project. Everything I saw I liked, but I knew I’d be more satisfied if I made it myself. Besides, who doesn’t want something custom built for their space? After coming up with words for what I was picturing in my head (mid century, modern, DIY, surfboart), I found dozens of mid century DIY tables! I read several but kept coming back to this one. (It’s so cool to see women on the internet build stuff. Makes me proud to be a girl.)

This project cannot be simpler. Really the hardest part is drawing out your shape! See how we made my mid century coffee table below!

SUPPLIES NEEDED:

-piece of wood big enough to cut your desired shape out of (mine was MDF, 48″ x 24″ x 1″. Feel free to use plywood, but be prepared to sand away more splintered edges.) $12.98
-four 16″ wooden tapered legs $4.89/leg
-stain for legs (I used Minwax in Jacobean$4.78
-four angled leg plates $1.98/plate
-cheap brush or old rag for stain $1-2
-jigsaw (I borrowed my dad’s)
-coarse and fine sandpaper with or without a belt sander, dealer’s choice
-paint for table top (I used two cans of high gloss white spray paint$5.88/can
-gloss clear coat (optional)
-an extra set of hands (Target sometimes has these on sale, but I’d recommend using a real person) $FREE 
*the price of $60 does not include the sandpaper, jigsaw, or the optional gloss clear coat.

DIY Mid Century Coffee Table DIY Mid Century Coffee Table

STEP ONE:

I wanted a long, surfboard type shape to keep with the mid century design. The tutorial I linked to has this awesome jelly bean shape, but I don’t have enough space for a really wide table in my space. This was the best option for me. My tip? Measure, measure measure. Try to imagine as clearly as possible what shape would look best in your space. I chose the rounded ends to balance all of the rectangular shapes and tables in my place, but you could just as easily keep the wood like this, paint/stain it and slap some legs on and be done! (PRO TIP: make sure whatever wood you buy will fit in your Honda Civic to avoid parking lot meltdowns about “not knowing anyone in Dallas still after a year” and “having no friends with SUVs or trucks.” Save yourself the embarrassment.)
To get this surfboard shape, my mom and I made a grid on the ‘bottom’ of the wood. Since my piece was 48″ x 24″, we made squares 6″ x 6″ with a pencil and a yard stick. We ended up with 4×8 squares.
Grid marks

STEP TWO:

Now that the grids are drawn, this makes it easier to trace out the surfboard shape. This part is best to do with chalk. It’s easier to wipe away when you make a mistake. And you will make a mistake. Trust me. Unless you are infallible, in that case, congratulations! What’s that like?

I started by freehanding one half of the table by choosing sections of the grid to place dots that mapped out my shape. When I liked the overall look, I connected the dots. To mirror the other side, you could either cut that side out and use the cutout to lay on the opposite side and just trace, or, like I did, use the yardstick and put one end on the dot already traced and mirror that dot on the other end of the yardstick. See below:
If you are really particular, you could use a protractor to curve the lines. I’m not really particular.
Tracing out the shape Complete shape!Ginger baby

STEP THREE:

Cut out your shape! Or watch your dad do it for you.
We cut on the outside of the chalk line to keep it as smooth and uniform as possible. This just depends on which side of your line is the most even. I bolded out the outside of the line to make it easier on the person using the saw. i.e.; not me.
Also, it helps to have a partner holding a fan to blow away the sawdust. Or so I hear. *cutest couple award*


STEP FOUR:

The final (rough) shape! MDF cuts pretty smoothly, but there were some small protrusions that needed to be sanded down. Now is the opportunity to round out the edges as well. I HIGHLY recommend using a belt sander. It’s much, much faster and you won’t start a fire in your hands what with all the friction. We started out with coarse sandpaper and finished it off with the fine. This worked really well for us.
PS. Here’s the part where you need that extra set of hands to hold the board for you.

THE FINAL SHAPE!Sandpaper Beltsander

STEP FIVE:

Stain your legs and paint your top! Do the staining outside or over a large dropcloth covered area. Luckily, my headboard had just been delivered so I used the giant box it came in to sit and stain. I only needed one coat of stain, but depending on your depth of stain it could take two or three. If you’re not impatient like me, leave this outside to dry overnight. Spoiler alert! I did not.
My MDF board needed several coats of paint because the edges were soaking it up like crazy. I don’t imagine plywood would be as difficult since it’s actual wood, but be mindful of how much paint you’ll need. I used two full cans of white gloss paint and used fine sandpaper to smooth it out between coats. This step is small, but very important!
OPTIONAL: Coat with a clear gloss coat. I chose to do this just to add an extra layer of protection because I use my coffee table a lot for eating and drinking and needed that extra layer! #foreveralone
Staining Stained legs

STEP SIX:

Attach your leg plates. Make sure that the screws included with the leg plates are short enough as to not bust through the top of your table when attached. If they’re too long, just add a thin piece of wood between the tabletop and the plate.
Since I got four legs, I used the grids we’d drawn out before to map out where to place the legs evenly. Pay attention to the direction the angled plates are facing! You don’t want those legs turned inward. Be sure to screw the plates in tight, otherwise the table will be wobbly. Pro Tip: Maybe let your drill actually charge for more than ten minutes before you try just doing this with a screwdriver.

DIY Mid Century Coffee Table DIY Mid Century Coffee Table

STEP SEVEN:

Attach the legs. These Waddell legs come with a screw in the top that easily attaches to the plate. Screw ’em in tight!

DIY Mid Century Coffee Table

STEP EIGHT:

Flip your baby over and marvel at your handiwork. #dogs #dogtoys

DIY Mid Century Coffee Table DIY Mid Century Coffee Table DIY Mid Century Coffee Table DIY Mid Century Coffee Table DIY Mid Century Coffee Table

Congratulations! You made a mid century coffee table! If you want something taller or shorter or a different size, all you need to do is get a different sized piece of wood, and shorter or taller legs. It’s the easiest DIY man has ever invented. Let me know if you decide to make one! This was a really fun project and I’m in LOVE with the final outcome!


xx

Apartment Tour! Bedroom

I feel like this bedroom is only marginally bigger than the one I lived in at my parents place. But! Hardwoods! 8 foot ceilings! Big windows! I updated to a queen size bed when I moved (ballin’.) so that takes up most of the room. But here’s how I laid everything out!

Peek into the bedroom from the hall.Here’s the view from the “hall.” AKA, where the bathroom, bedroom, and linen closet doors collide. For the warmer months I am LOVING this chenille blanket + quilt combo. Keeps me warm enough without needing to kick them off in the night. Texas summers are REAL. West Elm rug!This is the West Elm rug I mentioned in my rug ideas post a couple days ago. It’s thick, fuzzy and soft but sheds like crazy. Thanks, wool! I think I’ve decided to move this one into the living room since it’s the size I want and purchase the black and white one from IKEA. Saving that $$$! Thoughts? Texas pride.I love this quilt! It’s another score from my aunt’s antique shop in downtown Gladewater, TX. (Country Girl Collection!) That chevron pillow cover is from H&M. Did you know they have house stuff!? Reasonably priced, adorable house stuff. I’m a big fan of their pillow covers. That Texas flag? Yeah. It’s humongous. It was hiding in the back of my parents closet! It flew for a while in front of my dad’s work and dad (graciously) took it when they retired it. Way to take one for the team, dad. That milkglass lamp is a super cool Goodwill find, I think. was my grandmother’s! The salt lamp is $19 at Walmart. Don’t let Urban Outfitters screw you out of $20. Get it at Walmart.

Mirror!I’ve had this mirror forever. It’s incredibly heavy and only hangs in this orientation for some reason? That brass lamp was $9 at goodwill! The red nightstand you see peeking out is a campaign dresser from Canton Trade Days years ago. It needs a new coat of paint and updated hardware, but I can’t wait to see it come back to life. Kleenexes are from Target.


Mood lighting.Hi. My name is Melody and I'm a jewelry hoarder.Also a sunglasses hoarder.Hi, my name is Melody and I’m a jewelry hoarder. (Largely due to my employment at Gaudy Me + Dressin’ Gaudy.) A couple of years ago, my parents found this old mannequin bust and gifted it to me for Christmas. I LOVE IT. It houses my bulkier necklaces and temporarily that (sweet) Goodwill hat.

Dresser set upFragrance hoarder, too.Drawer pullsI’ve had this dresser FOREVER. It’s incredibly heavy and it’s nearly taken off a toe or finger many a time. I’ll replace it someday, but for now it’ll do. I updated it to this (very) light minty color and added drawer pulls (again) from my aunt’s antique shop. I think I’d like to either repaint it or stain it, a huge project unfit for my 3×5 patio. But I’d honestly replace it before I did that, I think. I’d like to keep all of my appendages.

Whiskey + JewelryHello.My mom had the genius idea of storing my bracelets on dad’s whiskey bottles. Out of sight there’s an old Tazo tea box from a set I bought my sister for Christmas one year where all my earrings live. It has six individual compartments so I can separate them by size and kind.

Chucks + rug tassels.Couple of thrifted bags.Purple dressDropcloth curtains!My mom bought me these dropcloth curtains as a genius idea for my whole apartment. They’re 6×9 and keep out plenty of heat in the summer. I’m planning on bleaching or dying them and adding fabric or something to help them pop off the wall.


And in case you think I’ve got a place for everything…

pants.Pants in a pile on the floor with no home.

denim.All my denim hanging on the wall. I hate it.

files.Oh and all my files on the floor. At least they’re organized. (They’re not in that filing cabinet because I’m replacing it, in case you thought I was a huge idiot.)

Still to do:

-Swap rug for IKEA one
-Add hanging storage beside mirror
-Buy throw pillow covers for bed
-Paint campaign nightstand
-Add more storage for denim + pants
-Update dropcloth curtains
-Clean out closet. Again.


And there it is. The bedroom! What do we think? It’s a hot mess, I know. I’ve got plans to make it more cohesive, I swear! But I love it. Mismatching is my jam. What would you do in here? What do you think?


xx


How To Spray Paint in an Apartment

Look, we DIYers love that spray paint. I’m a huge fan of the flat matte by Valspar, especially their black and white. Yum. But living in an apartment limits the projects I can do. Like, staining a medium to large piece of furniture or dying fabric in a washer. (I share a half-size stacked washer dryer with three other units.) But! There is a way to spray paint on a patio! This is especially helpful if you live in a high-rise or have nowhere else to go.

I’ve had this basic floor lamp for about five years. It’s always been black and I never painted it or tried updating it. I did, however, DIY a metallic gold chevron lampshade for it! (Apparently that post has disappeared?! Just trust me.) I debated whether or not I should set up by the dumpster or invade the little corner lot space by a neighboring unit. Instead, this is how to spray paint in an apartment!

spray paintFirst, collect any newspaper or weekly sales flyers. For some reason, I get, like, six grocery store’s sales every week. I’ve started saving them for painting projects. Tape them all over any surface you don’t want paint flying onto. It was pretty windy the day I did this so I took extra precautions and taped higher than I would’ve normally.

Spray paint

Second, cover your bases! Make sure you put something heavy on the corners, and if they’re separate pieces like mine where, tape them together so they don’t go flying up in the middle of a spray and paint hits the ground. Before...

Before…

After!

After! What wonders a coat of paint does.

I had planned on stripping the skinny barrel shade I had and making a wire mesh shade like this one. But the cost of supplies and all that extra I’d have leftover made me hesitant. Then I came across this one while in Waco a couple weekends ago. It’s perfect! Now, to paint or not to paint.

Wire shade

What do you think? Would you leave it in its raw state? Or pop it with some hot pink or chartreuse paint? (What is WITH me and hot pink paint?) Thanks for letting me share!


xx

5 Living Room Rug Ideas

AKA apparently the hardest decision I’ve ever made. When I moved in, all of my furniture and house stuff had been in a storage building for a couple of years. I had just about forgotten what I had! Since I knew living with my parents during that time was temporary, I snagged a couple of 5×7 rugs from Urban Outfitters for my future place. Two years later, I still love them! That’s got to be a good sign.

However, the 5×7 is proving to be a bit small on my hardwoods in the living room, and with a giant, hairy miniature horse running around, I need something a bit bigger. Like, the 8×10 department. So for the last month I’ve scoured the internet looking for inspiration and a deal (around $250) for a new living room rug! Here are a few I’m thinking about.


ONE:
IKEA RugThis rug from IKEA is so great! I’ve bounced back and forth between three styles: black and white, loud pinks and blues, and white rag rugs with speckles of all colors. 6.5×10! For $99?! It’s a STEAL. My bank account approves. My only worry is that it wouldn’t be wide enough.


TWO:

World Market Rug

Another black and white from World MarketStripes! This one’s a bit pricier at $230 for an 8×10 and it’s unavailable online! But it’s still a great deal and it’d be either of these black and white rugs that I would consider if I went that way.


THREE:

WestElm Rug

Ugh. Do me a favor and zoom in on this rug. That pink! The name has ‘macaroon’ in it! West Elm you get me every time. $300 for an 8×10, but tack on the extra $25 delivery surcharge plus their shipping costs based on your order total. (Who does that?!) So $300 ends up looking more like $375! I actually bought this rug in 8×10 for my bedroom, but it sheds like cray cray. I’d do some hard deliberating for this rug before I pounced!


FOUR:

Wayfair Blue RugI found this rug after I fell in love with the concept of a blue patterned rug from this post by Mandi at Vintage Revivals. How neat would this blue look with the pop of hot pink on my couch?! $262 for an 8×10 from Wayfair! (Free shipping over $50! Take a note, West Elm.)


FIVE:

Wayfair White Rug

Sigh. With any one of these rugs my plan is to layer a sweet cowhide rug on top. (Because, obvi, a cowhide rug has been on my wishlist for literally years.) But this one. My heart. It’s a rag rug, for starters. And if you zoom in there are all kinds of colors! How sweet would the cowhide look layered on this? But the majority of it is white. And that may or not be a problem with a dog and the proximity of my patio shaded by a crepe myrtle. Still a hot contender! $221 for an 8×10, also from Wayfair.

—–

Well, there you have it. My inability to make a decision drives me to three completely different rug styles. Which one is your favorite? What rug would you pick for an eclectic style living room with 100% thrifted furniture? Thoughts?


xx