

I am SO EXCITED about this post! I haven’t posted a DIY in probably years so I decided to make it a big one!
On a whim several weeks ago I sold my coffee table on Craigslist. It sold in less than 36 hours so I knew my brain was cooking up a scheme. I scoured the internet for a deal on a replacement coffee table and while I found a couple, I really just wanted a project. Everything I saw I liked, but I knew I’d be more satisfied if I made it myself. Besides, who doesn’t want something custom built for their space? After coming up with words for what I was picturing in my head (mid century, modern, DIY, surfboart), I found dozens of mid century DIY tables! I read several but kept coming back to this one. (It’s so cool to see women on the internet build stuff. Makes me proud to be a girl.)
This project cannot be simpler. Really the hardest part is drawing out your shape! See how we made my mid century coffee table below!
SUPPLIES NEEDED:
-piece of wood big enough to cut your desired shape out of (mine was MDF, 48″ x 24″ x 1″. Feel free to use plywood, but be prepared to sand away more splintered edges.) $12.98
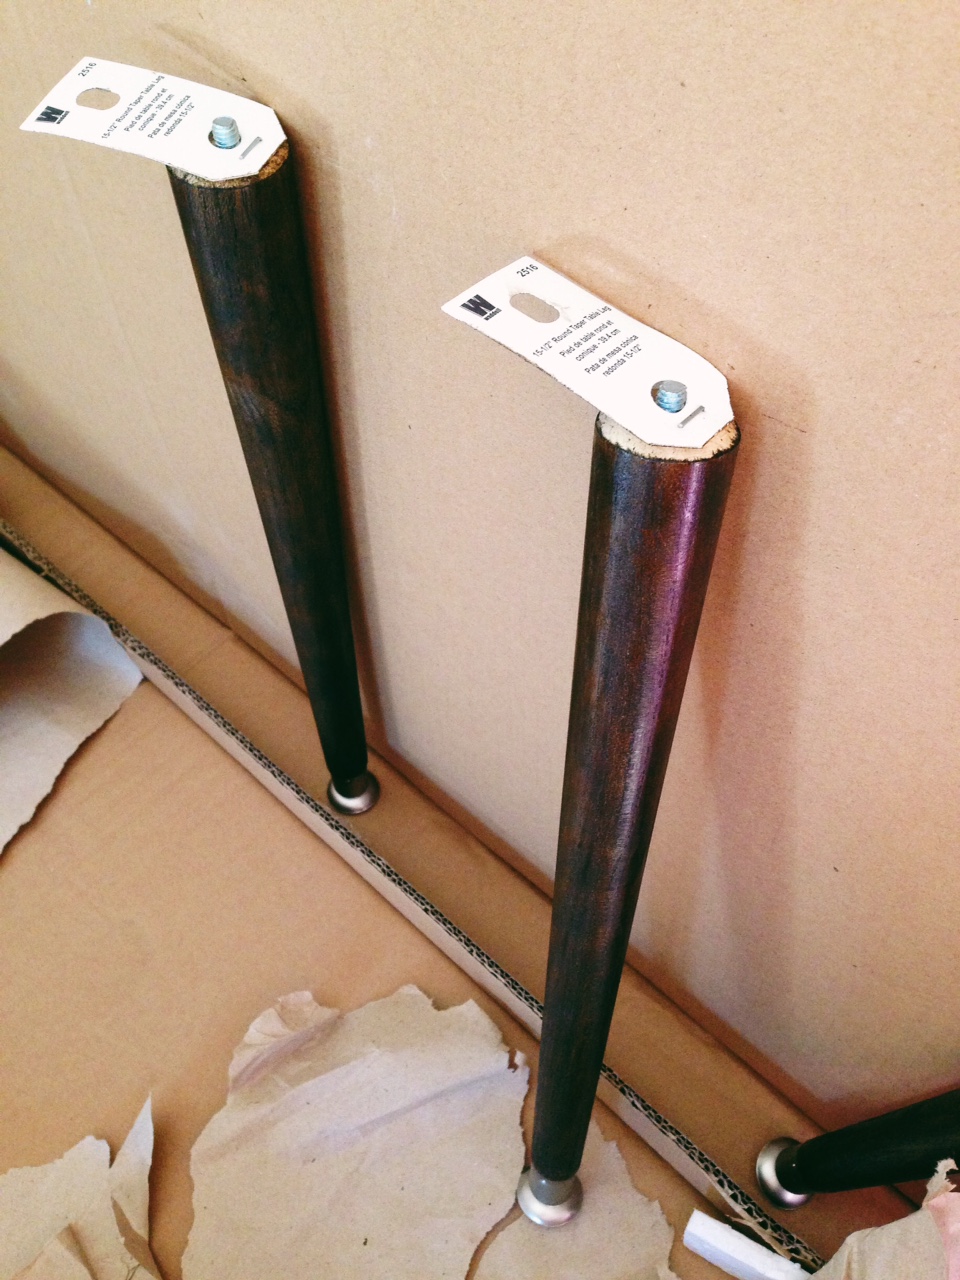
-four 16″ wooden tapered legs $4.89/leg
-stain for legs (I used Minwax in Jacobean) $4.78
-four angled leg plates $1.98/plate
-cheap brush or old rag for stain $1-2
-jigsaw (I borrowed my dad’s)
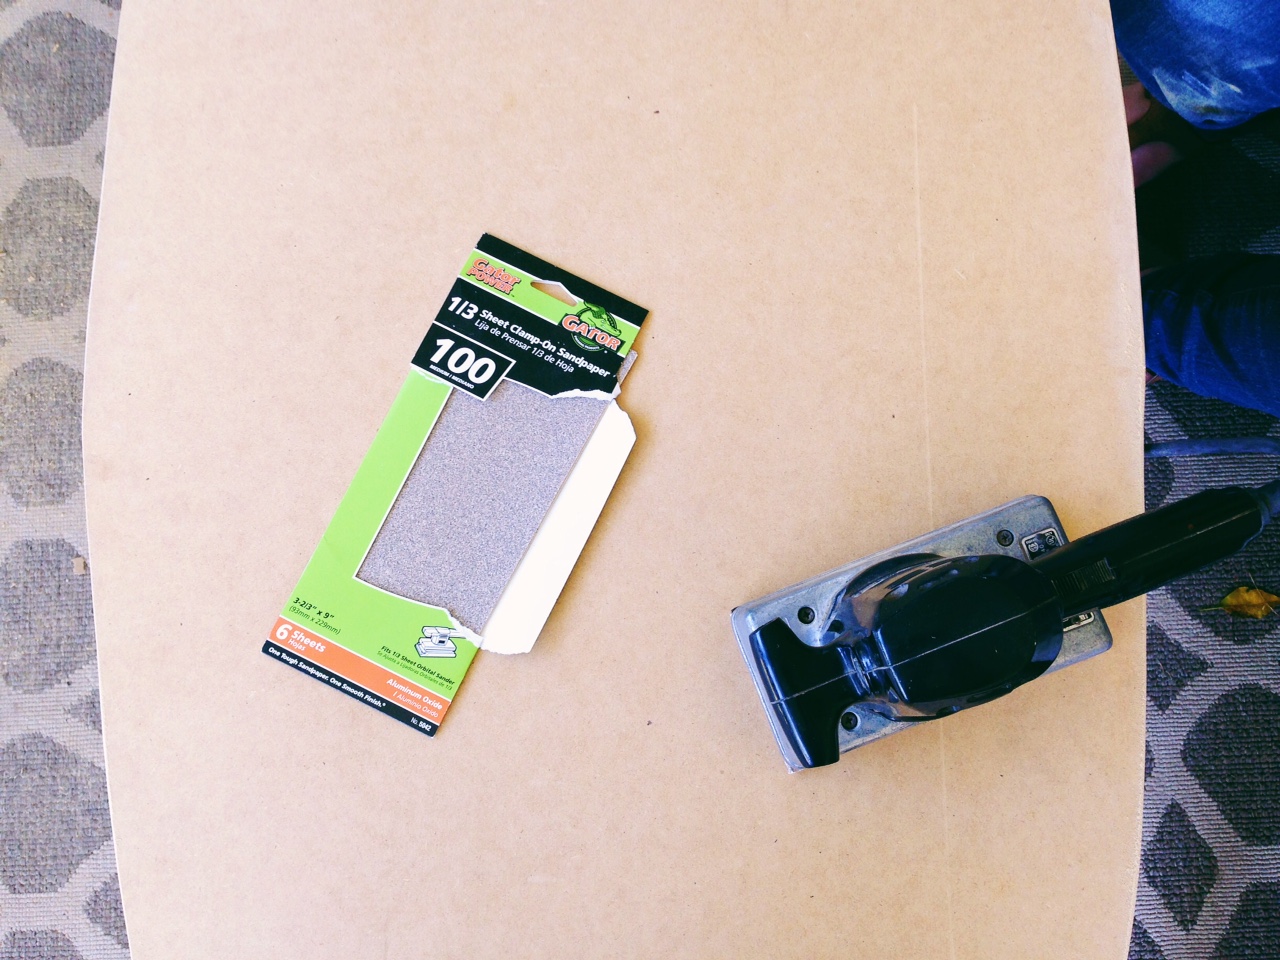
-coarse and fine sandpaper with or without a belt sander, dealer’s choice
-paint for table top (I used two cans of high gloss white spray paint) $5.88/can
-gloss clear coat (optional)
-an extra set of hands (Target sometimes has these on sale, but I’d recommend using a real person) $FREE
*the price of $60 does not include the sandpaper, jigsaw, or the optional gloss clear coat.
STEP ONE:
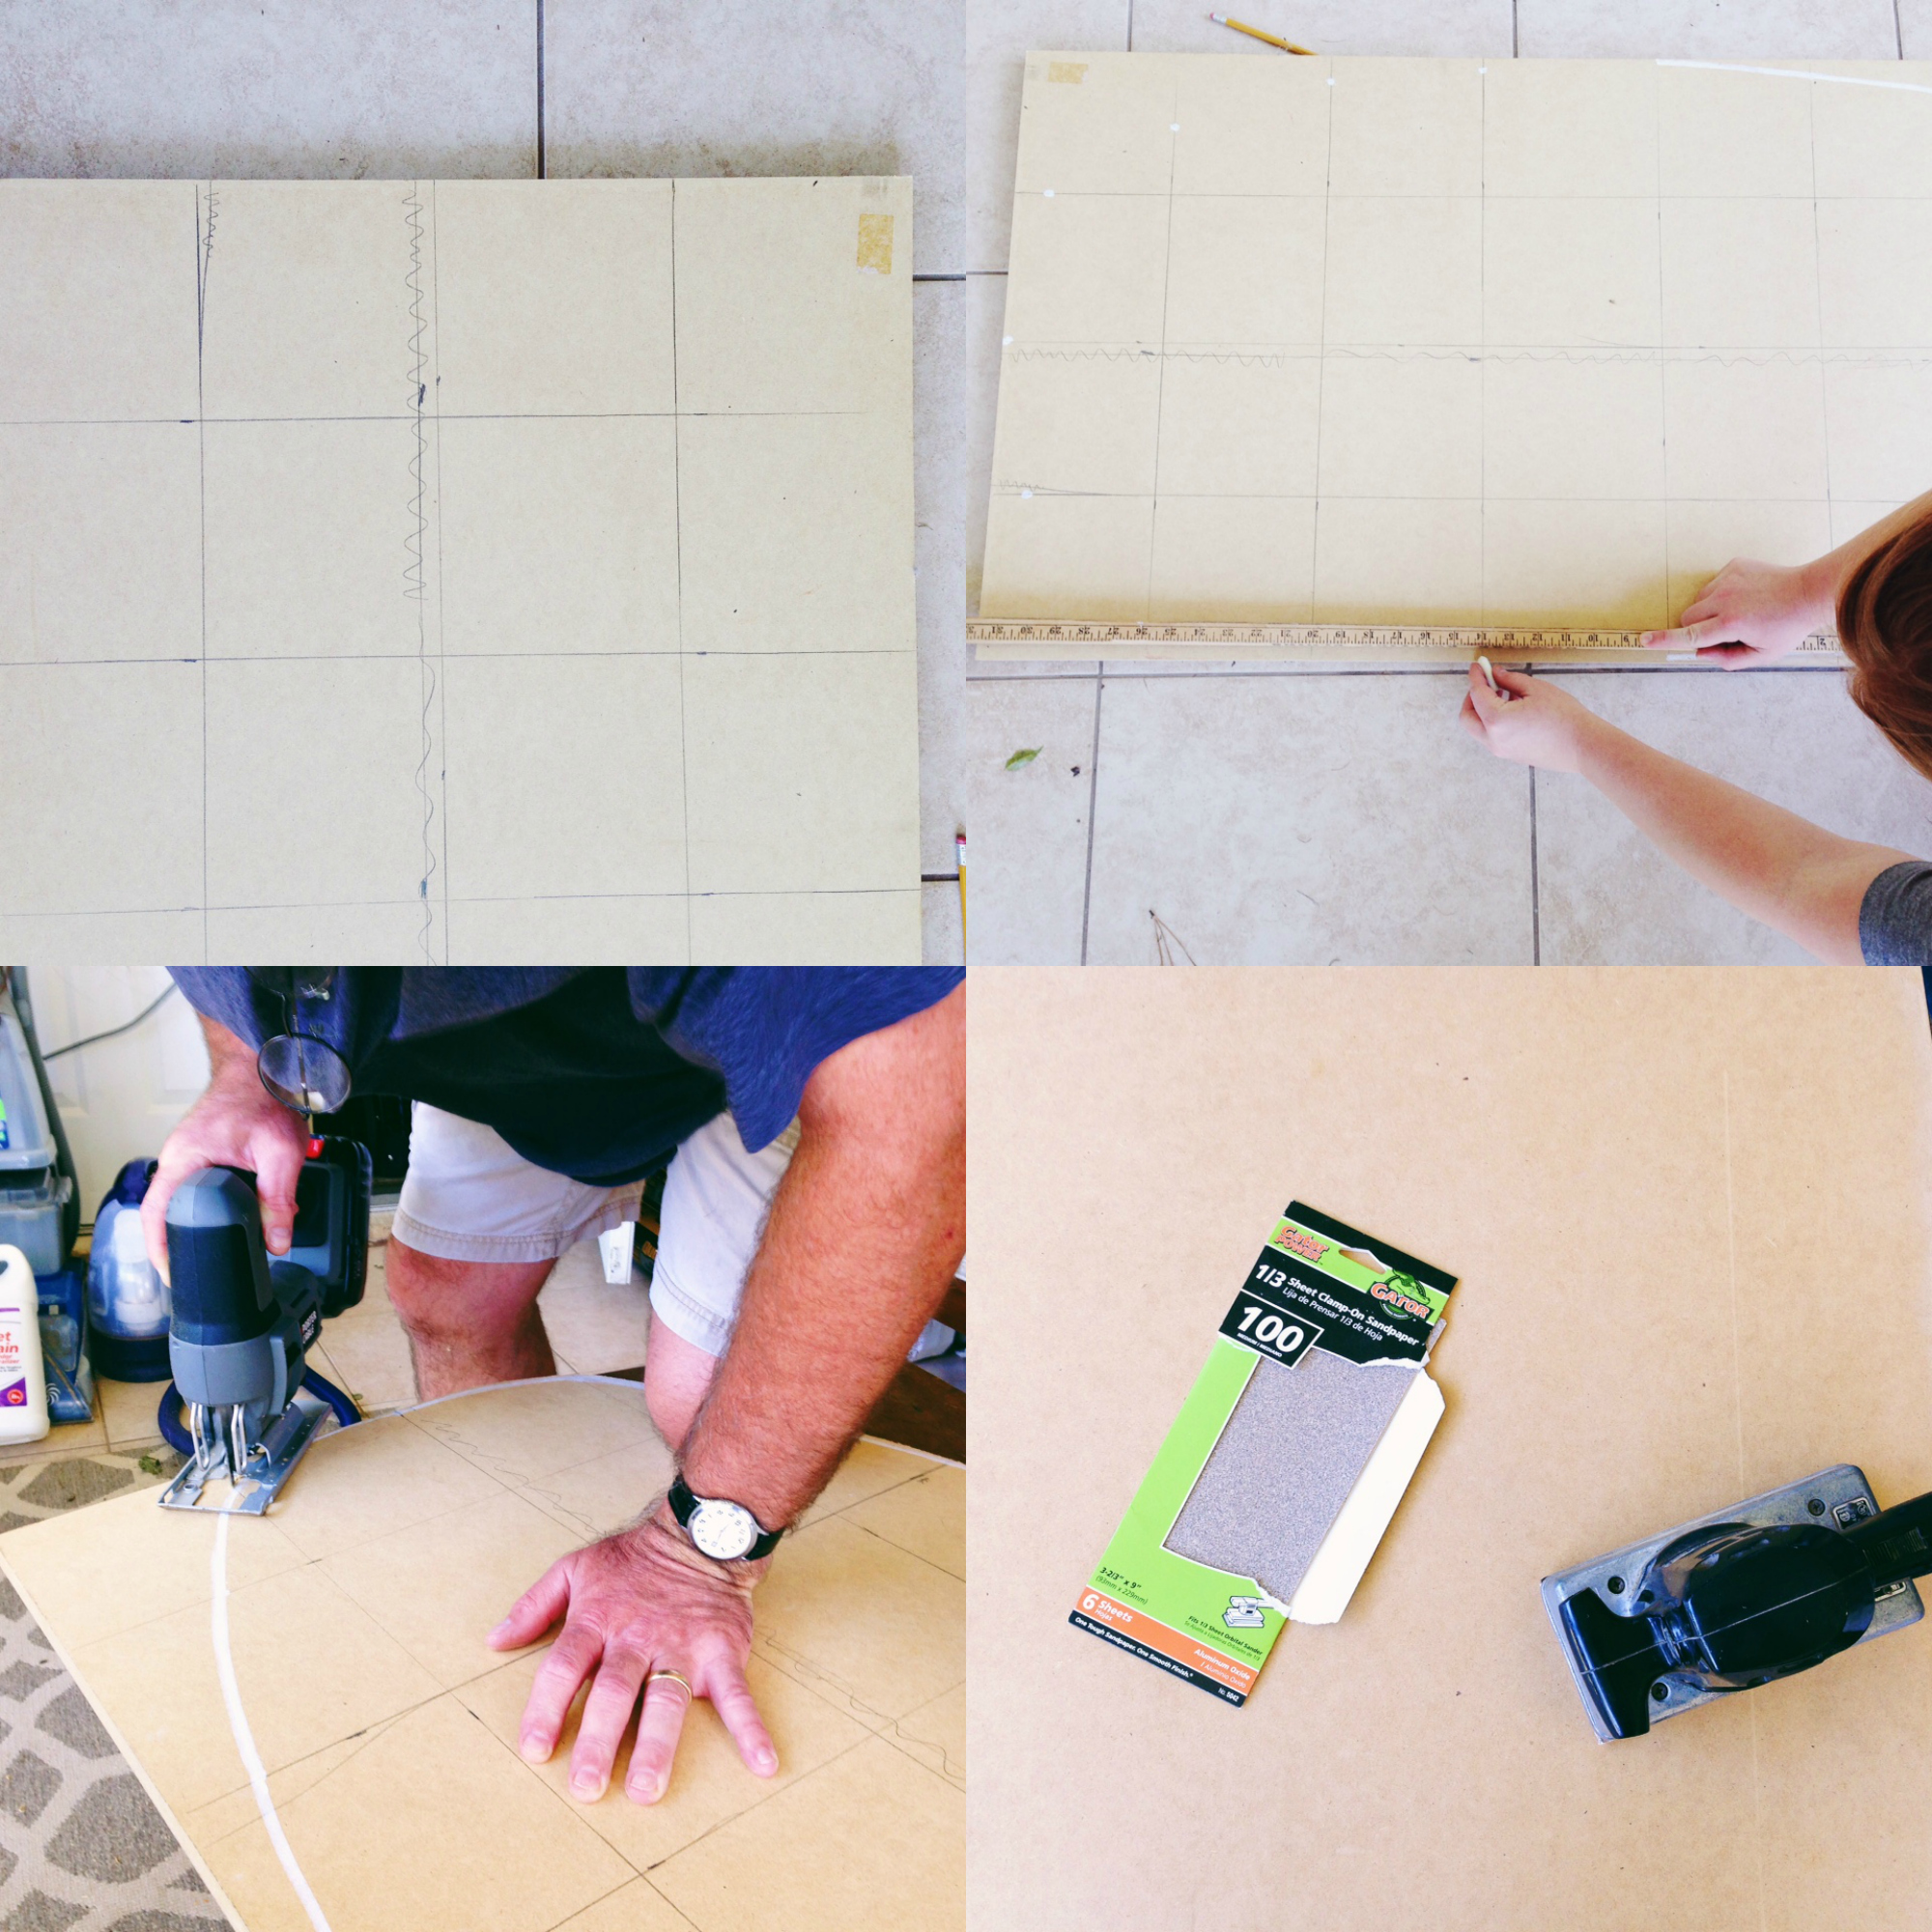
I wanted a long, surfboard type shape to keep with the mid century design. The tutorial I linked to has this awesome jelly bean shape, but I don’t have enough space for a really wide table in my space. This was the best option for me. My tip? Measure, measure measure. Try to imagine as clearly as possible what shape would look best in your space. I chose the rounded ends to balance all of the rectangular shapes and tables in my place, but you could just as easily keep the wood like this, paint/stain it and slap some legs on and be done! (PRO TIP: make sure whatever wood you buy will fit in your Honda Civic to avoid parking lot meltdowns about “not knowing anyone in Dallas still after a year” and “having no friends with SUVs or trucks.” Save yourself the embarrassment.)
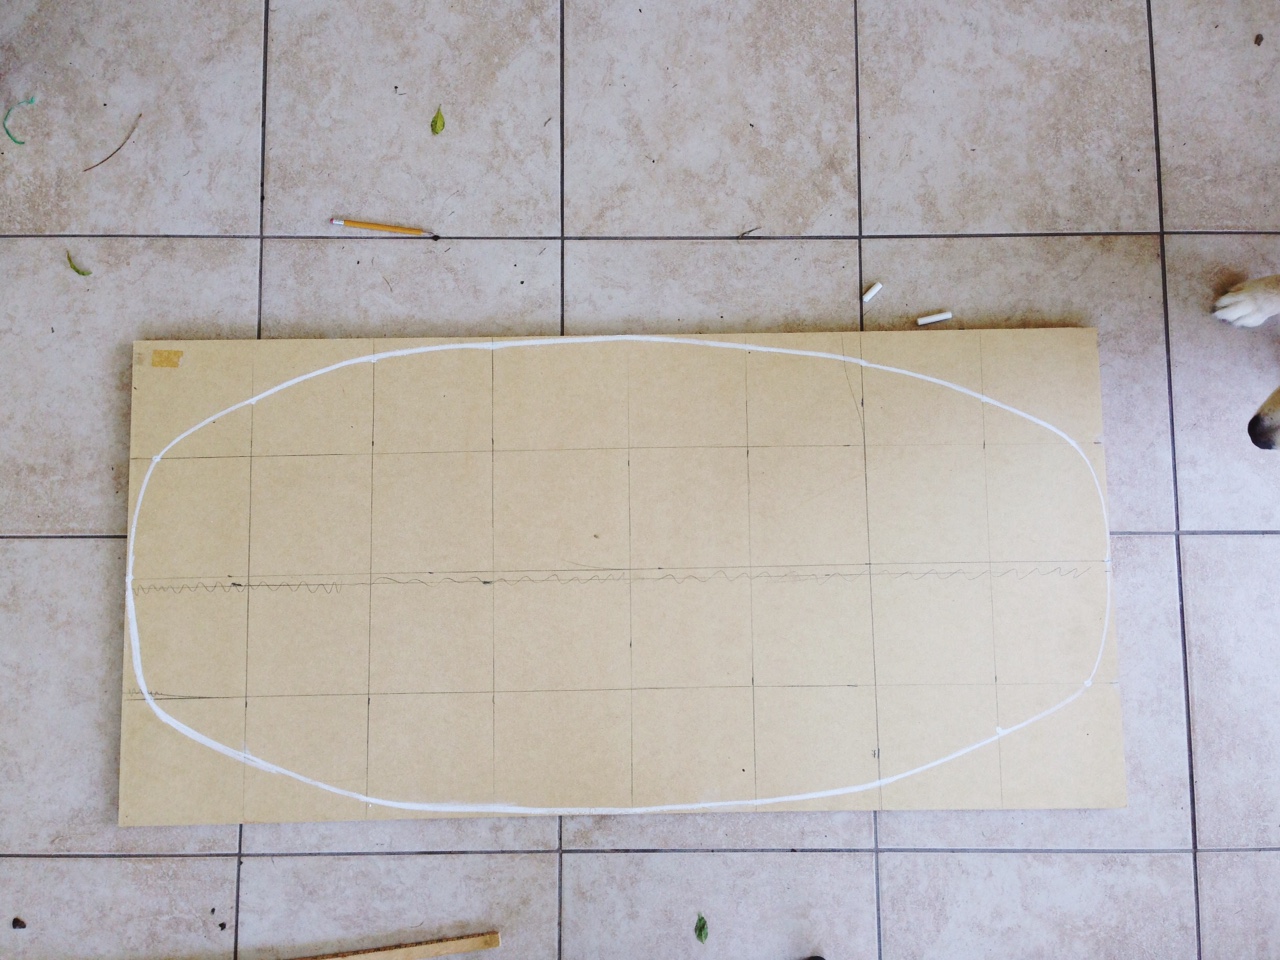
To get this surfboard shape, my mom and I made a grid on the ‘bottom’ of the wood. Since my piece was 48″ x 24″, we made squares 6″ x 6″ with a pencil and a yard stick. We ended up with 4×8 squares.
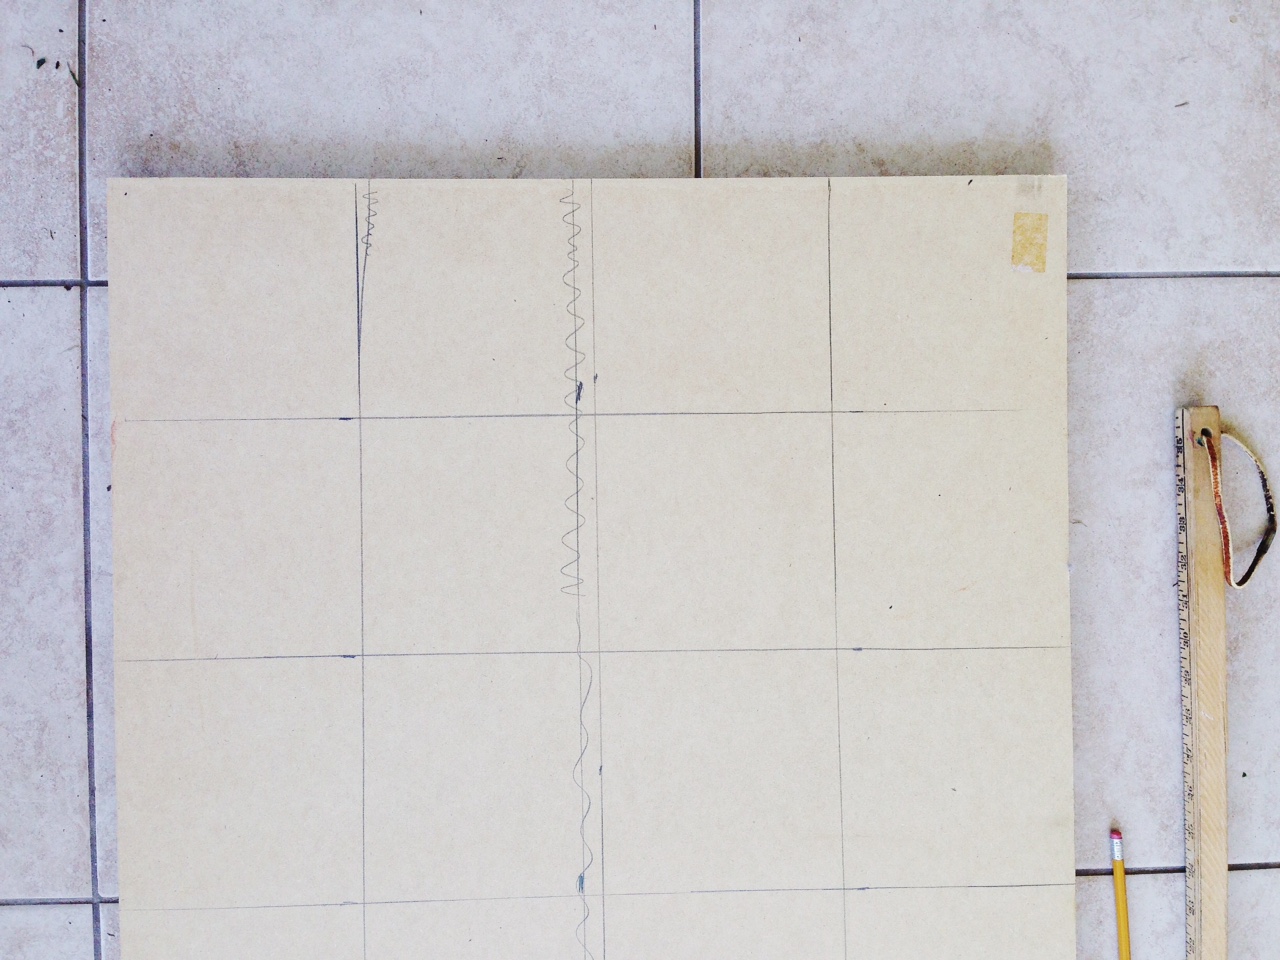
STEP TWO:
Now that the grids are drawn, this makes it easier to trace out the surfboard shape. This part is best to do with chalk. It’s easier to wipe away when you make a mistake. And you will make a mistake. Trust me. Unless you are infallible, in that case, congratulations! What’s that like?
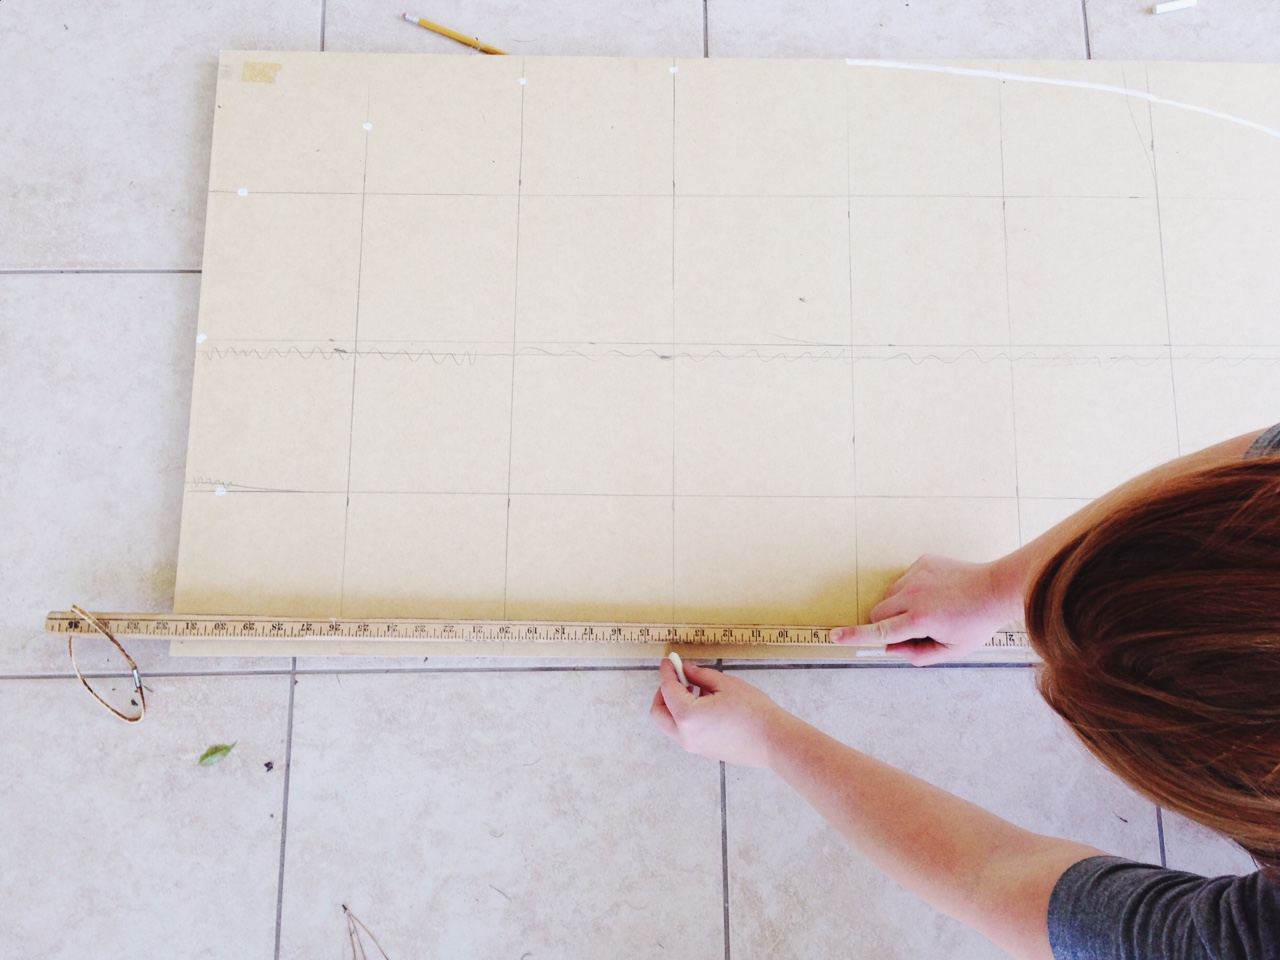
I started by freehanding one half of the table by choosing sections of the grid to place dots that mapped out my shape. When I liked the overall look, I connected the dots. To mirror the other side, you could either cut that side out and use the cutout to lay on the opposite side and just trace, or, like I did, use the yardstick and put one end on the dot already traced and mirror that dot on the other end of the yardstick. See below:
If you are really particular, you could use a protractor to curve the lines. I’m not really particular.

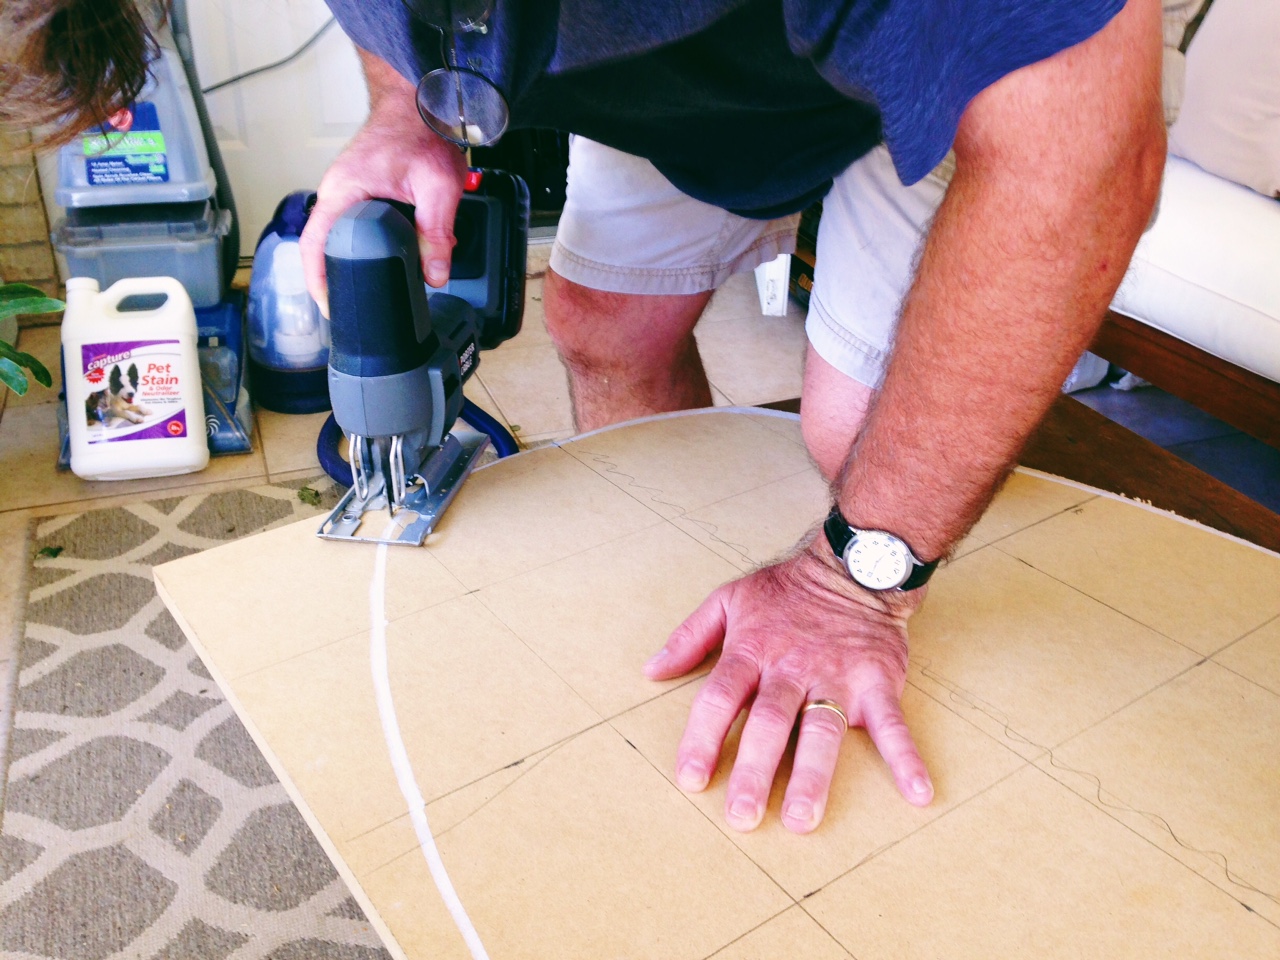
STEP THREE:
Cut out your shape! Or watch your dad do it for you.
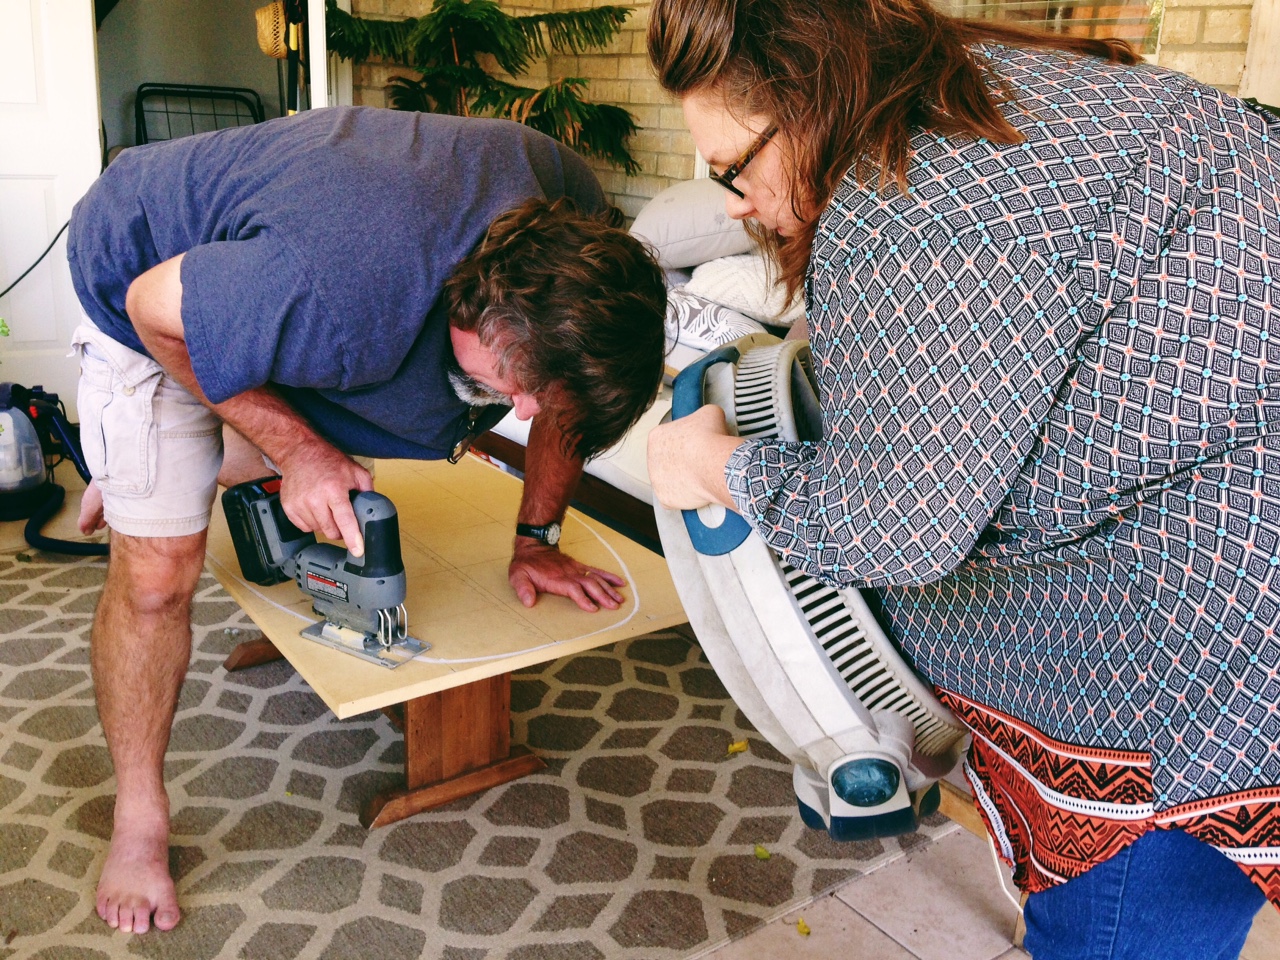
We cut on the outside of the chalk line to keep it as smooth and uniform as possible. This just depends on which side of your line is the most even. I bolded out the outside of the line to make it easier on the person using the saw. i.e.; not me.
Also, it helps to have a partner holding a fan to blow away the sawdust. Or so I hear. *cutest couple award*
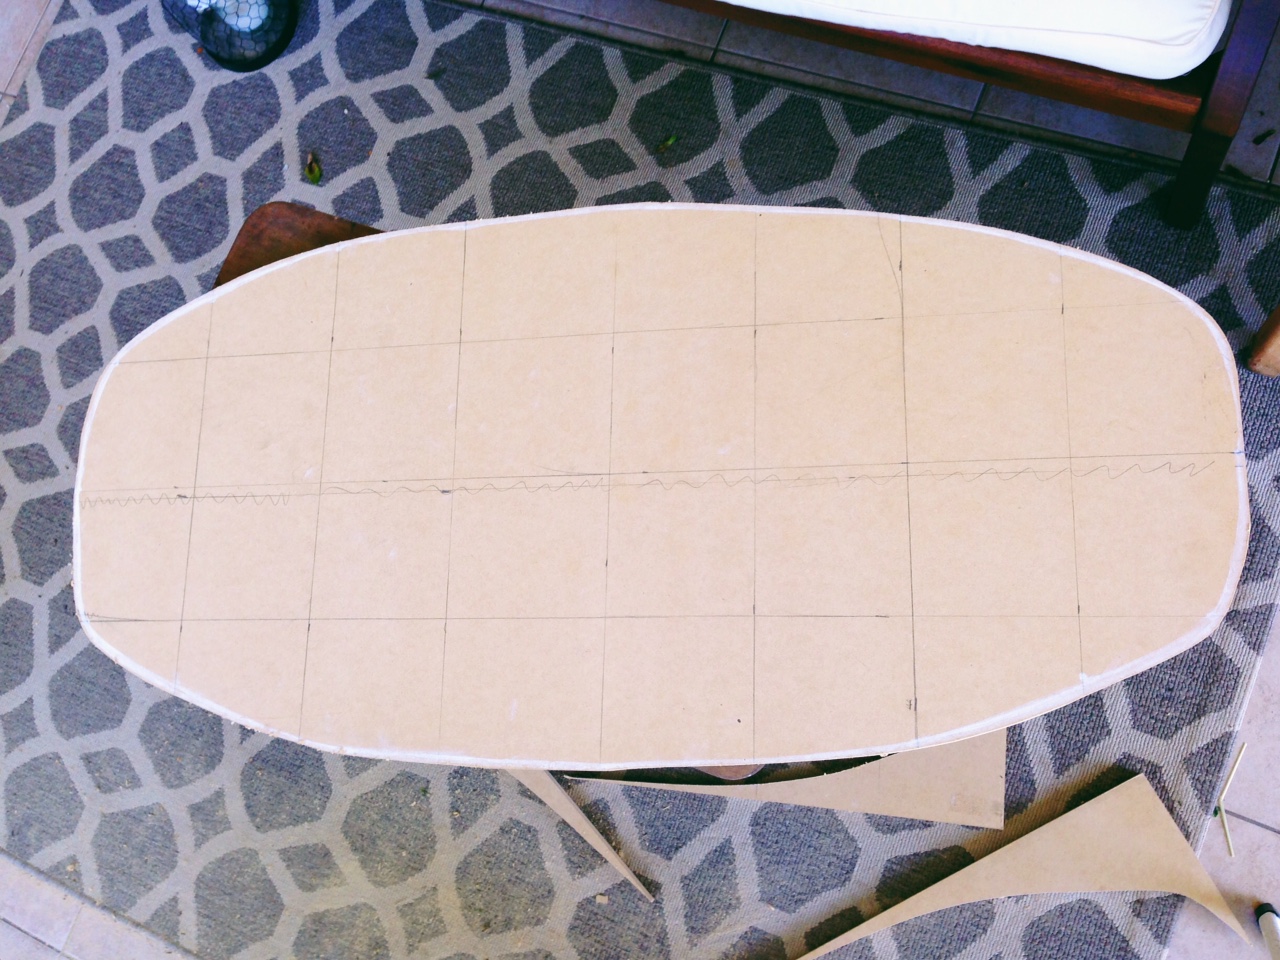
STEP FOUR:
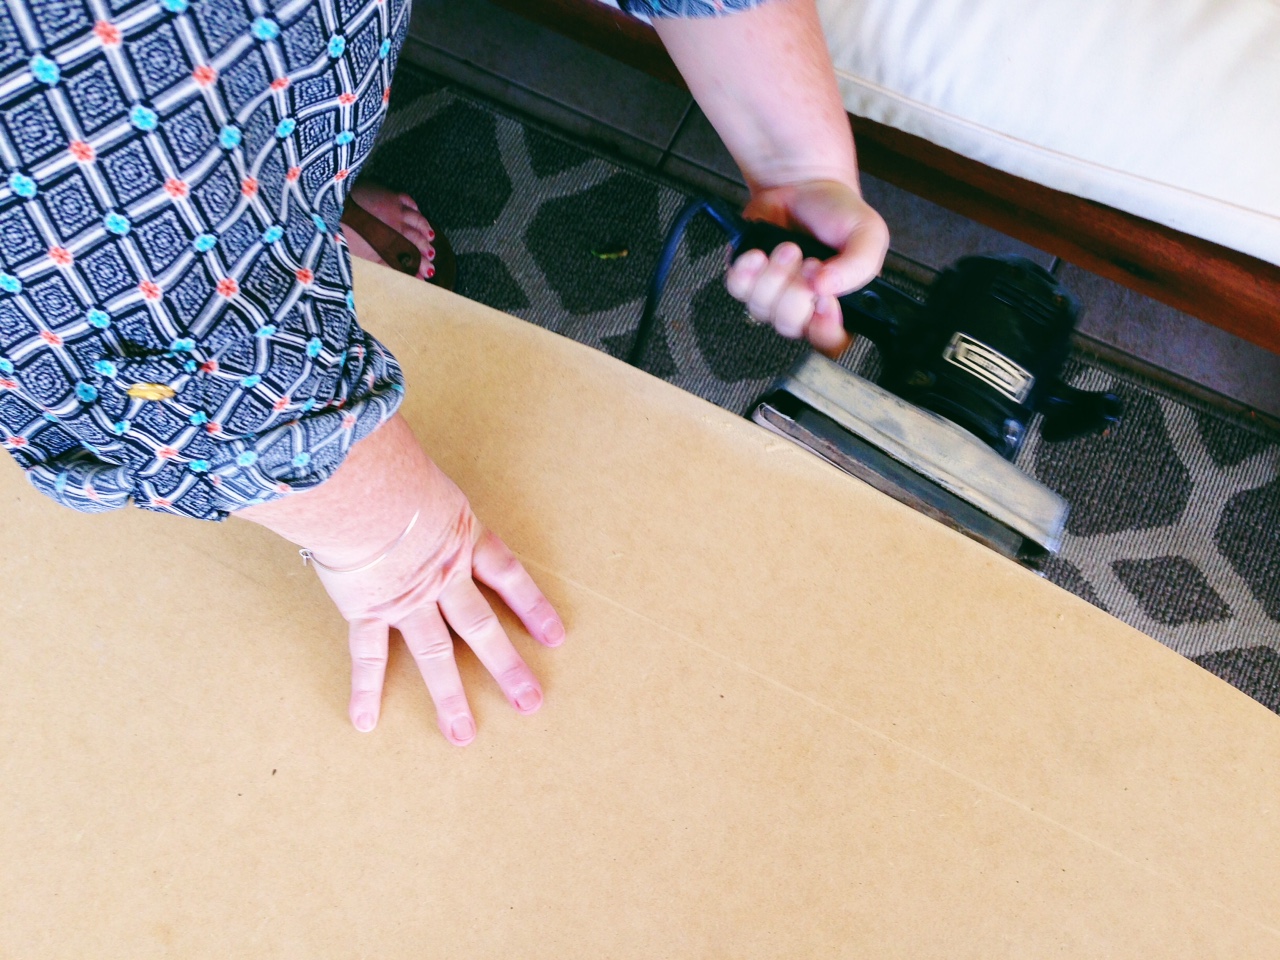
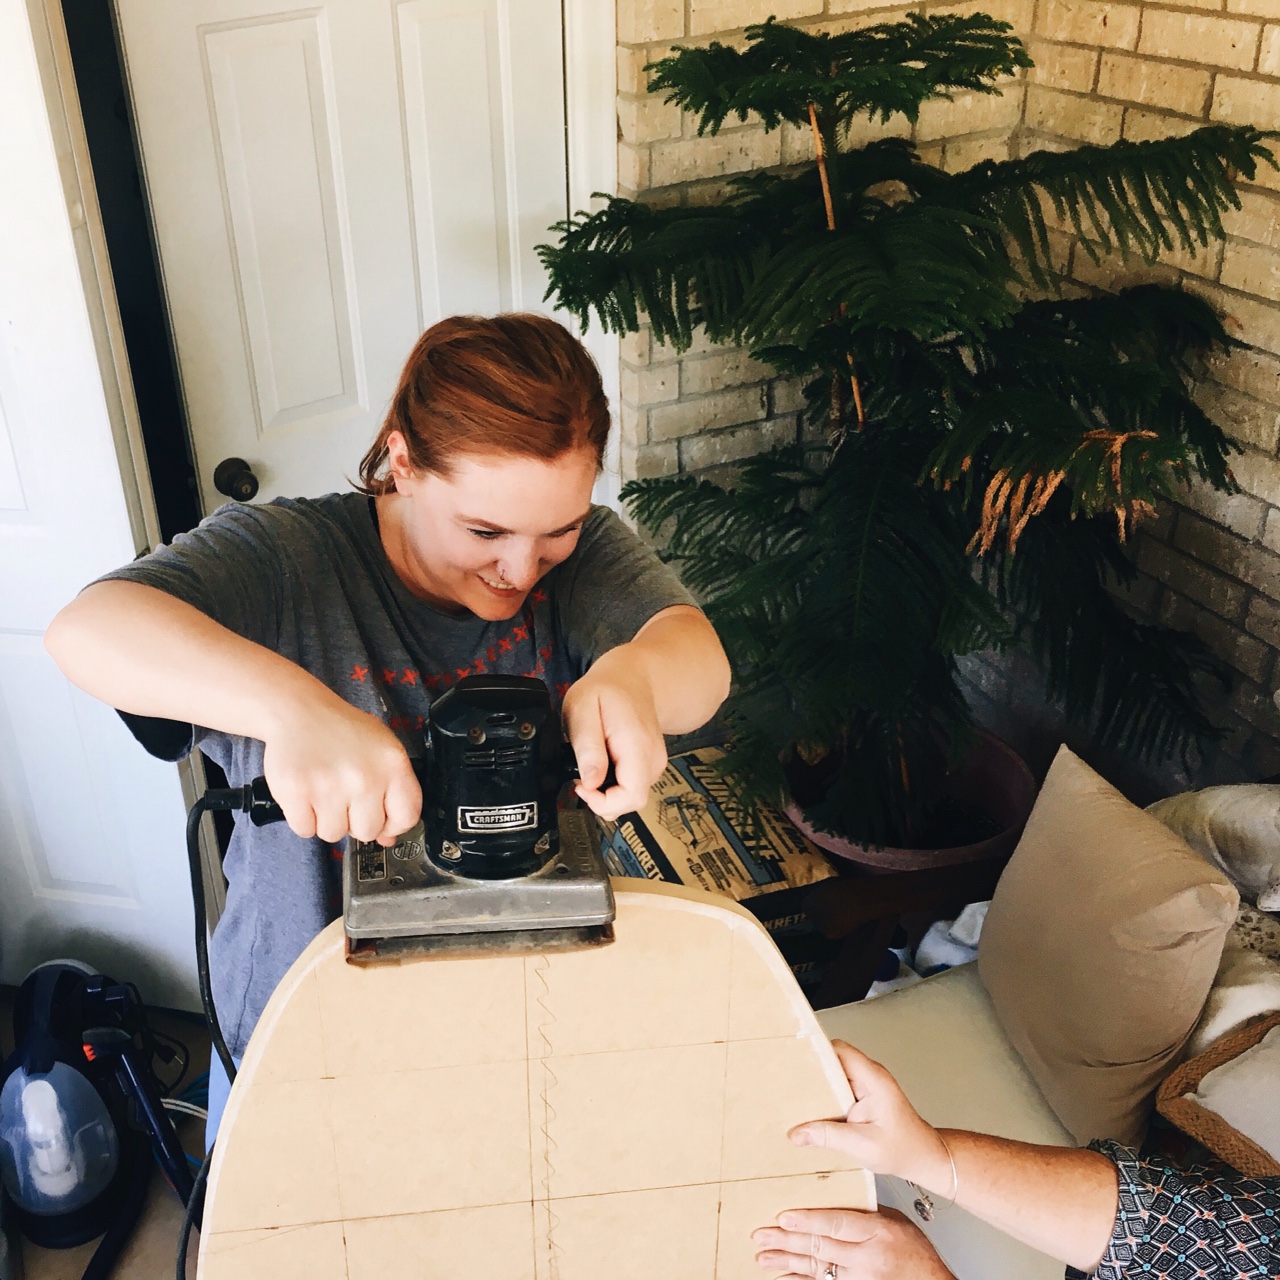
The final (rough) shape! MDF cuts pretty smoothly, but there were some small protrusions that needed to be sanded down. Now is the opportunity to round out the edges as well. I HIGHLY recommend using a belt sander. It’s much, much faster and you won’t start a fire in your hands what with all the friction. We started out with coarse sandpaper and finished it off with the fine. This worked really well for us.
PS. Here’s the part where you need that extra set of hands to hold the board for you.
STEP FIVE:
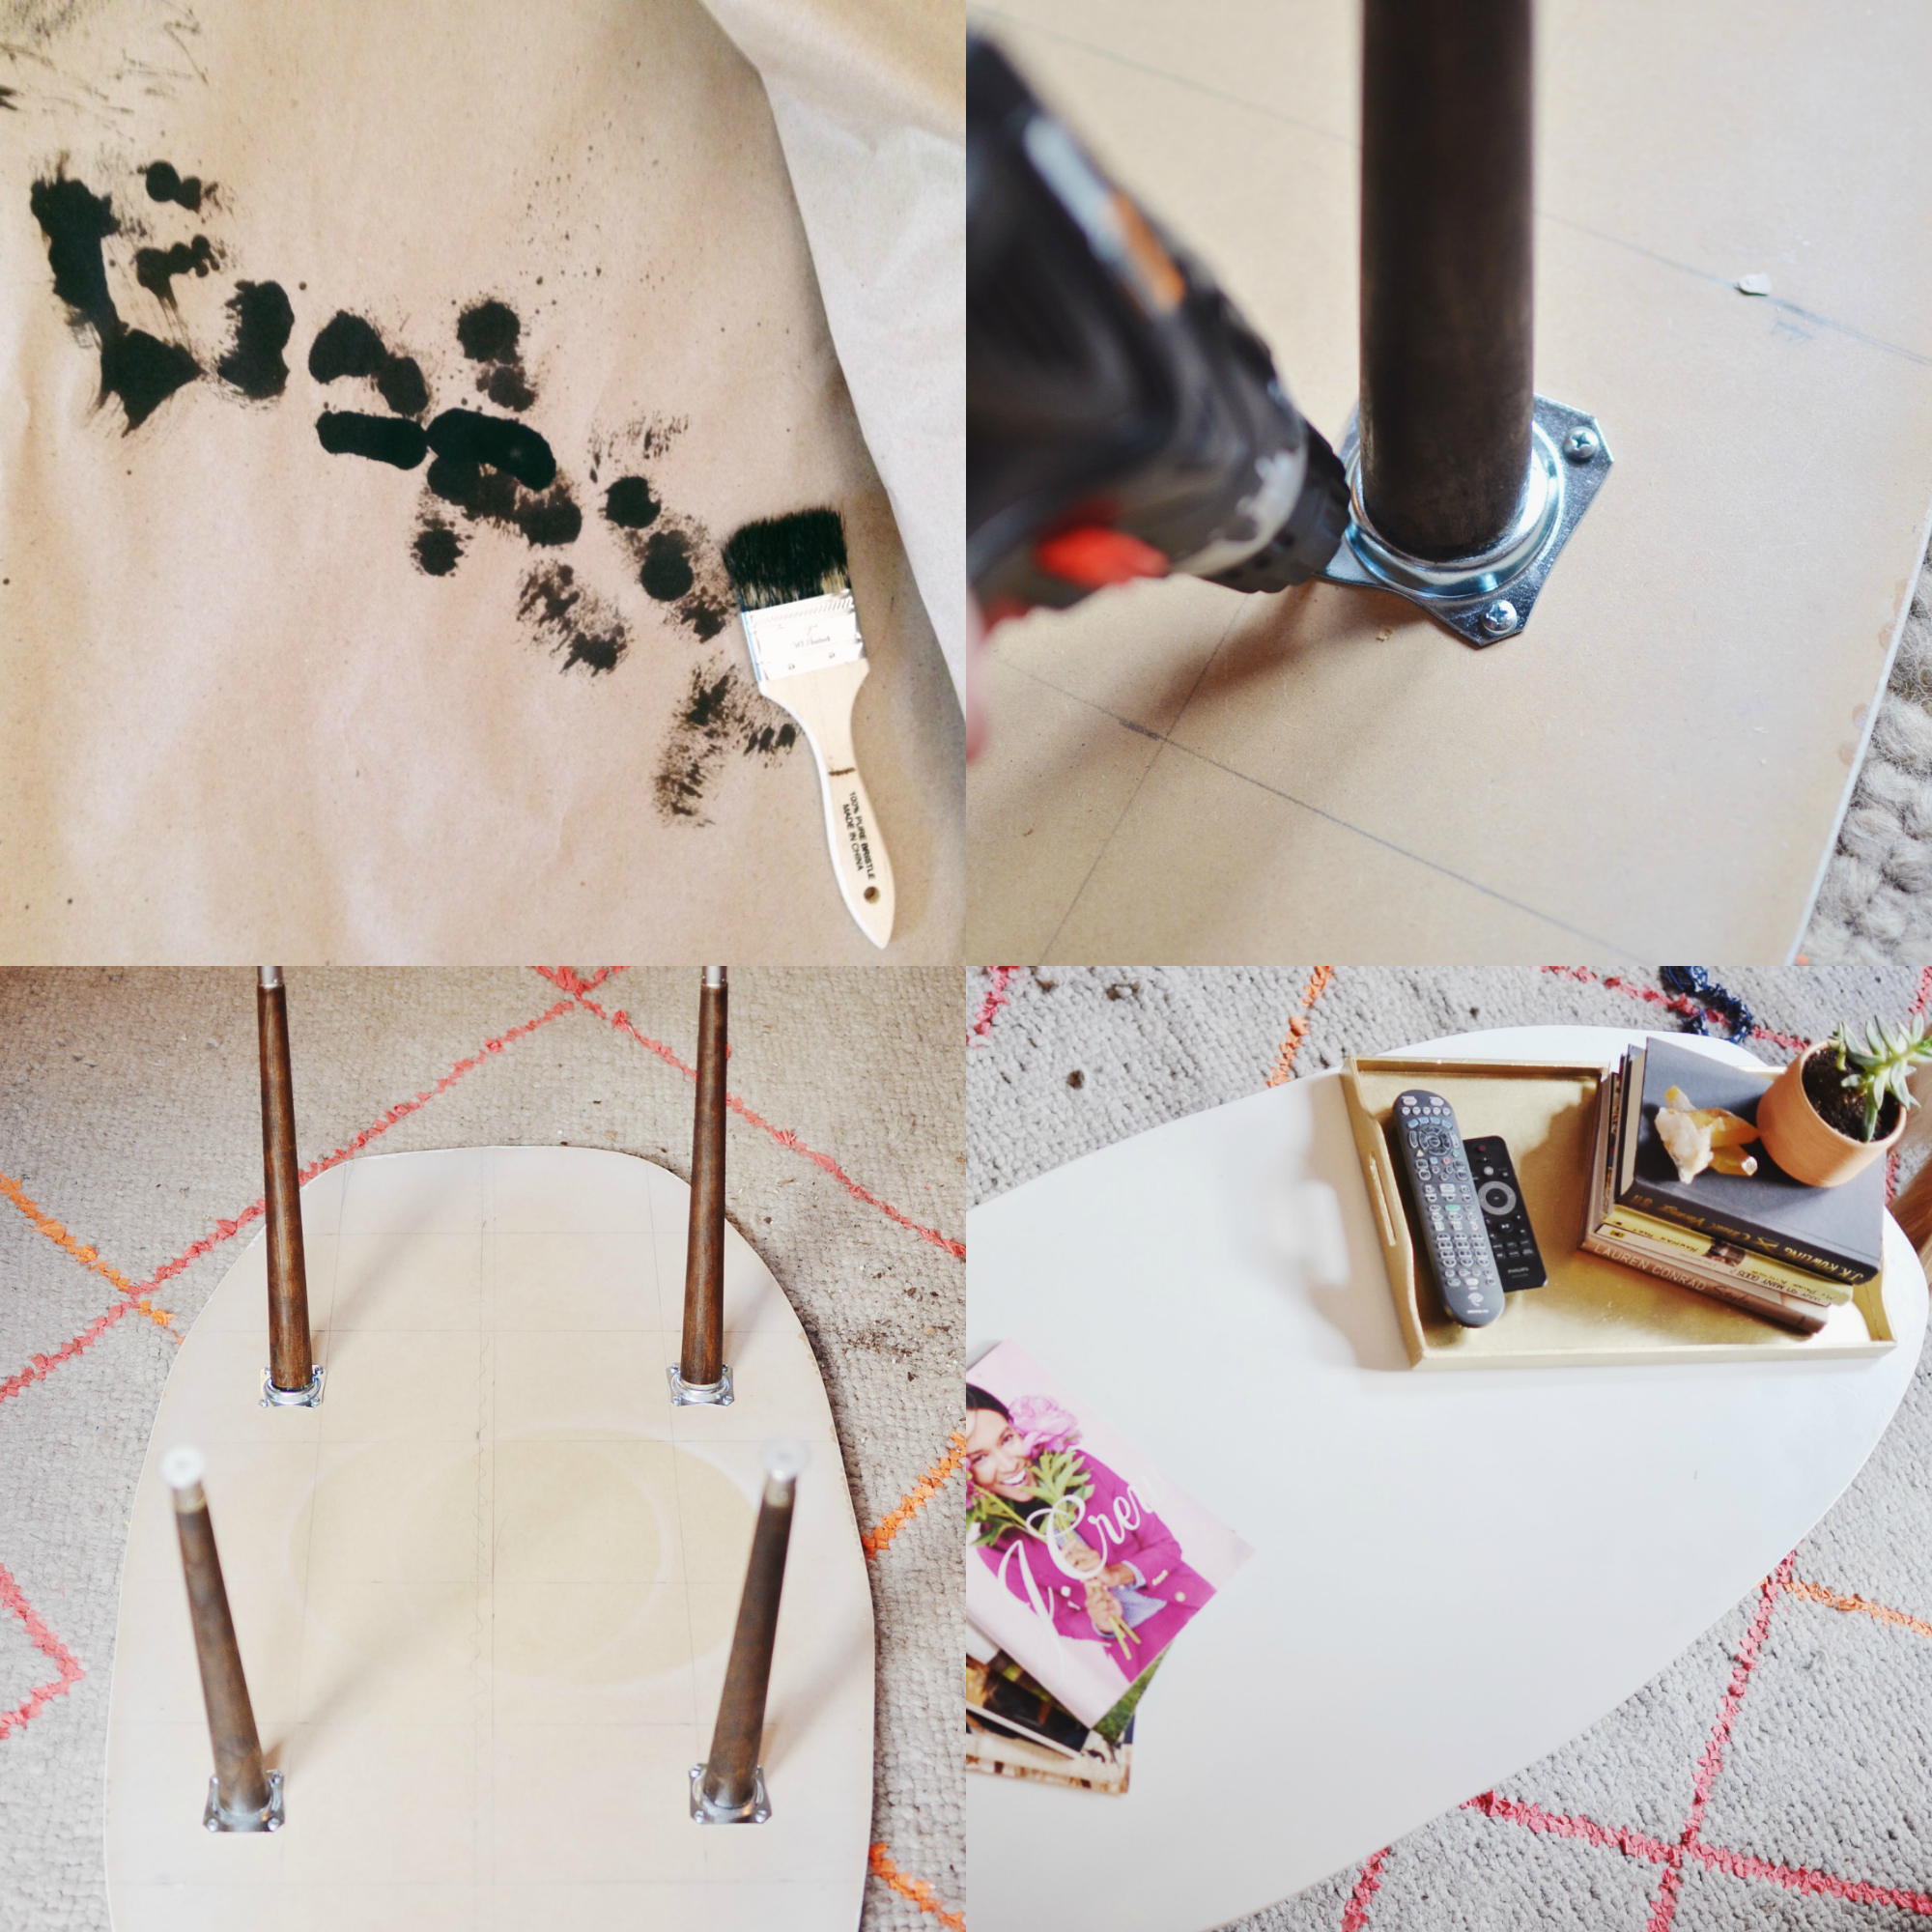
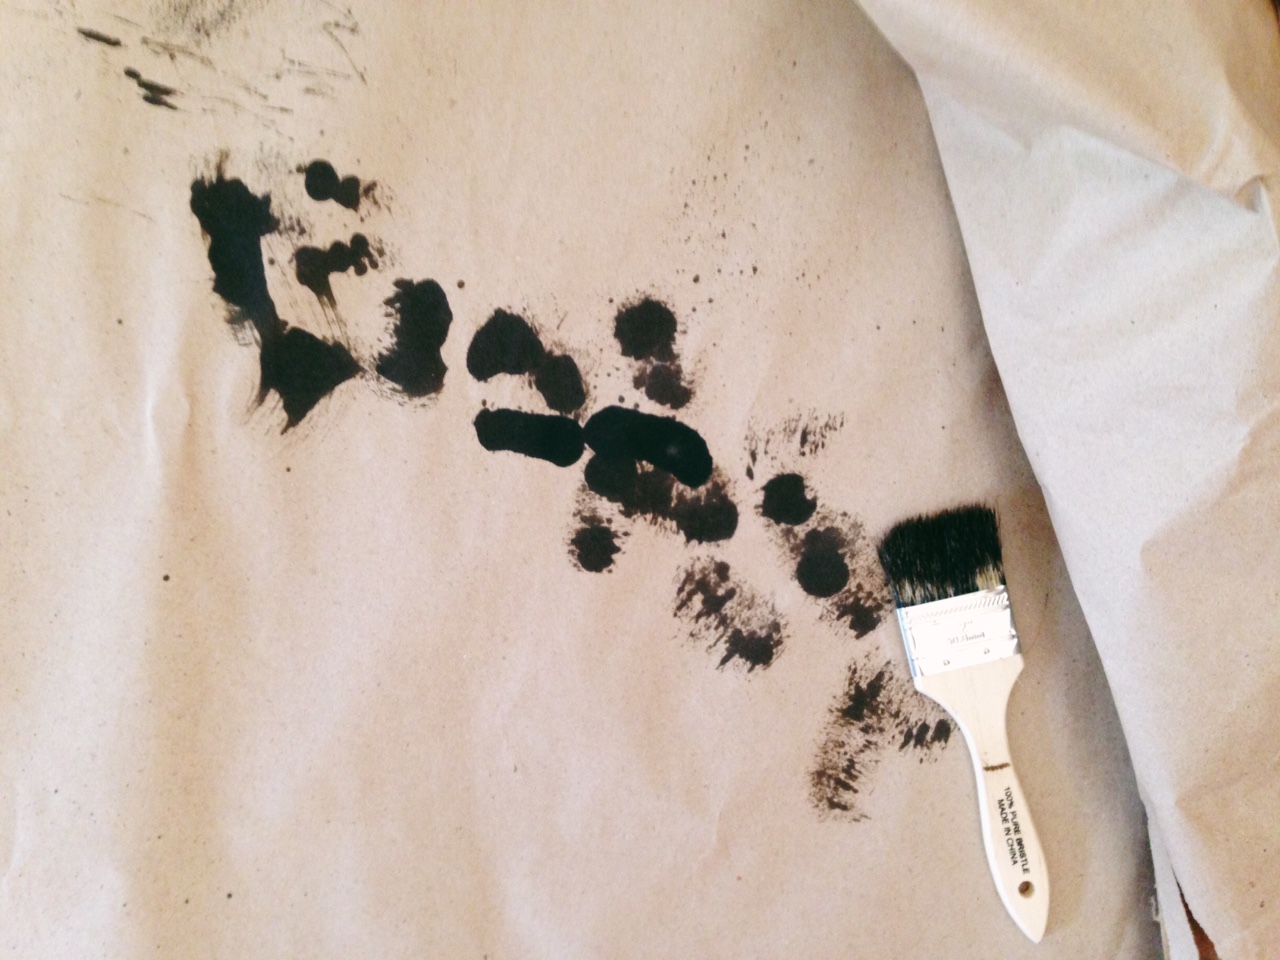
Stain your legs and paint your top! Do the staining outside or over a large dropcloth covered area. Luckily, my headboard had just been delivered so I used the giant box it came in to sit and stain. I only needed one coat of stain, but depending on your depth of stain it could take two or three. If you’re not impatient like me, leave this outside to dry overnight. Spoiler alert! I did not.
My MDF board needed several coats of paint because the edges were soaking it up like crazy. I don’t imagine plywood would be as difficult since it’s actual wood, but be mindful of how much paint you’ll need. I used two full cans of white gloss paint and used fine sandpaper to smooth it out between coats. This step is small, but very important!
OPTIONAL: Coat with a clear gloss coat. I chose to do this just to add an extra layer of protection because I use my coffee table a lot for eating and drinking and needed that extra layer! #foreveralone
STEP SIX:
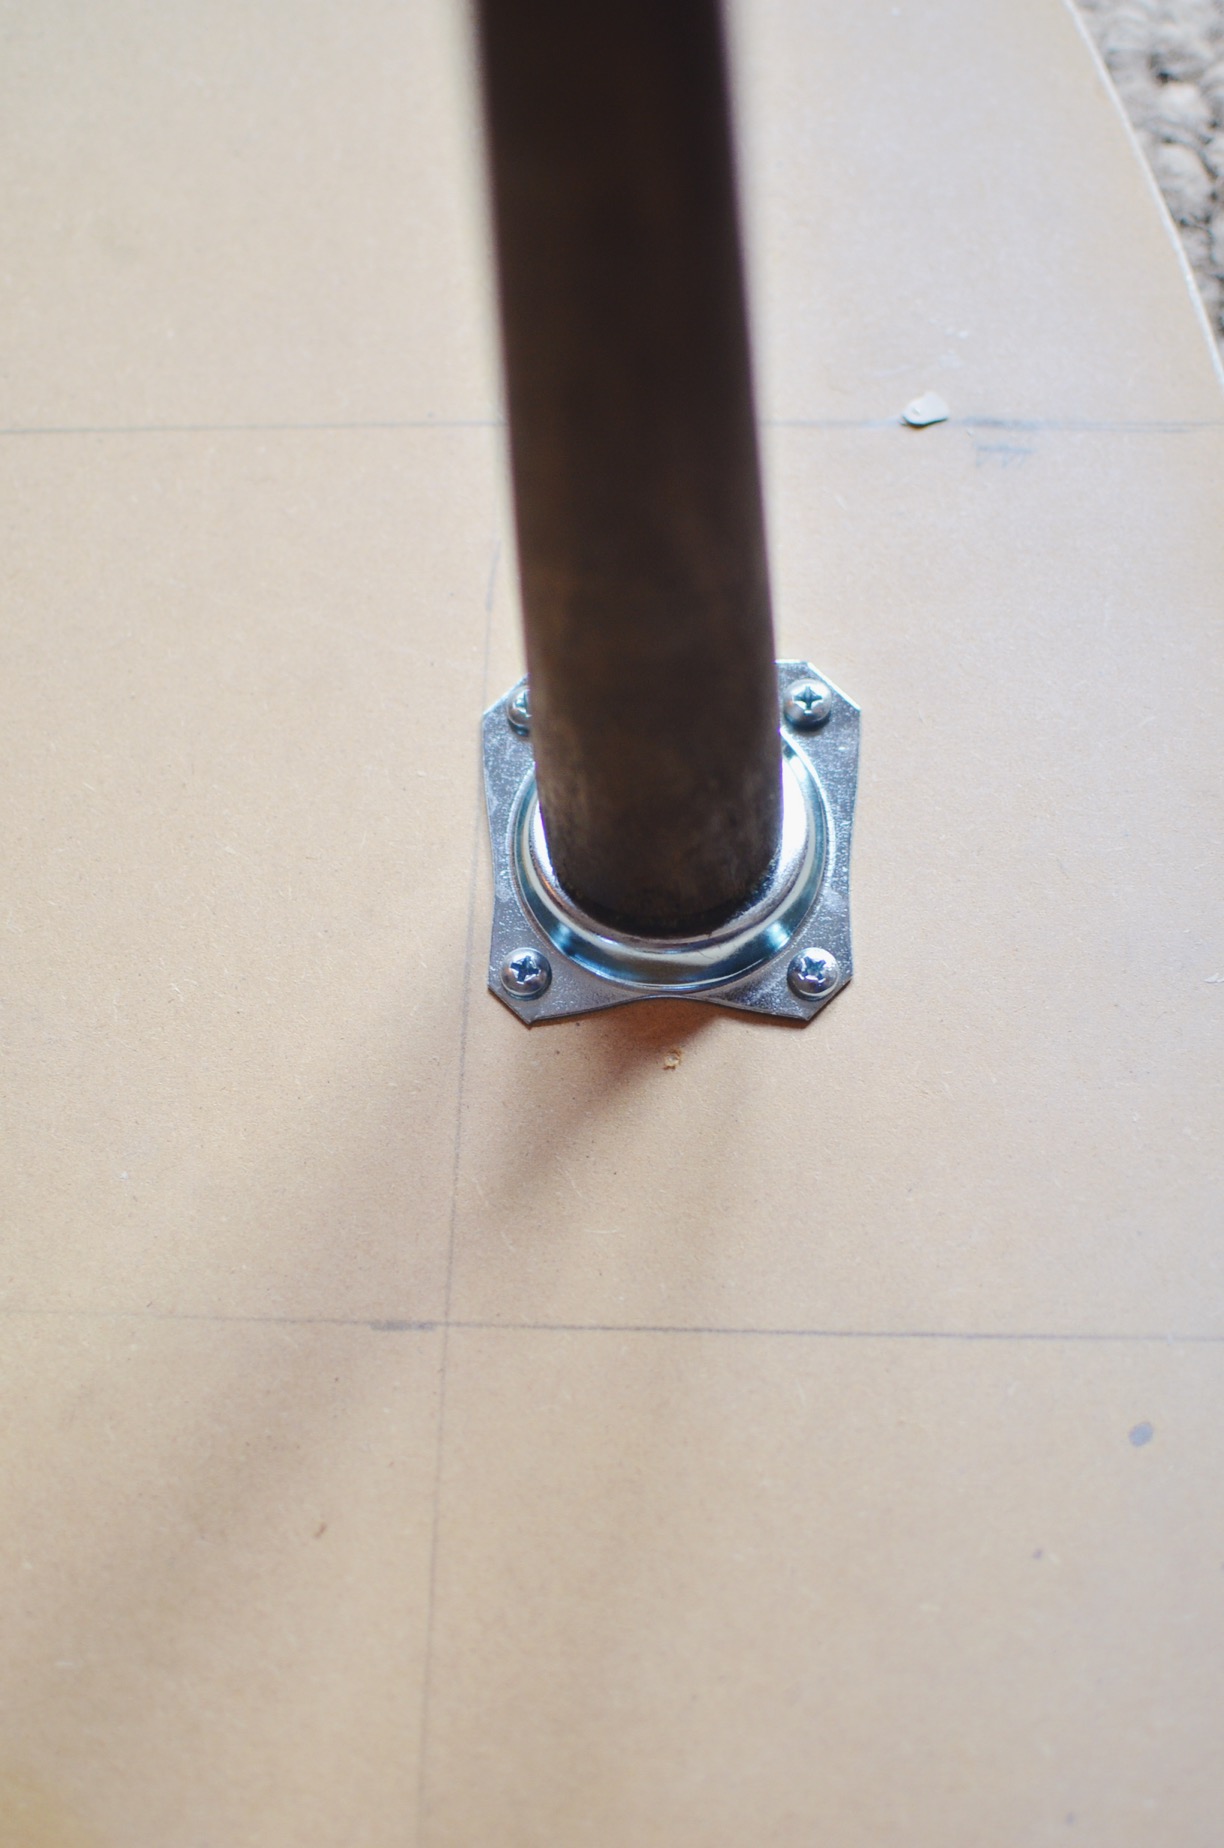
Attach your leg plates. Make sure that the screws included with the leg plates are short enough as to not bust through the top of your table when attached. If they’re too long, just add a thin piece of wood between the tabletop and the plate.
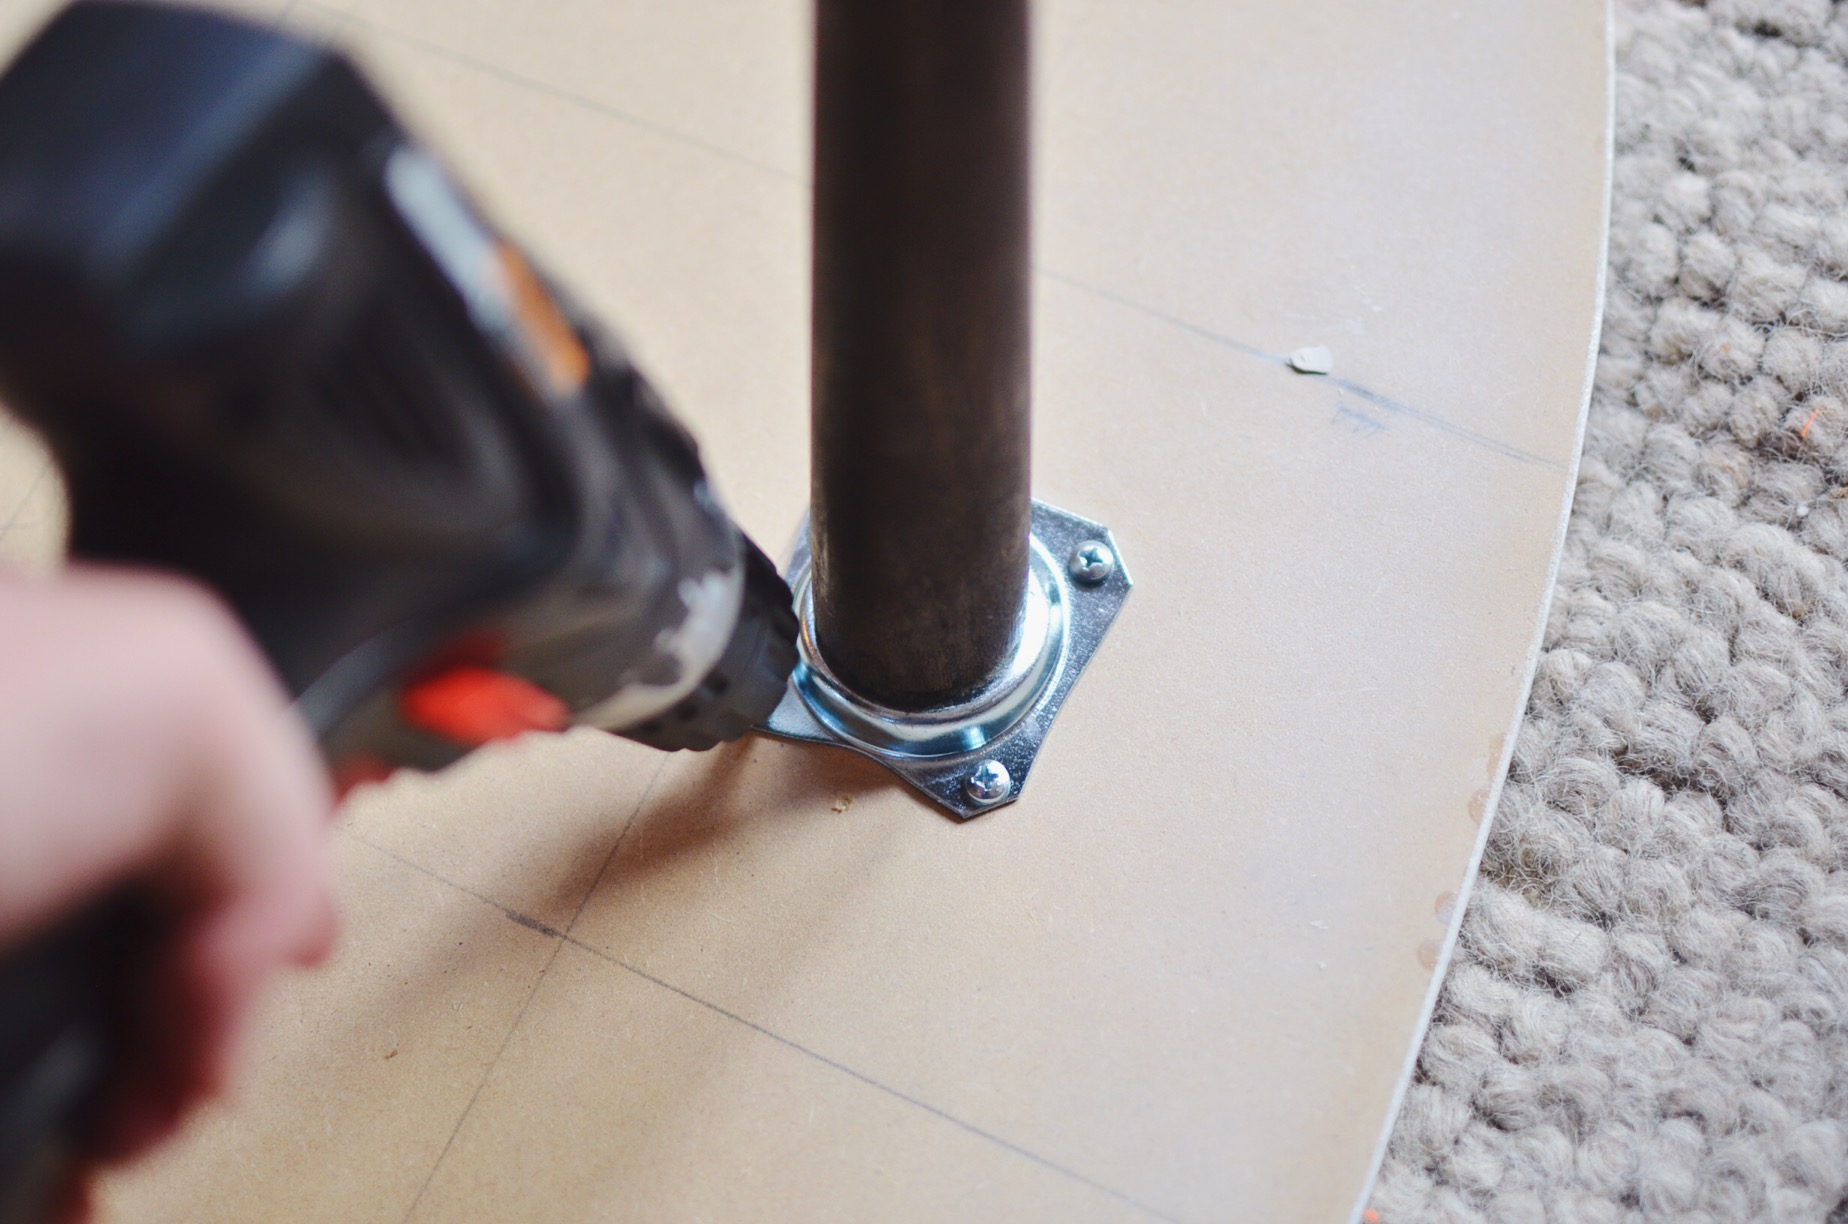
Since I got four legs, I used the grids we’d drawn out before to map out where to place the legs evenly. Pay attention to the direction the angled plates are facing! You don’t want those legs turned inward. Be sure to screw the plates in tight, otherwise the table will be wobbly. Pro Tip: Maybe let your drill actually charge for more than ten minutes before you try just doing this with a screwdriver.
STEP SEVEN:
Attach the legs. These Waddell legs come with a screw in the top that easily attaches to the plate. Screw ’em in tight!
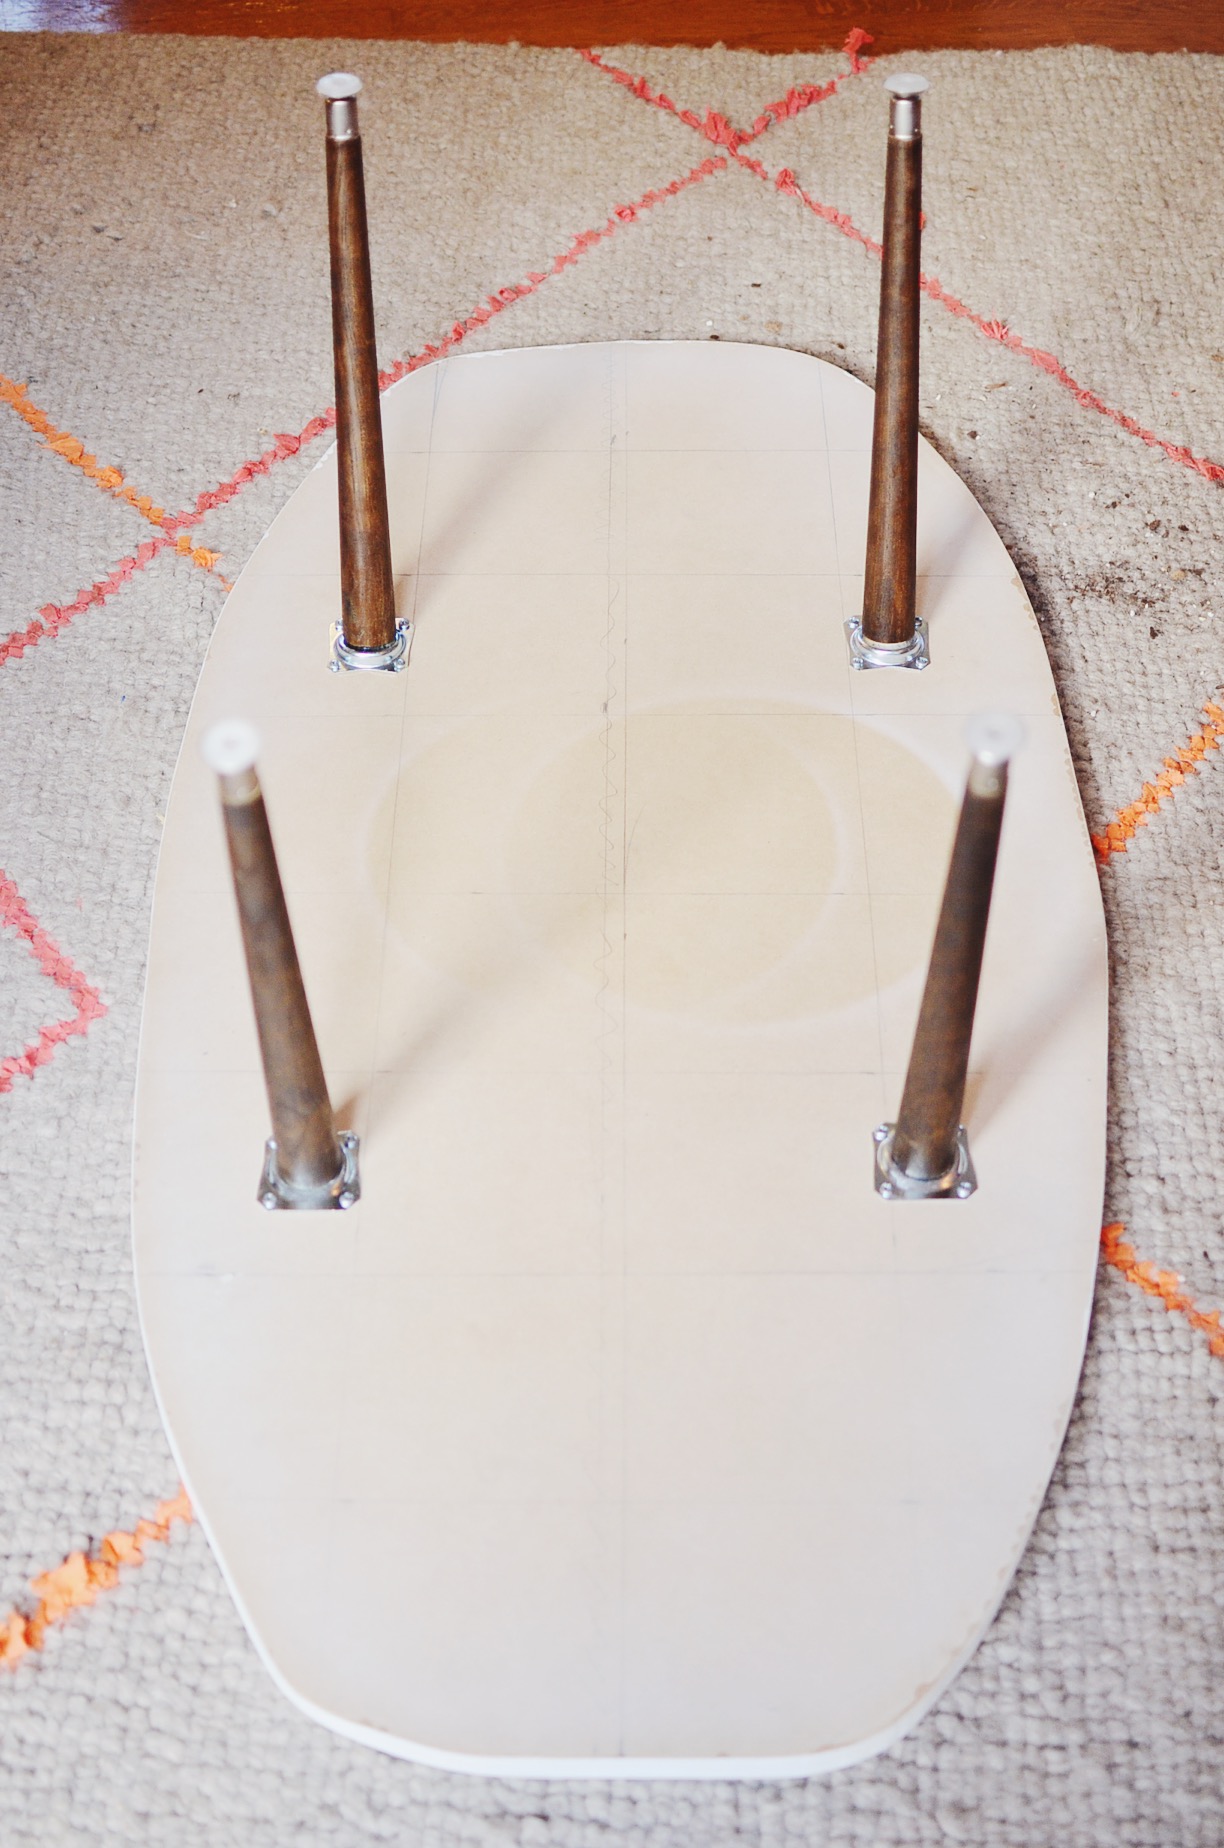
STEP EIGHT:
Flip your baby over and marvel at your handiwork. #dogs #dogtoys
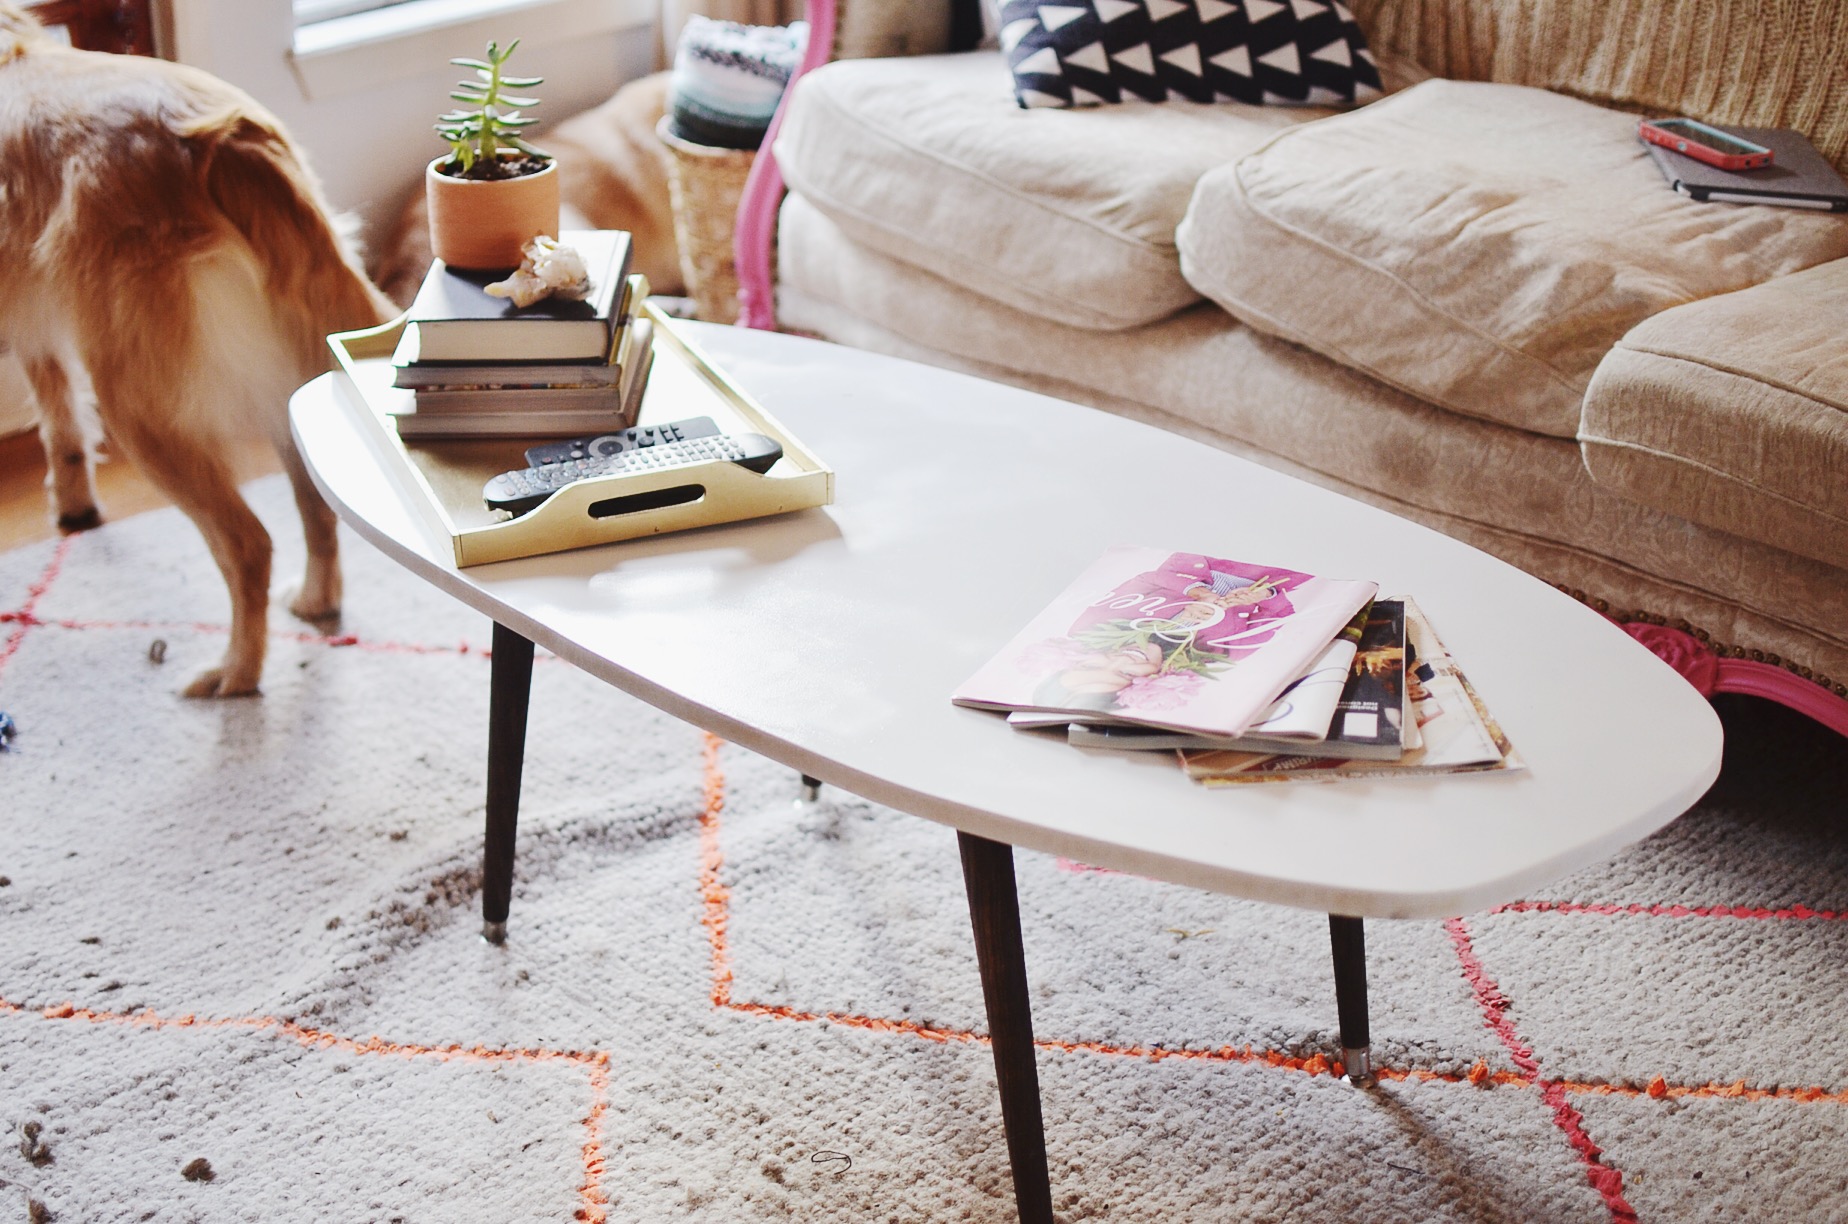
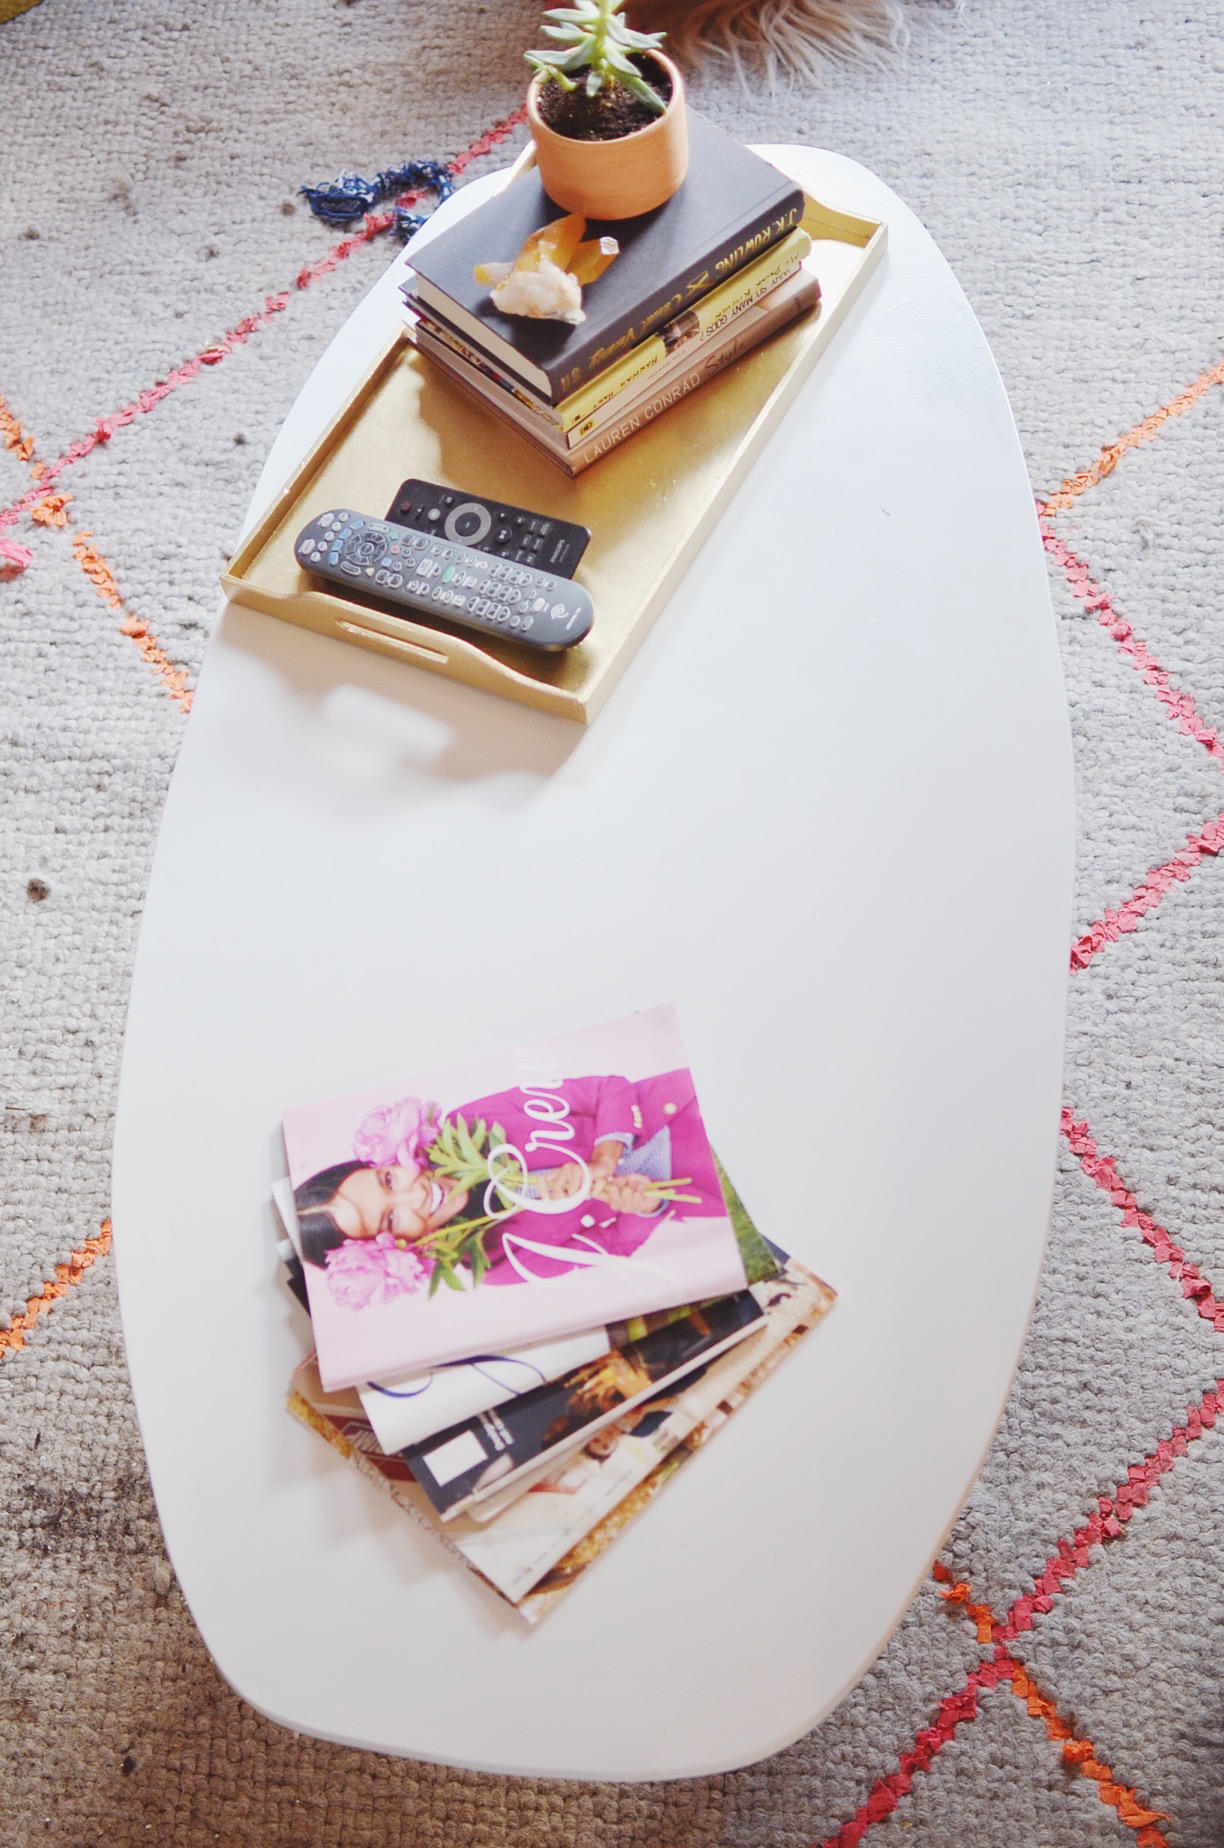
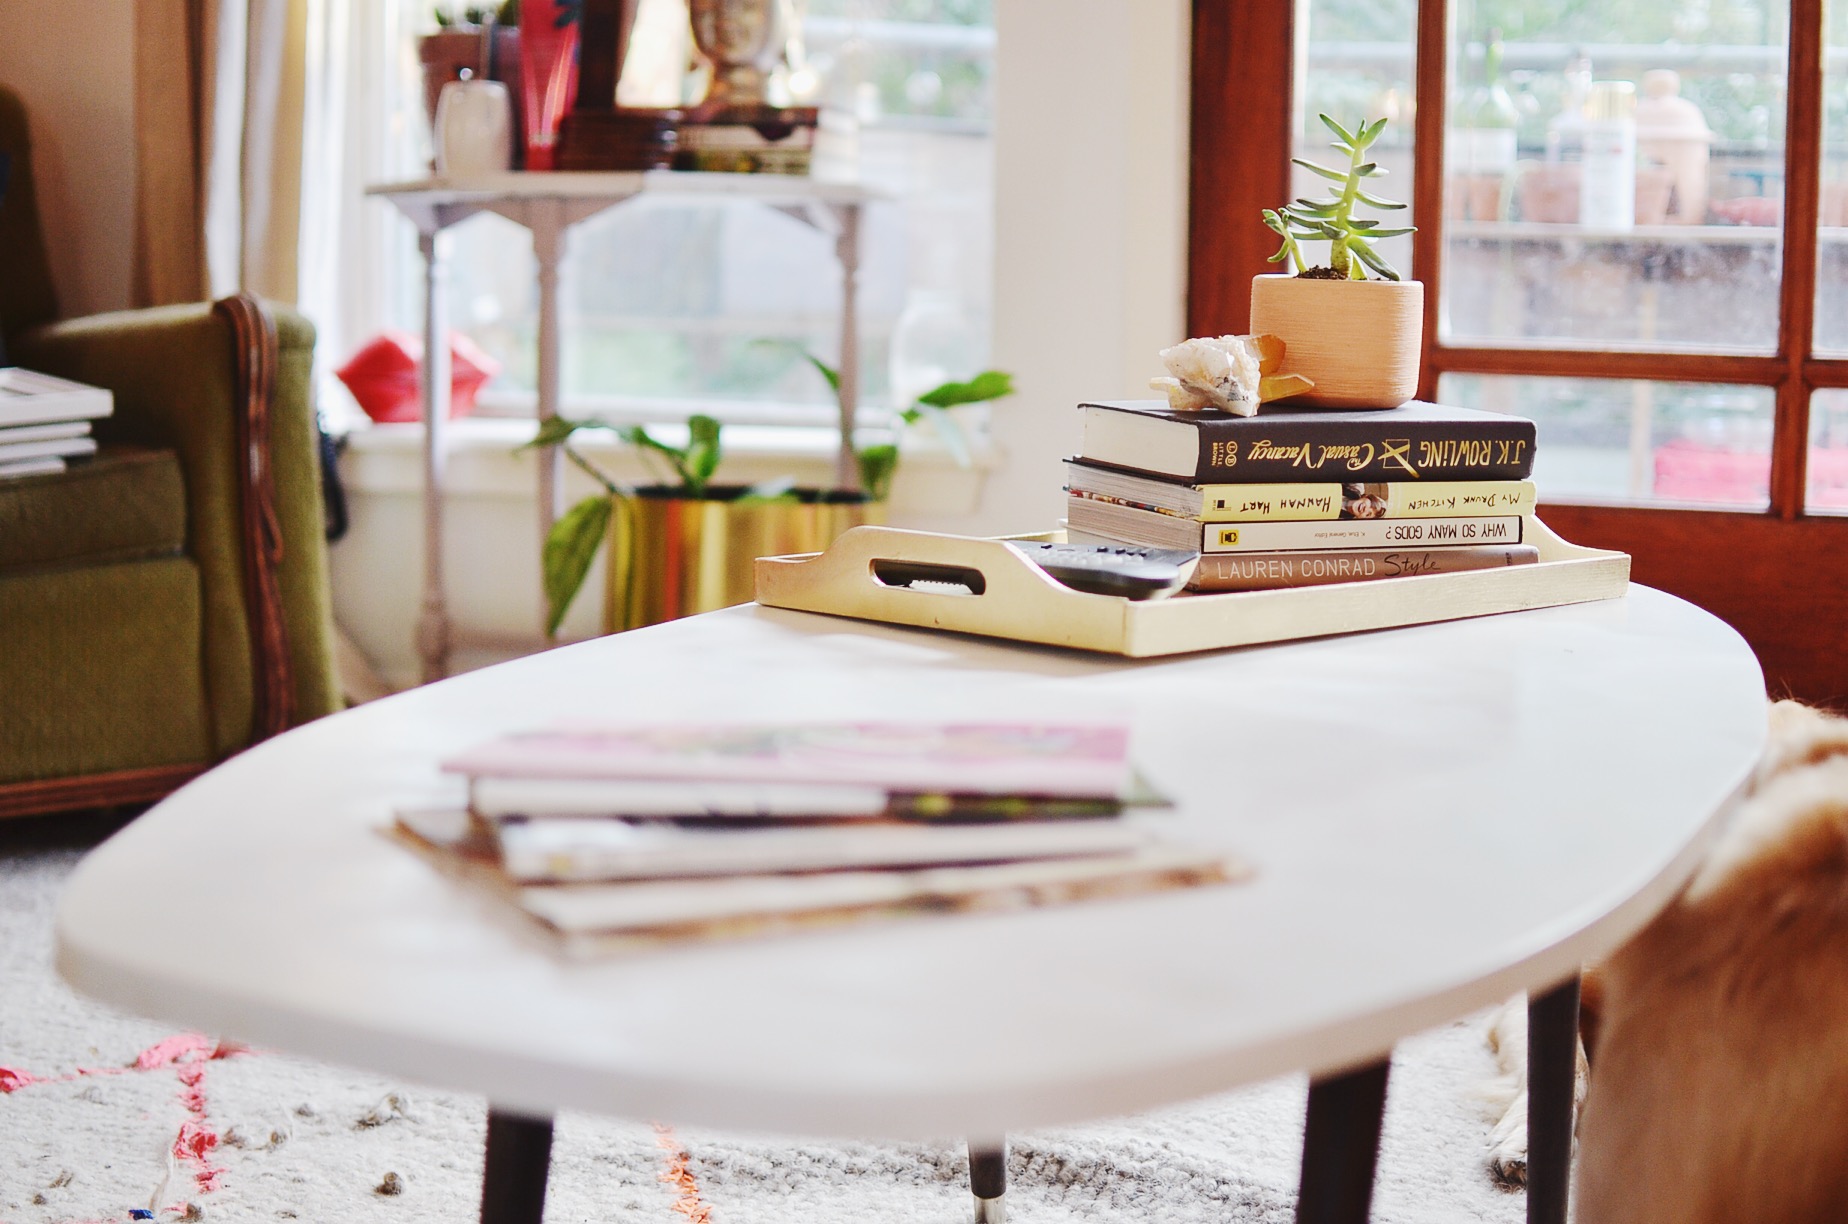
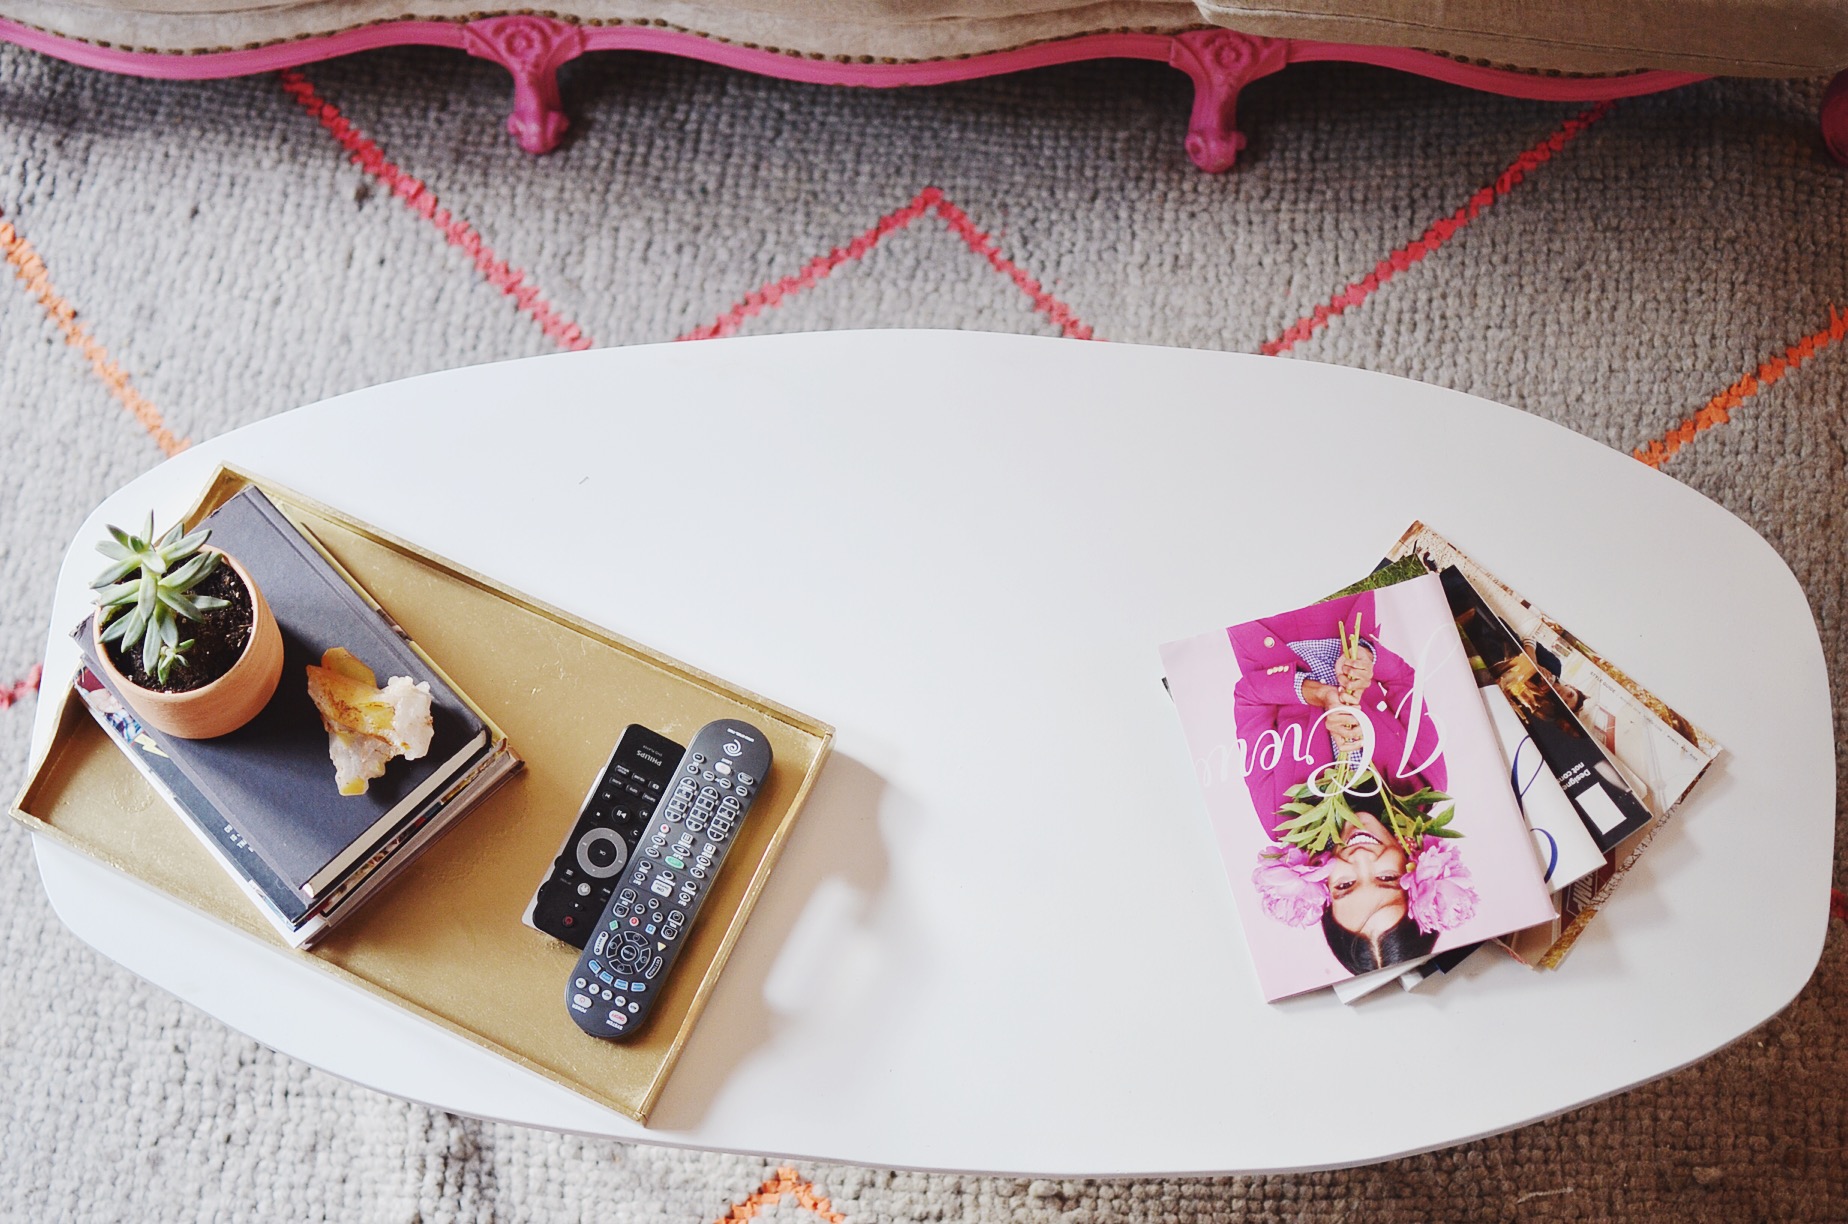
Congratulations! You made a mid century coffee table! If you want something taller or shorter or a different size, all you need to do is get a different sized piece of wood, and shorter or taller legs. It’s the easiest DIY man has ever invented. Let me know if you decide to make one! This was a really fun project and I’m in LOVE with the final outcome!
xx