DIY Geo Earrings

Time for a new DIY! Every time I pull out this clay I wonder why I don’t use it more. It’s so easy to use and fun! I’ve seen these small, geode studs everywhere and have been dying to make my own. I pick my own colors and it’s free. 😉 So! Here we go!
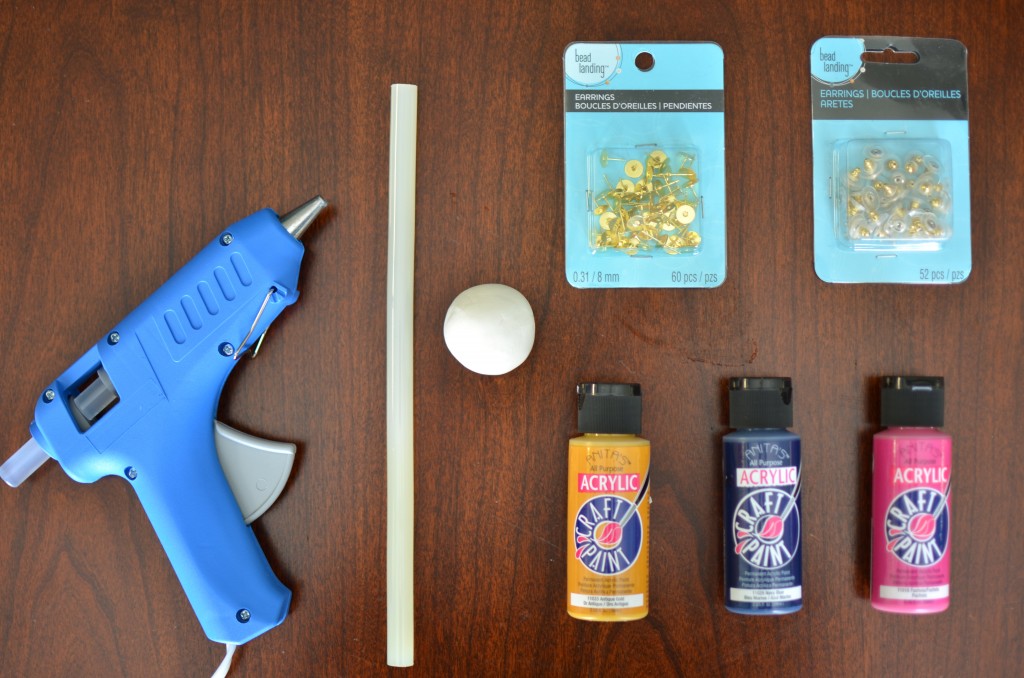
Supplies needed:
-Hot glue gun
-Baking clay
-Craft paint
-Earring blanks
-Earring backs
-Small paintbrush (not shown)
-Clay carving knife or sharp perry knife (not shown)
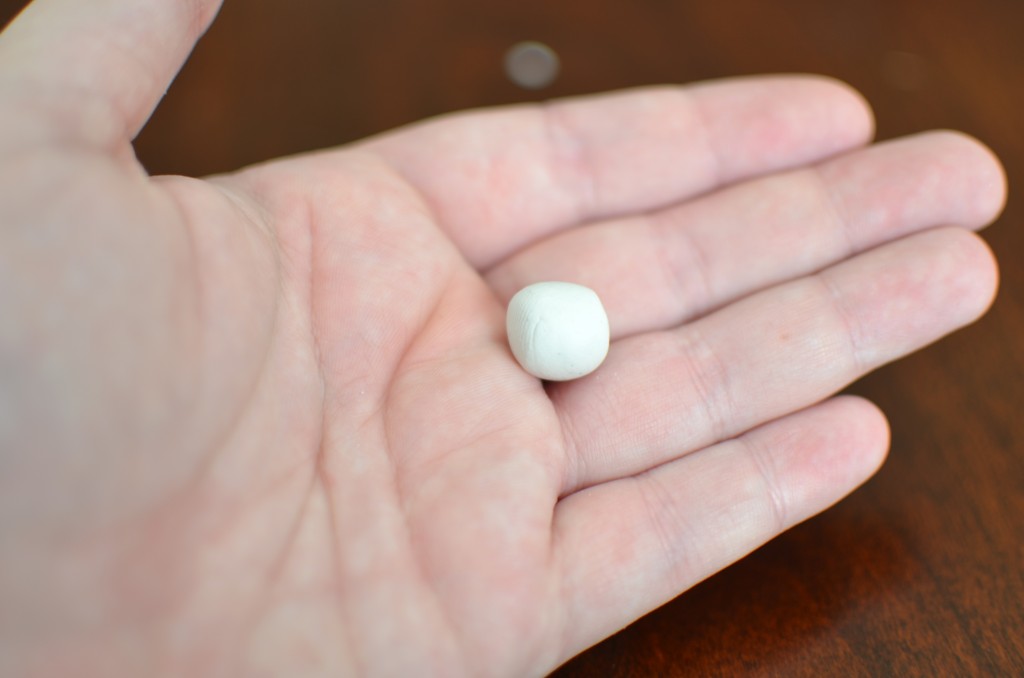
Step One:
Take a small piece of clay and roll it into a ball. You’ll want it to be bigger than the final product. Press it onto a flat surface. This will be the place where the earring back will be glued.
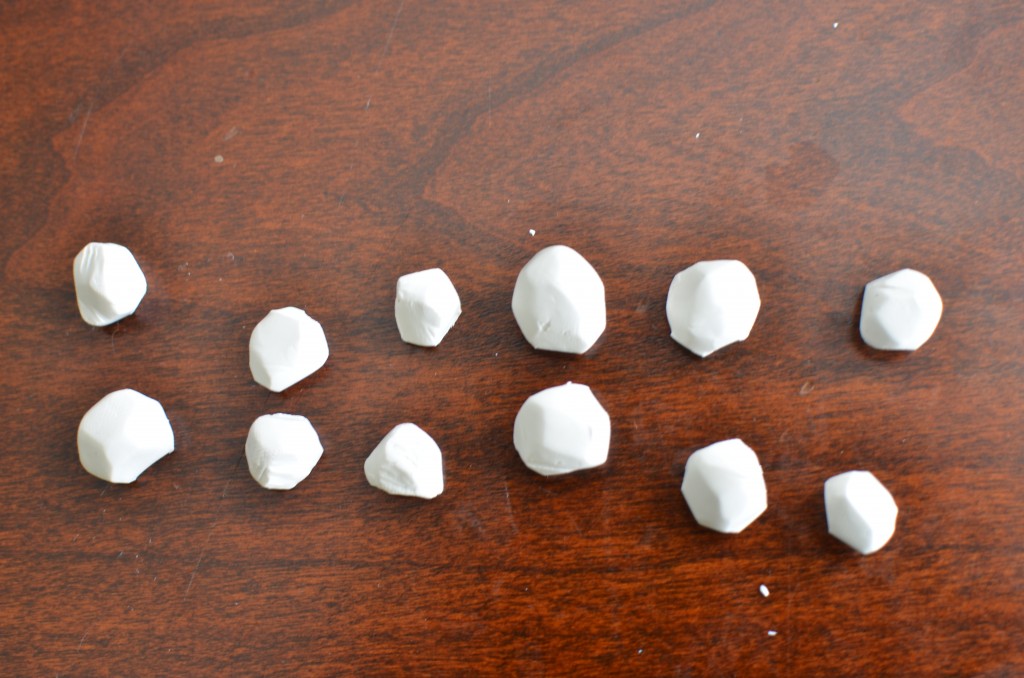
Step Two:
Take your perry knife and cut sharp angles into your clay. This is why your initial ball of clay needs to be bigger. You’ll be cutting hunks off!
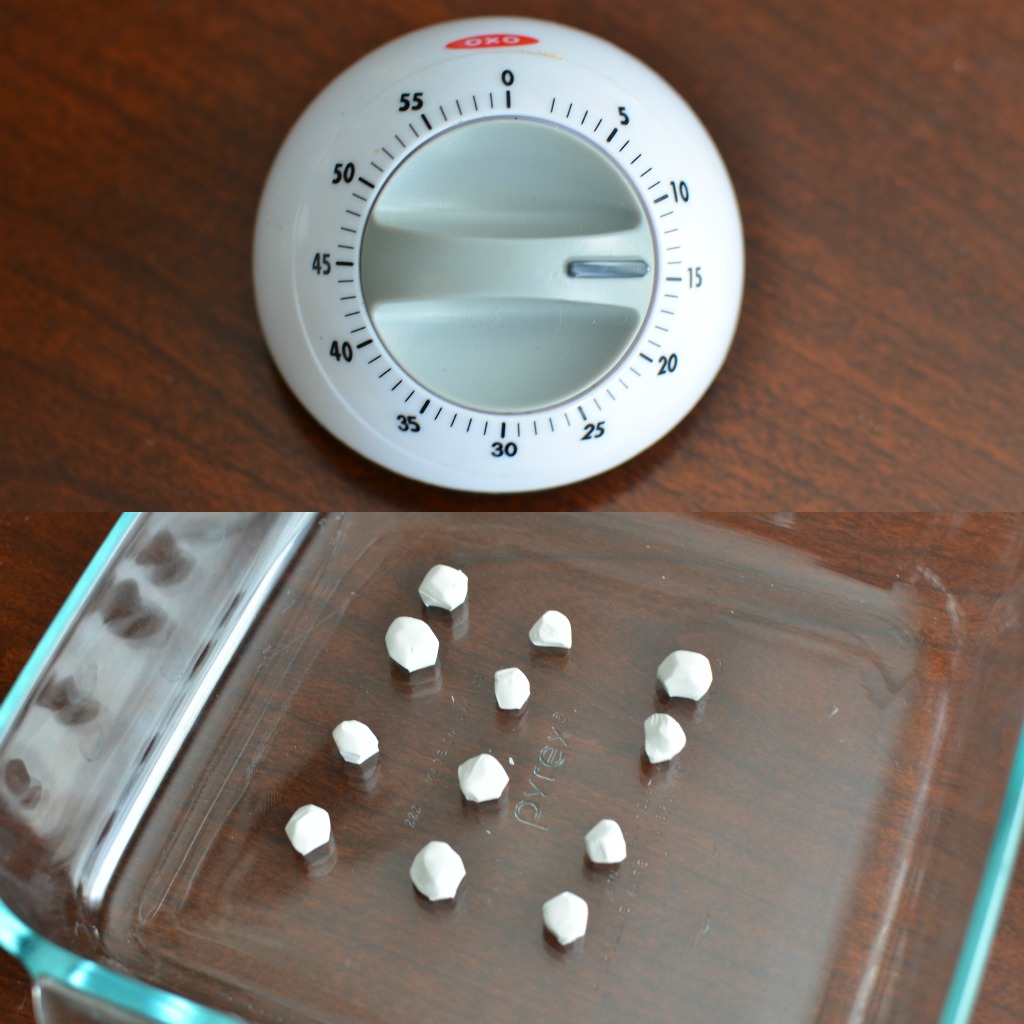
Step Three:
Bake according to your package’s instructions.
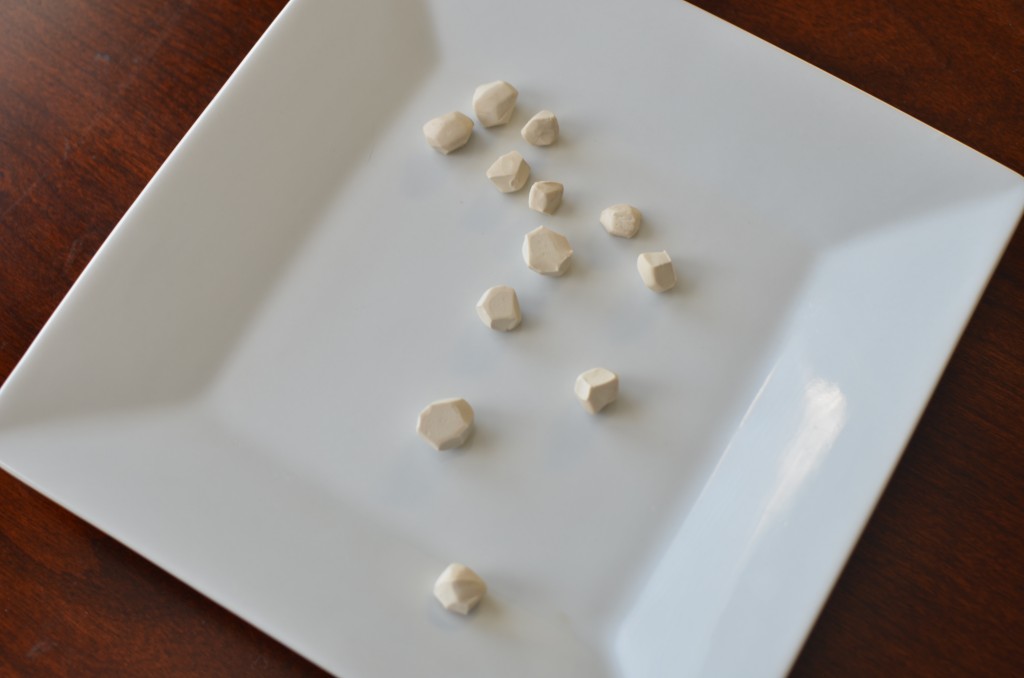
Step Four:
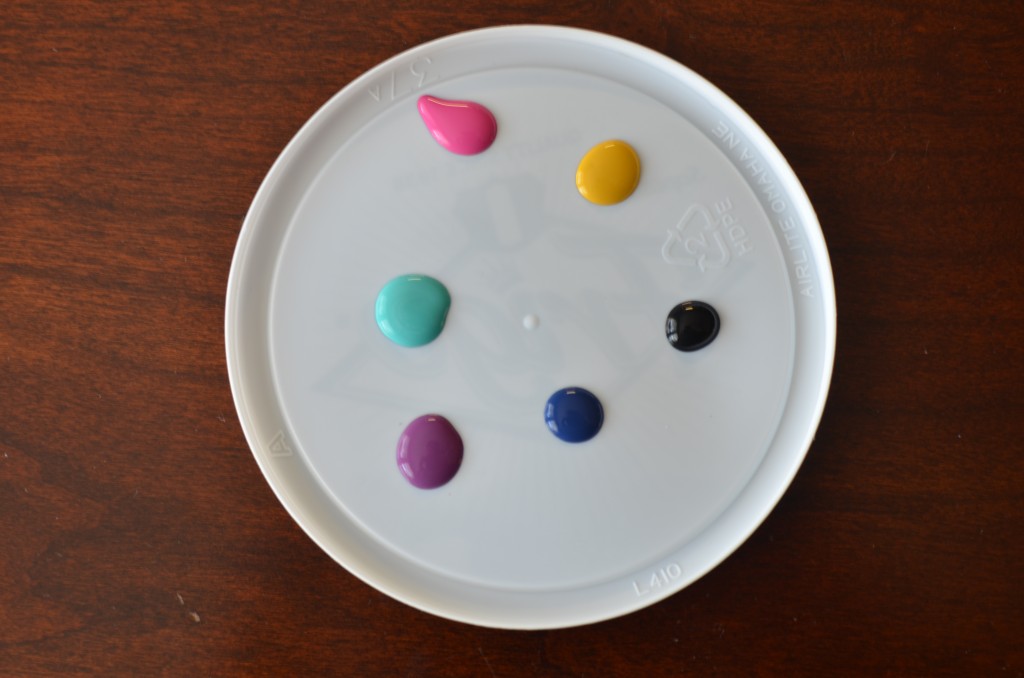
Once baked, heat up that hot glue gun and get your paint ready.
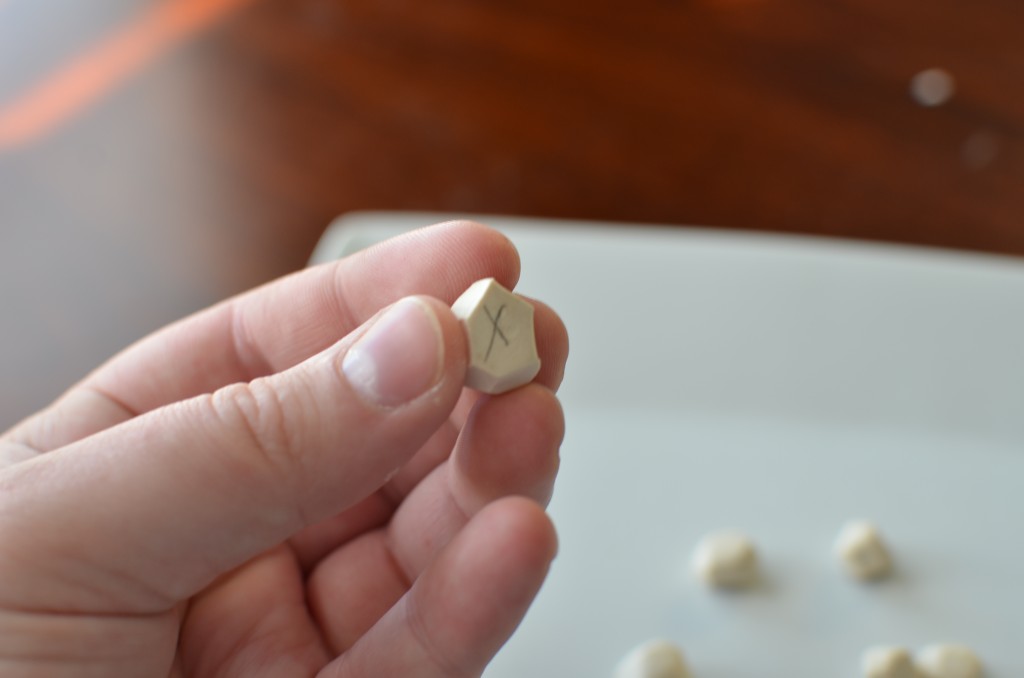
Step Five:
Mark the bottoms and be sure not to paint this part. You want to be sure where to glue the earring blanks.
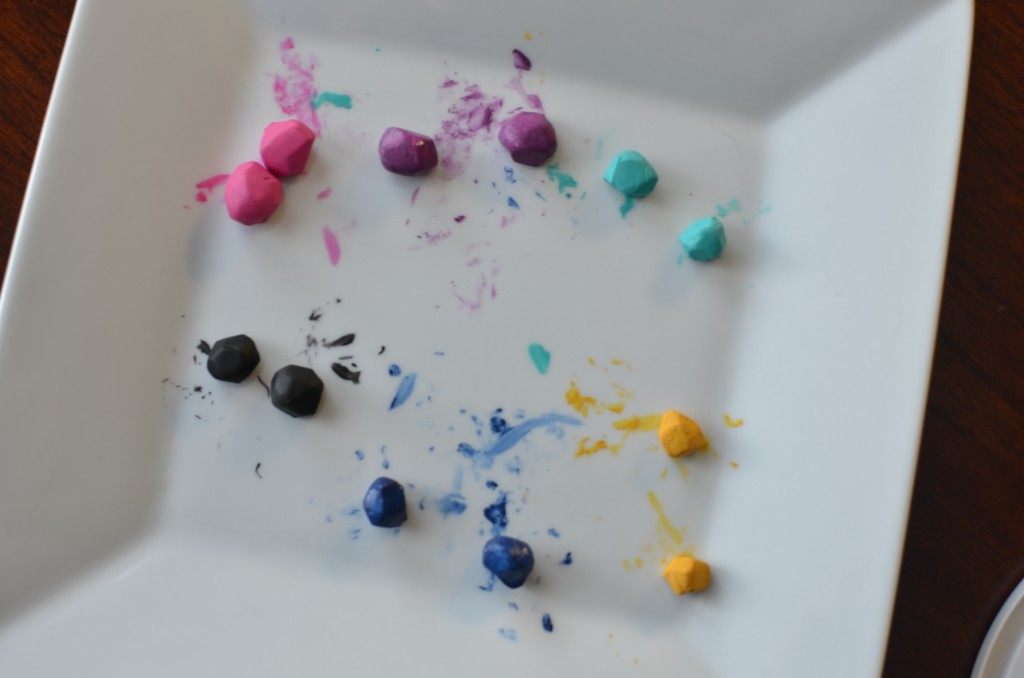
Step Six:
Paint them! *Here’s a tip: Glue your backings on first and then paint them. They’re easier to hold. 🙂
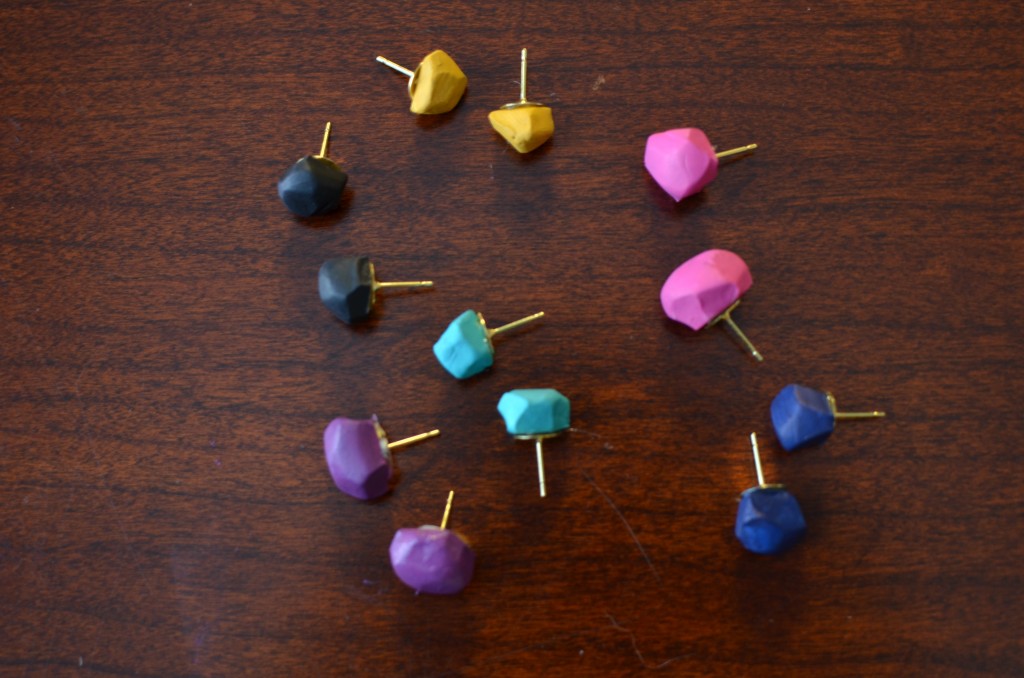
Step Seven:
If you didn’t already, glue on your blanks. You’re done!

Let me know if you try it and send me a picture of your final product!

Posted in DIY

How to Kill a Cactus in 3 Easy Steps

Step One: Buy a cactus.

 Step Two: Pot yer cactus.

Step Three: Watch the cactus bugs eat your cactus dead in front of your eyes.

DIY Geometric Magnets

I bought some molding clay several months ago with the intentions of making geometric jewelry, but since I haven’t bought any ring or earring blanks I needed to make something else! For Christmas I asked my parents for craft things. Paintbrushes, craft paint, a hot glue gun, sketch pad and pencils… Getting married and moving out for the first time away from my parents I had none of that stuff. It was weird. Any time I wanted to paint my nails I had to go to the store and buy the colors I wanted since my sisters and I shared them all. BUT! I digress. This is the first “craft” (but not DIY!) on the blog and I’m really excited!

WHAT YOU’LL NEED:

-baking clay
-craft paint
-small paintbrush
-sharp perry knife or a flexible polyblade/clay blade
-hot glue gun
-small round magnets


STEP ONE:

Cut off a small to medium sized piece of clay. Round it in your hands. You want the ball a little bigger than the magnet. Cut it in half or flatten one side to be glued on the magnet.


STEP TWO:
Use the perry knife to cut geometric angles on to the clay.


STEP THREE:
Bake it according to the packages instructions.

 Baked!

STEP FOUR:
Pick some colors! Paint each facet a different color or stick with a solid. Let it dry.


STEP FIVE:
While you’re waiting for the paint to dry, plug in that glue gun. Pump a dot of glue on the flat side of your shape. Firmly press the magnet on the glue. Let it dry.


STEP SIX:
Ta-da! Enjoy your geometric magnets. 🙂

illustrations above by Charlotte Taylor Creates

And these don’t have to just be magnets! Once dry, you could drill a small hole to make beads (or just poke a hole before baking with a needle), glue onto a ring for a trendy geo accessory, or glue them on to earring blanks! The possibilities are limitless.

Psst! This post is part of my Summer Intentions! Read the rest of them here.

Posted in DIY

A Tour of My Office

Yes. I have an “office”. The sewing machine sits there and so does the laundry. It has lovely fluorescent lighting and three laundry baskets. It’d be somewhere else but there is no where else. But I love it. 🙂 Care to take a peek?

Ta-da! Isn’t she gorgeous? Remember this post? It’s finally all coming together. That chair is from a dining set my sister-in-law gave us. The four chairs and the table are being used in various places around the house. The bulletin board is part of me. I think I’ve always had one. I just like them. I keep extra fabric in that basket under my chair. Partially because it’s the only place it looked good and partially because it’s the only place that looked good. And that’s a trash can.
Here I keep my paintbrushes, pencils, scrapbooking scissors, push pins, and thread. That’s my wedding binder. 🙂
On my board I keep tear-outs of outfits from JCrew catalogs that I can actually recreate. There are Passion memorabilia, my wedding garters, bathtub pictures of me and my childhood best friend, pictures of my sisters, thank you cards, love notes from husband, and things that make me feel really good.

In my DIY whirlwind on Monday, I painted this on the wall.
Now it’s not so monotone in there!

In addition to this nook in the laundry room I have a small music room that really is like a hallway. It’s in the part of the house where previous owners added on so there are two doorways on opposite walls which makes it impossible to put any furniture in normal places. I’m still working on it constantly but I’ll be sure to post when I feel like it’s getting close!

Do you have an office? Is it girly? Or is it a nook like mine?

DIY Infinity Scarf


I woke up this morning to my favorite sound: rain. It was beautiful. And it continued all day. Gray and rainy. Mmmm… Jason was gone, I woke up early and had the house to myself. I had decided weeks ago I was going to try and alter this old Mexican dress I had but never wore. It didn’t turn out so well.. It can be salvaged-I think- by someone that actually knows how to sew. It looks really good on the hanger but I took in a little too much in the hips and there is a lot of extra fabric in the back and the seams are tucking. Blech. 🙁 The fabric is rather poor, which always helps.

So, I moved on to my fail safe DIY: an infinity scarf. No one- I mean NO ONE- can screw this up.

*What you’ll need:
-an old sweater
-scissors
-sewing machine (optional)

STEP ONE:
Lay your sweater out flat.

STEP TWO:
Stretch out the arms and find the point at the bottom of sleeve. See where the tip of the scissors are pointing?

STEP THREE:
Cut all the way across to the point under the other sleeve.

STEP FOUR:
Put on your new circle scarf!

I say sewing machine optional because you can sew a seam so it doesn’t unravel or sew on some ribbon or lace trim. I opted for the super easy route. This was the sweater I wore in this post but I unfortunately decided to wash it with brand new jeans and ruined it. 🙁 It lives on!

Go make your own and send me a picture! This is my second but surely not my last!

Posted in DIY

DIY Friendship Bracelets

Remember summer camp when you’d make tens of lanyards with that ghastly plastic string? Well this blog has given the lanyards a total overhaul and the result is a beautiful necklace/bracelet/headband! I tried it out myself after many a stressful attempt and this is what I came up with:

The only problem I had was actually getting started. I didn’t understand the directions correctly and it took me a good hour or so to actually start the first braid! After that it was smooth sailing. It’s kind of hard to judge when to start and stop braiding your washers. Mine ended up off-centered so I’m thinking about un-braiding one side a bit then adding S hooks to the end knots and making it a necklace. It’s super versatile!

The next DIY I did was their chevron friendship bracelet. If you buckle down and get in a comfortable position it really doesn’t take all that long at all! I finished one in about 20-30 minutes. Be sure to get threads that are the same size, though. I used thread from two different boxes from Wal-Mart and one was thicker than the other and it came out a bit wompy. (See below) The other one I did on vacation, however, turned out great!

I plan on making more of these since I bought a ton of thread, but after that I want to make their rhinestone wrap bracelet and the rope bracelet!

Happy DIYing!

Posted in DIY