Infinity Jars x YDM

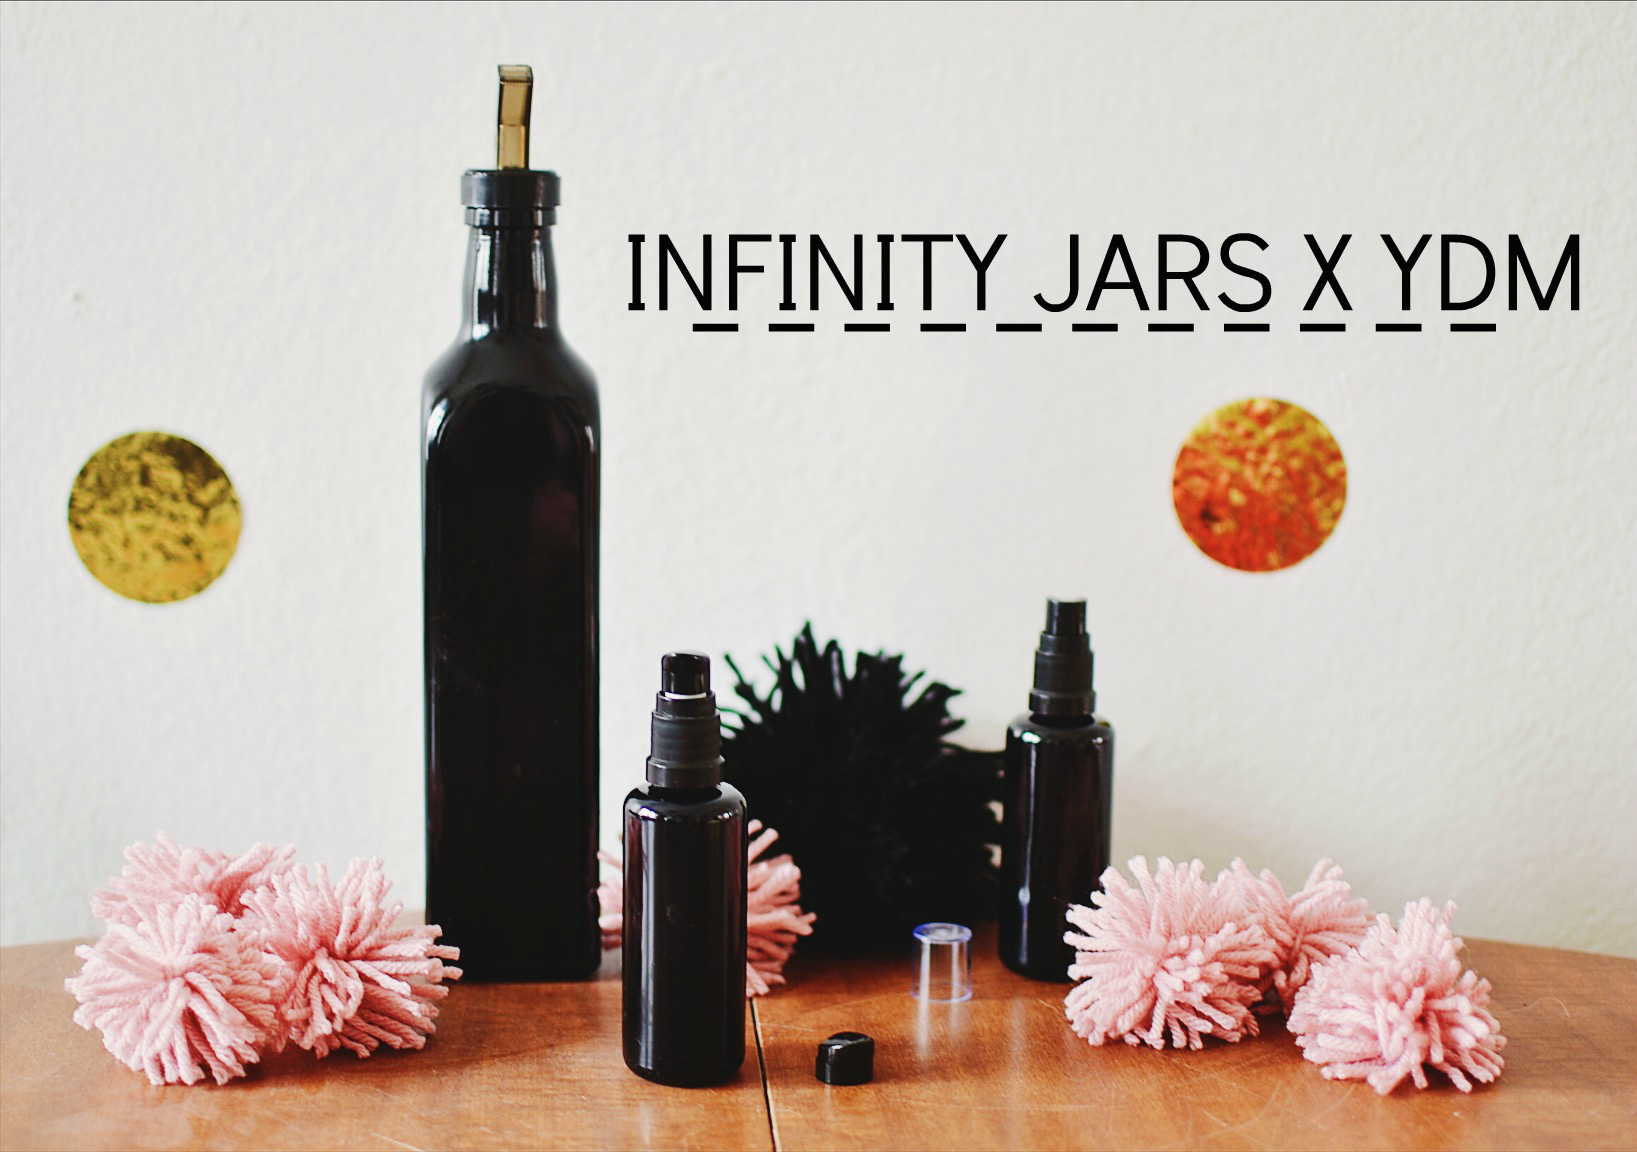
Back in December, yes, December, Infinity Jars reached out to me to collaborate on a post. I always feel super cool when brands reach out to me like that without any prompting from my end. Makes me feel like a legit blogger!

Infinity Jars boast that they have “the most powerful glass ever created,” and while I haven’t experienced every piece of glass on the planet, I’d say this glass is pretty damn good. Infinity Jars focuses on storing organic and natural products. So remember when I talked about transitioning everything in my house over to non-toxic stuff? This is why these jars rule. Wanna know why this glass is so good? They stored chives in an Infinity Jars jar, an amber jar and a clear jar for two months. After two months the chives came out of the Infinity jar looking brand new. The amber and clear glass ones failed. Pretty hard. They did it again with tomatoes, this time for seven months. (Who wants to eat a seven month old tomato?) The tomato coming out of the clear jar looked like a moon rock while the one out of the Infinity jar looked brand new again. I mean, it’s up to you if you want to eat a seven month old tomato, but I’ll take their word for it.

Infinity Jars are lightproof, have an airtight seal and preserve and rejuvenate freshness. These jars preserve for over six months! They’re opaque and block out all visible light. So bump clear and amber glass, amirite? Did I mention they’re insanely good for organic goods?

For this post, I got to choose three jars, and since I don’t buy my spices or food in bulk like I’d like to, I chose the jars I could use for skincare and an oil jar. Why the oil one? Because I really needed one. Keep reading for my reviews!


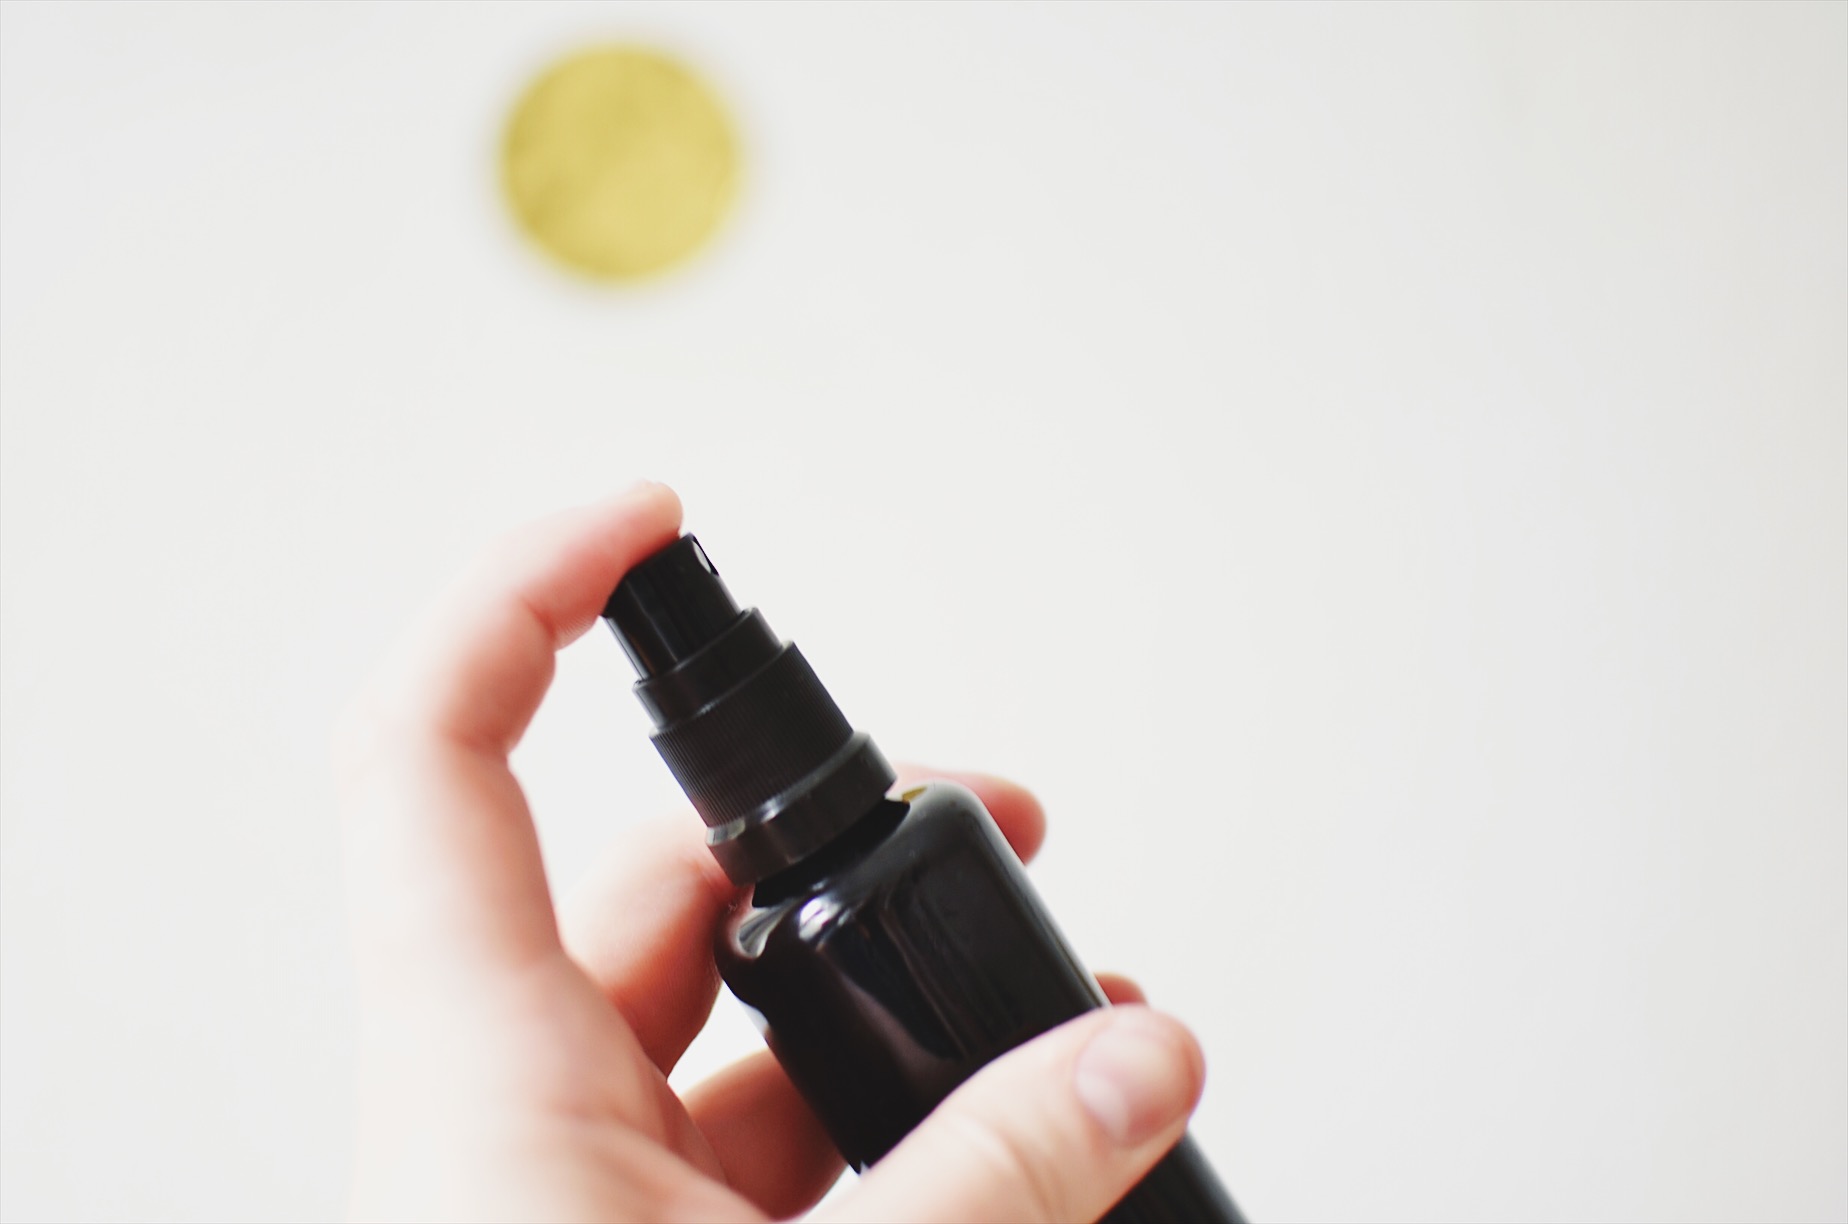
This is the 50 ml Glass Fine Mist Spray Bottle. I chose this because who can’t ever use a spray bottle? For all of us Americans, 50 ml is 1.7 ounces so it’s totally cool to take on a plane. Let me tell you. When I got these jars in I didn’t know what I was in for but this spray bottle? Dude. It’s a heavy duty spray bottle, man! It’s the finest mist and it’s not just gonna spray off willy nilly if you forget to put the cap back on in your bag. It takes more force than your ELF spray bottles, okay? I decided to put my witch hazel in here for toner. I spray it on a cotton pad and do my thing. MUCH easier than trying to pour it straight from the bottle. 10/10 would recommend.


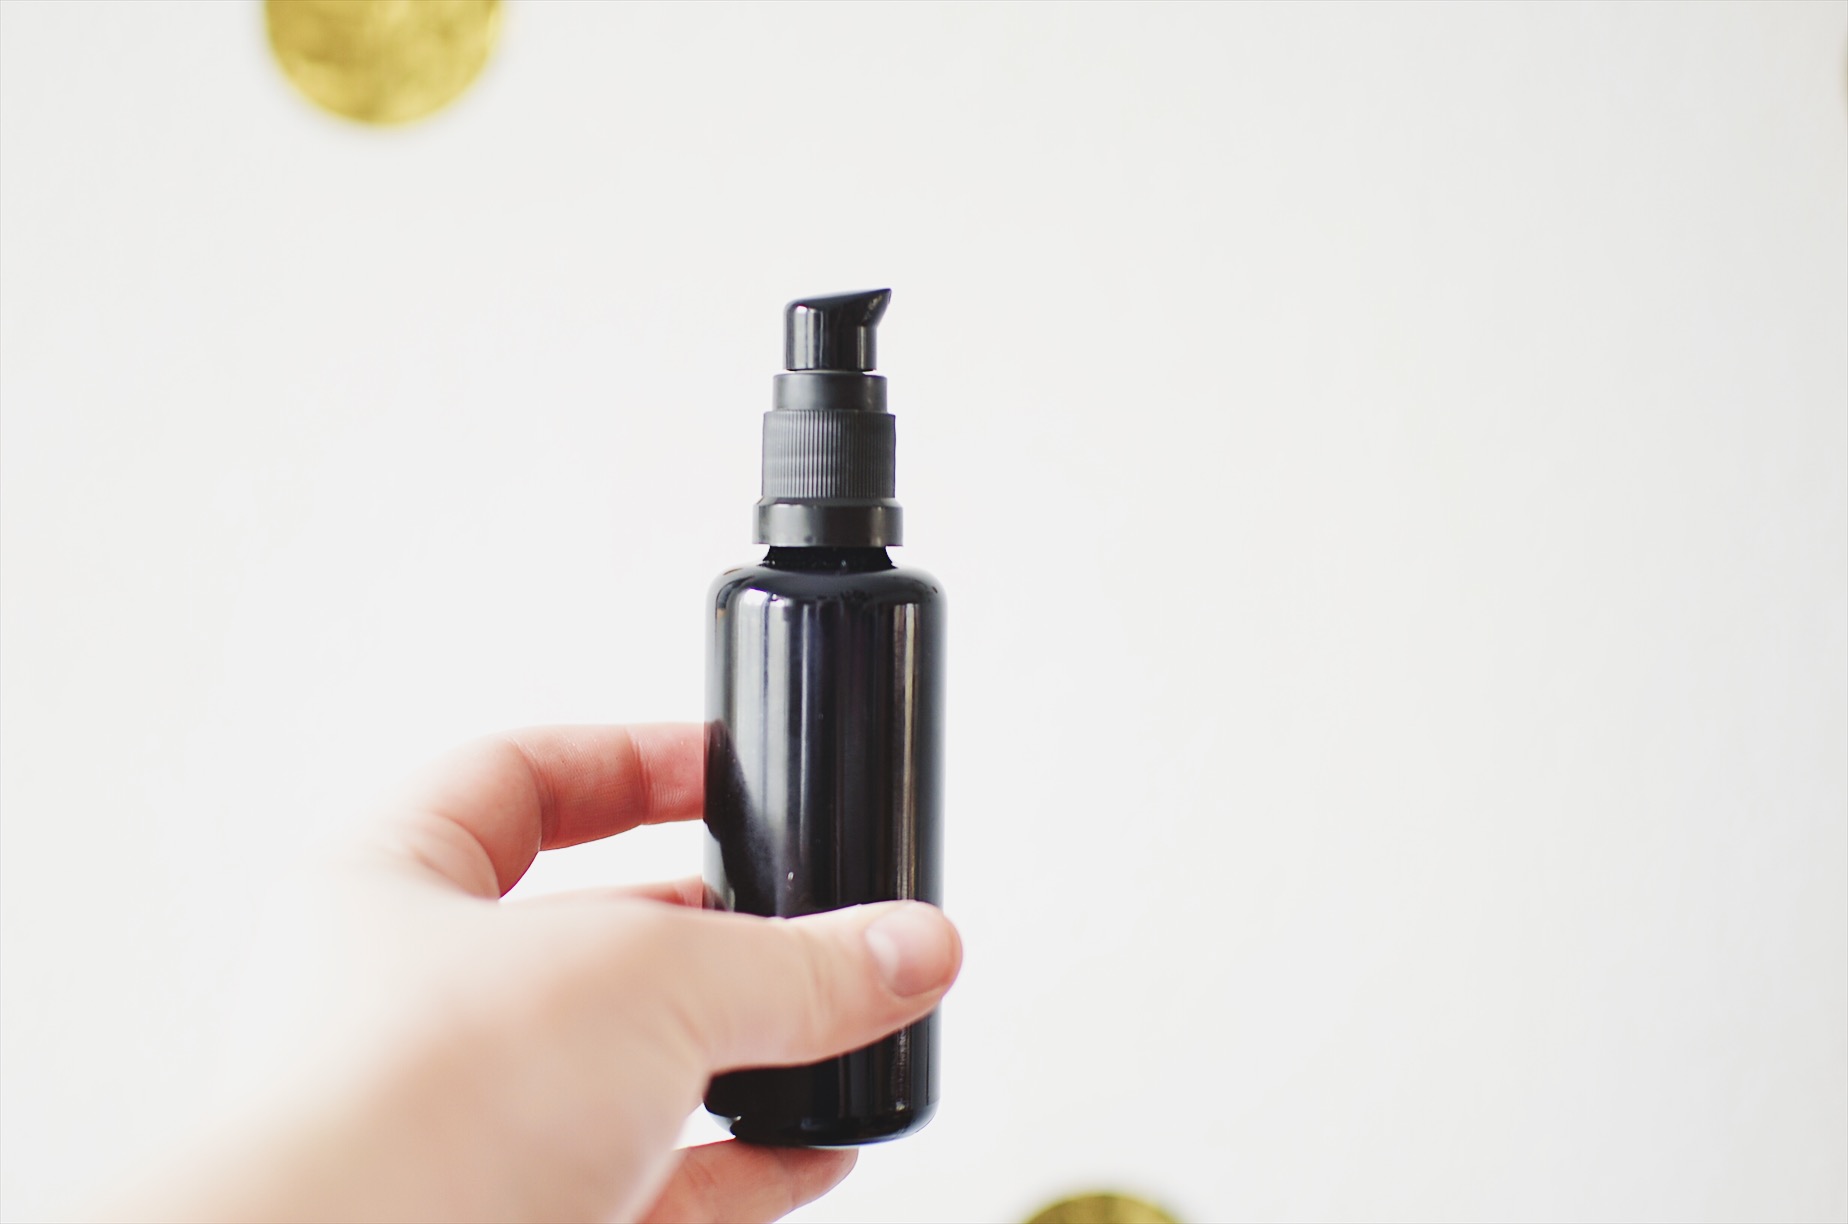
This guy is the 50 ml Glass Push Pump Bottle. (Real easy names here, guys.)  I haven’t put anything in this bottle yet because I’m waiting to use up some of my other oils. But this will be used for DIY facial oils and moisturizers. It’s the PERFECT bottle for that. I imagine it’d be even better for a thicker moisturizer because of the pump, but I’ll keep you updated on what I do with it. Just like with the spray bottle, this guy is heavy duty. That glass is no joke. And you see the hints of blue on the edges of it? I tried to capture it better in the sun, but Infinity Jars uses a super deep violet glass. It’s proven to save your organic and natural products longer than amber or clear glass! This pump comes with a cap on it as well. I tested it out and it stays on pretty well, but I wouldn’t leave it just floating around in your bag. Put that thing in your toiletries bag, aight? 10/10 would recommend.

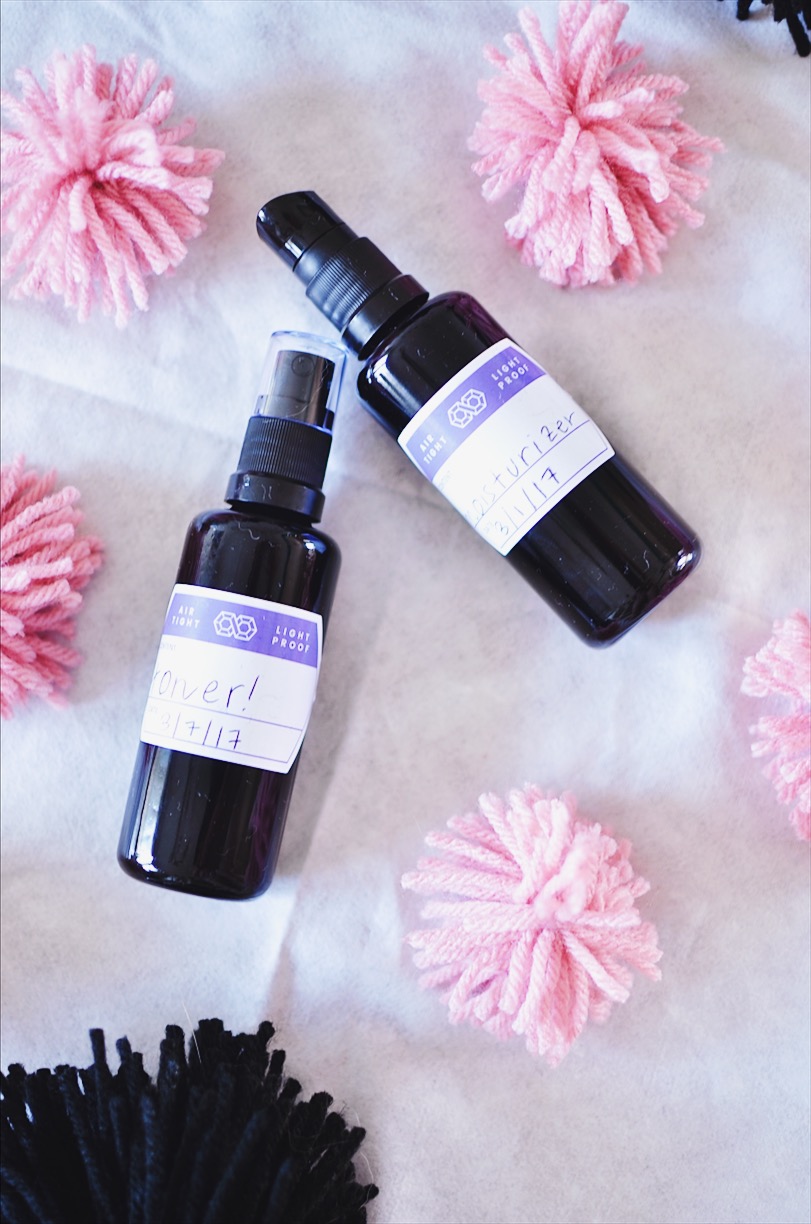
Every Infinity Jars order comes with labels. Because, hello, the glass is so dark how will you know what’s inside? There’s a date line on there too so you can know when you put whatever you put in there. I keep my cosmetics jars stored on my bathroom shelf. It doesn’t matter where you store it, the glass will do its job.

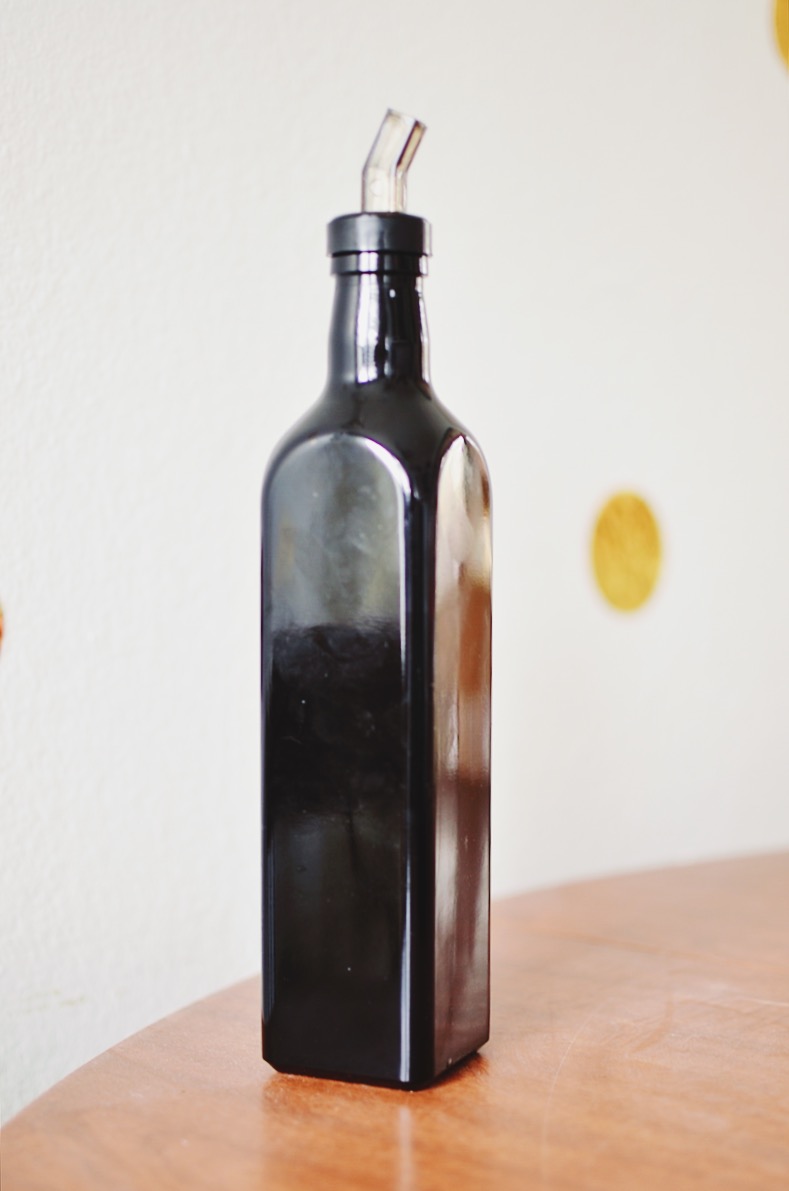
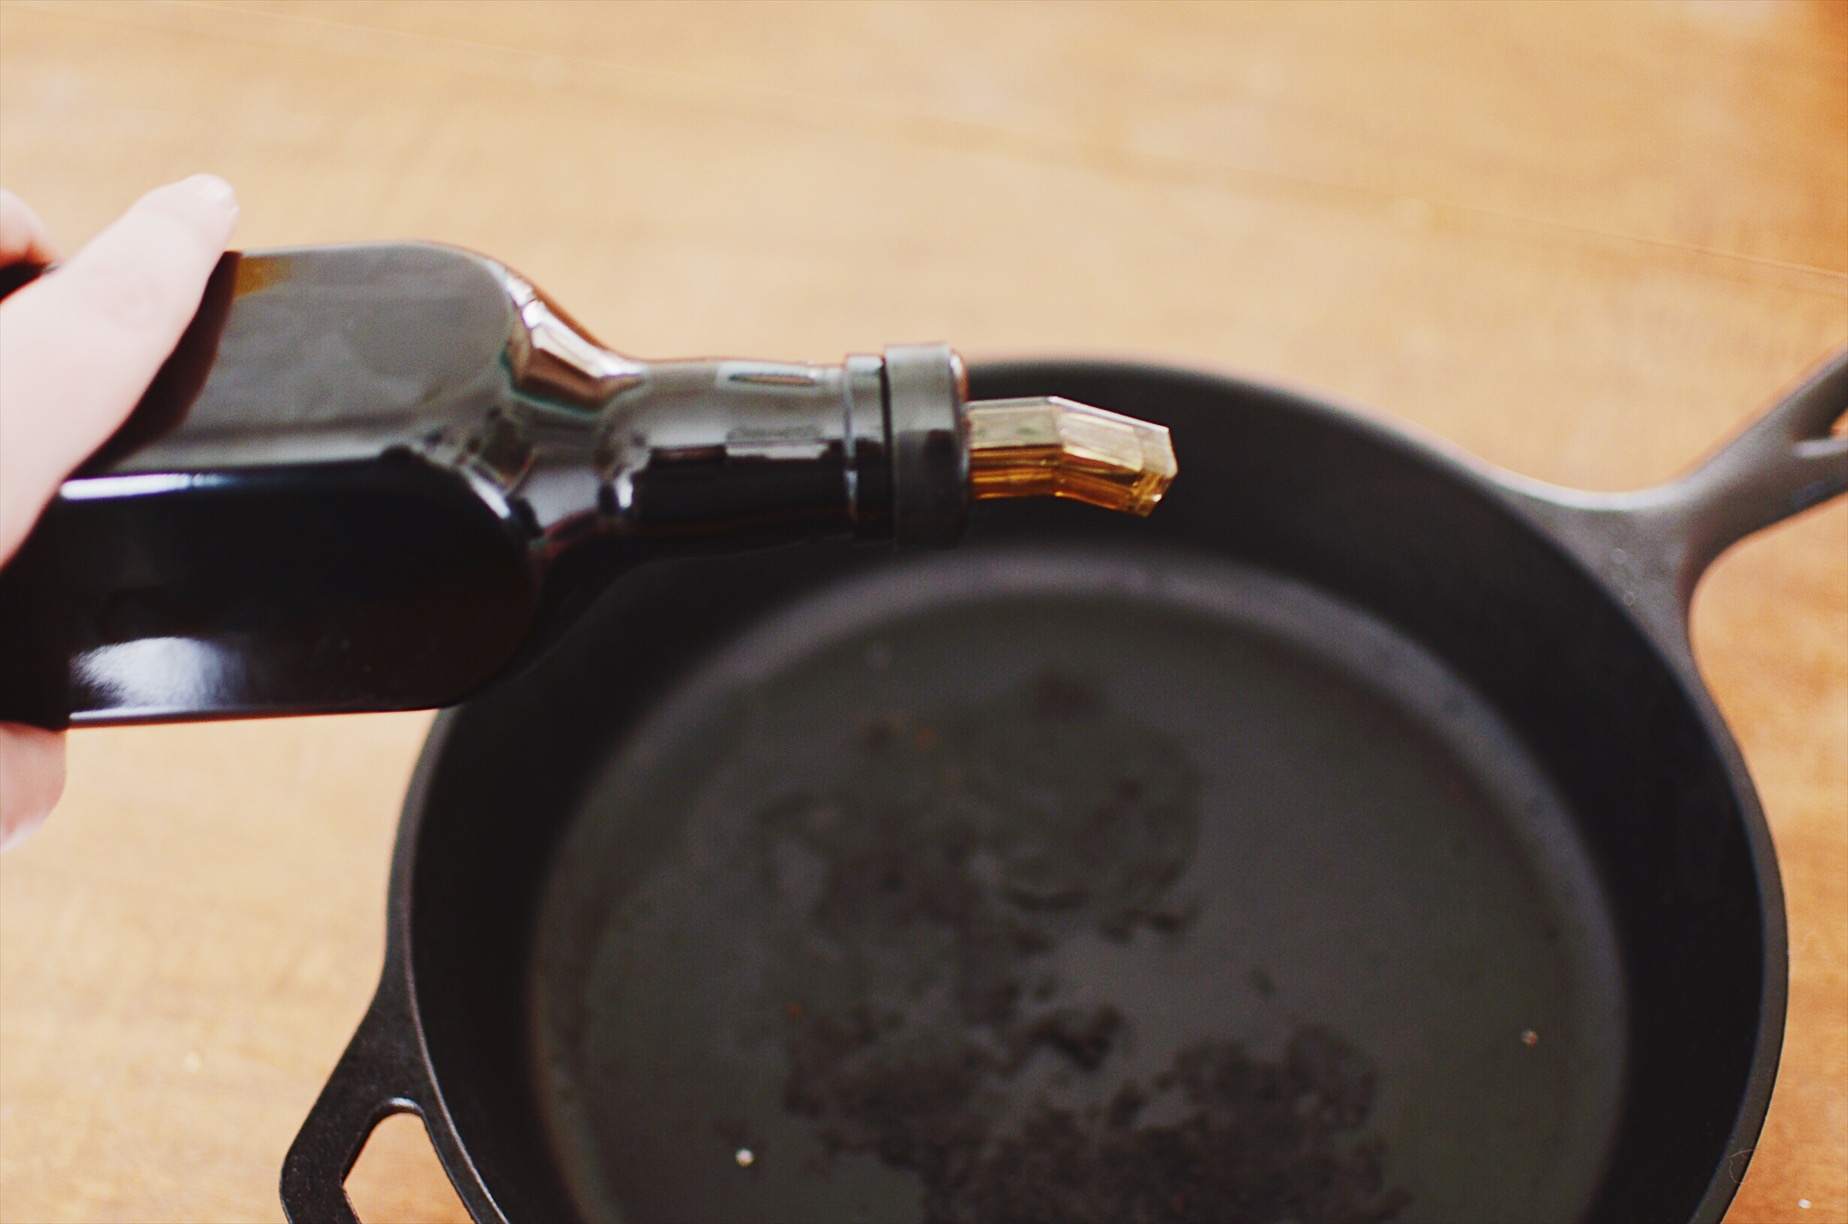
This is the 750 ml Square Glass Bottle with Oil Spout. (Again, super clever name.) It comes with a regular screw on cap, but I chose to put the oil spout on because that’s what I wanted it for. Feel free to store whatever you want in it! Balsamic vinegar, herbal tinctures, ointment oils-literally whatever you want. Options are endless! I’ll admit, the oil spout can be stingy. The spout is almost too good. It’ll take a hot second to cover your pan with oil, but it gets the job done. Again, this bottle is best for your fancy EVOOs or whatever you bought at Whole Foods. Probably not gonna do much for that canola oil you got at ALDI, though. 7/10 would recommend.

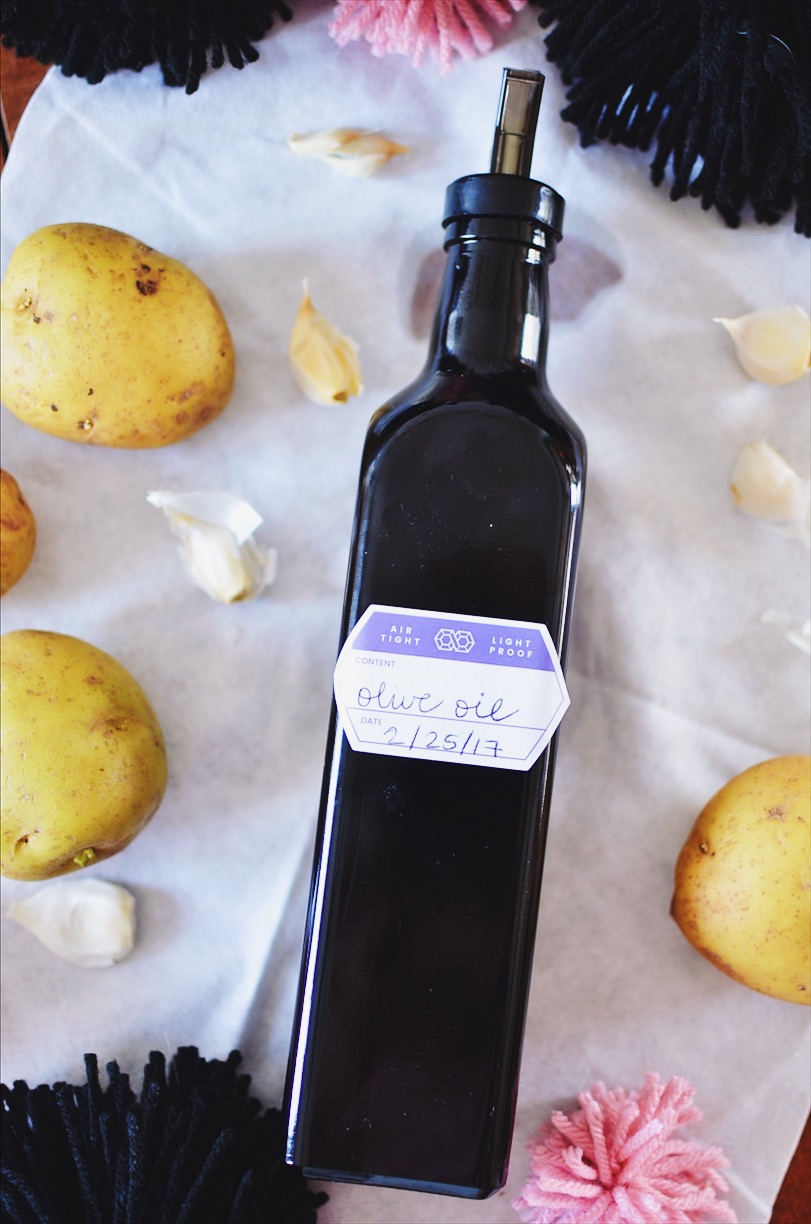
Put a label on this guy too because I’m forgetful af. See the white background? That’s a cleaning cloth that also comes with every order. But since I decided I’d lie this bottle down full of oil and snap a pic, oil leaked out the spout and ruined the cloth. But don’t worry! I tested it and it works. Just don’t be a dummy like me and soak it in oil.


HUGE thanks to Infinity Jars for partnering with me on this post and reaching out! And DOUBLE HUGE thanks to Tania, who I communicated with over there, for her patience! You guys are awesome.

Have any DIY facial oil recipes you wanna give me? What would you use your jars for? Let me know in the comments because I need more facial oils. ?

D*EYE*Y Painted Statement Wall

D*EYE*Y

Since painting my entire apartment white, I’ve been craving more statements. I love the consistent white throughout the space. Everything is so much brighter and cleaner! But as hard as I tried to keep everything minimal, I just couldn’t. I needed a punch on a wall somewhere! SPOILER ALERT: I put a lot of punches in a lot of places, but you’ll have to stay tuned for my upcoming dramatic apartment tour reveal!

If you’re looking for a weird statement wall idea, check out what I did!

SUPPLIES:

-pencil
-black craft paint
-thin paintbrush


D*EYE*Y

Since my ceilings are pretty high and everything else in the surrounding rooms is still solid white, I decided to go with a medium sized eye. You could easily make a stencil for this (check out this post for a much more precise way of doing it!) but I decided to freehand it with a pencil!

D*EYE*Y

Stencil and pencil away! I tried using a wide-tipped black permanent marker, but my walls are much too textured for any lines to be drawn smoothly. I opted for a thin paintbrush and black craft paint. The end result?

D*EYE*YD*EYE*Y D*EYE*YD*EYE*Y


Obviously there are three on the top right that could use some extra paint. I at least traced them out in the hopes I’ll make it to the craft store for another bottle of black paint!

What do you think? Would you try something this bold in your house? Eye love the way it turned out. Makes me feel like I’m getting side-eyed every time I come home. 🙂


xx

My DIY Mid Century Coffee Table for Under $60

DIY Mid Century Coffee Table

I am SO EXCITED about this post! I haven’t posted a DIY in probably years so I decided to make it a big one!

On a whim several weeks ago I sold my coffee table on Craigslist. It sold in less than 36 hours so I knew my brain was cooking up a scheme. I scoured the internet for a deal on a replacement coffee table and while I found a couple, I really just wanted a project. Everything I saw I liked, but I knew I’d be more satisfied if I made it myself. Besides, who doesn’t want something custom built for their space? After coming up with words for what I was picturing in my head (mid century, modern, DIY, surfboart), I found dozens of mid century DIY tables! I read several but kept coming back to this one. (It’s so cool to see women on the internet build stuff. Makes me proud to be a girl.)

This project cannot be simpler. Really the hardest part is drawing out your shape! See how we made my mid century coffee table below!

SUPPLIES NEEDED:

-piece of wood big enough to cut your desired shape out of (mine was MDF, 48″ x 24″ x 1″. Feel free to use plywood, but be prepared to sand away more splintered edges.) $12.98
-four 16″ wooden tapered legs $4.89/leg
-stain for legs (I used Minwax in Jacobean$4.78
-four angled leg plates $1.98/plate
-cheap brush or old rag for stain $1-2
-jigsaw (I borrowed my dad’s)
-coarse and fine sandpaper with or without a belt sander, dealer’s choice
-paint for table top (I used two cans of high gloss white spray paint$5.88/can
-gloss clear coat (optional)
-an extra set of hands (Target sometimes has these on sale, but I’d recommend using a real person) $FREE 
*the price of $60 does not include the sandpaper, jigsaw, or the optional gloss clear coat.

DIY Mid Century Coffee Table DIY Mid Century Coffee Table

STEP ONE:

I wanted a long, surfboard type shape to keep with the mid century design. The tutorial I linked to has this awesome jelly bean shape, but I don’t have enough space for a really wide table in my space. This was the best option for me. My tip? Measure, measure measure. Try to imagine as clearly as possible what shape would look best in your space. I chose the rounded ends to balance all of the rectangular shapes and tables in my place, but you could just as easily keep the wood like this, paint/stain it and slap some legs on and be done! (PRO TIP: make sure whatever wood you buy will fit in your Honda Civic to avoid parking lot meltdowns about “not knowing anyone in Dallas still after a year” and “having no friends with SUVs or trucks.” Save yourself the embarrassment.)
To get this surfboard shape, my mom and I made a grid on the ‘bottom’ of the wood. Since my piece was 48″ x 24″, we made squares 6″ x 6″ with a pencil and a yard stick. We ended up with 4×8 squares.
Grid marks

STEP TWO:

Now that the grids are drawn, this makes it easier to trace out the surfboard shape. This part is best to do with chalk. It’s easier to wipe away when you make a mistake. And you will make a mistake. Trust me. Unless you are infallible, in that case, congratulations! What’s that like?

I started by freehanding one half of the table by choosing sections of the grid to place dots that mapped out my shape. When I liked the overall look, I connected the dots. To mirror the other side, you could either cut that side out and use the cutout to lay on the opposite side and just trace, or, like I did, use the yardstick and put one end on the dot already traced and mirror that dot on the other end of the yardstick. See below:
If you are really particular, you could use a protractor to curve the lines. I’m not really particular.
Tracing out the shape Complete shape!Ginger baby

STEP THREE:

Cut out your shape! Or watch your dad do it for you.
We cut on the outside of the chalk line to keep it as smooth and uniform as possible. This just depends on which side of your line is the most even. I bolded out the outside of the line to make it easier on the person using the saw. i.e.; not me.
Also, it helps to have a partner holding a fan to blow away the sawdust. Or so I hear. *cutest couple award*


STEP FOUR:

The final (rough) shape! MDF cuts pretty smoothly, but there were some small protrusions that needed to be sanded down. Now is the opportunity to round out the edges as well. I HIGHLY recommend using a belt sander. It’s much, much faster and you won’t start a fire in your hands what with all the friction. We started out with coarse sandpaper and finished it off with the fine. This worked really well for us.
PS. Here’s the part where you need that extra set of hands to hold the board for you.

THE FINAL SHAPE!Sandpaper Beltsander

STEP FIVE:

Stain your legs and paint your top! Do the staining outside or over a large dropcloth covered area. Luckily, my headboard had just been delivered so I used the giant box it came in to sit and stain. I only needed one coat of stain, but depending on your depth of stain it could take two or three. If you’re not impatient like me, leave this outside to dry overnight. Spoiler alert! I did not.
My MDF board needed several coats of paint because the edges were soaking it up like crazy. I don’t imagine plywood would be as difficult since it’s actual wood, but be mindful of how much paint you’ll need. I used two full cans of white gloss paint and used fine sandpaper to smooth it out between coats. This step is small, but very important!
OPTIONAL: Coat with a clear gloss coat. I chose to do this just to add an extra layer of protection because I use my coffee table a lot for eating and drinking and needed that extra layer! #foreveralone
Staining Stained legs

STEP SIX:

Attach your leg plates. Make sure that the screws included with the leg plates are short enough as to not bust through the top of your table when attached. If they’re too long, just add a thin piece of wood between the tabletop and the plate.
Since I got four legs, I used the grids we’d drawn out before to map out where to place the legs evenly. Pay attention to the direction the angled plates are facing! You don’t want those legs turned inward. Be sure to screw the plates in tight, otherwise the table will be wobbly. Pro Tip: Maybe let your drill actually charge for more than ten minutes before you try just doing this with a screwdriver.

DIY Mid Century Coffee Table DIY Mid Century Coffee Table

STEP SEVEN:

Attach the legs. These Waddell legs come with a screw in the top that easily attaches to the plate. Screw ’em in tight!

DIY Mid Century Coffee Table

STEP EIGHT:

Flip your baby over and marvel at your handiwork. #dogs #dogtoys

DIY Mid Century Coffee Table DIY Mid Century Coffee Table DIY Mid Century Coffee Table DIY Mid Century Coffee Table DIY Mid Century Coffee Table

Congratulations! You made a mid century coffee table! If you want something taller or shorter or a different size, all you need to do is get a different sized piece of wood, and shorter or taller legs. It’s the easiest DIY man has ever invented. Let me know if you decide to make one! This was a really fun project and I’m in LOVE with the final outcome!


xx

How To Spray Paint in an Apartment

Look, we DIYers love that spray paint. I’m a huge fan of the flat matte by Valspar, especially their black and white. Yum. But living in an apartment limits the projects I can do. Like, staining a medium to large piece of furniture or dying fabric in a washer. (I share a half-size stacked washer dryer with three other units.) But! There is a way to spray paint on a patio! This is especially helpful if you live in a high-rise or have nowhere else to go.

I’ve had this basic floor lamp for about five years. It’s always been black and I never painted it or tried updating it. I did, however, DIY a metallic gold chevron lampshade for it! (Apparently that post has disappeared?! Just trust me.) I debated whether or not I should set up by the dumpster or invade the little corner lot space by a neighboring unit. Instead, this is how to spray paint in an apartment!

spray paintFirst, collect any newspaper or weekly sales flyers. For some reason, I get, like, six grocery store’s sales every week. I’ve started saving them for painting projects. Tape them all over any surface you don’t want paint flying onto. It was pretty windy the day I did this so I took extra precautions and taped higher than I would’ve normally.

Spray paint

Second, cover your bases! Make sure you put something heavy on the corners, and if they’re separate pieces like mine where, tape them together so they don’t go flying up in the middle of a spray and paint hits the ground. Before...

Before…

After!

After! What wonders a coat of paint does.

I had planned on stripping the skinny barrel shade I had and making a wire mesh shade like this one. But the cost of supplies and all that extra I’d have leftover made me hesitant. Then I came across this one while in Waco a couple weekends ago. It’s perfect! Now, to paint or not to paint.

Wire shade

What do you think? Would you leave it in its raw state? Or pop it with some hot pink or chartreuse paint? (What is WITH me and hot pink paint?) Thanks for letting me share!


xx

DIY: How To Fix a Bleached Shirt

Working in a daycare means using bleach. A lot. Using bleach means possibly getting it on your clothes. Possibly getting it on your clothes means that cool new shirt you bought is now ruined. This has happened to me approximately four times. Thankfully it has happened with shirts that can be saved, except for this turtleneck.

I had been searching for a thin black turtleneck for a while and coming up dry. Finally I found one at Target last year for $5! I found it during the warmer months and wasn’t able to really wear it and still didn’t really wear it once it got cooler. I wore it to work on day and while washing the bottles I soaked the front with bleach. Yay. Thanks, belly.

There was so much bleach that adding anymore to make a design or change the whole shirt would just eventually eat holes through it. And no one wants a hole where their bellybutton goes. So here is the first of many installments of how to fix a bleached shirt.

DIY Shirt Final
1. Take your clean bleached shirt, preferably jersey for this DIY.
2. Cut a straight line across the shirt from bottom armpit to bottom armpit.
3. Cut off the turtleneck part underneath the seam to keep it all in tact.

DIY Shirt 3
4. Start cutting 1 inch strips from the bottom part of the shirt, first cutting off the bottom seam. Cut the whole part into 1 inch strips.
5. Here are your strips! Lay them out like shown above.
6. Start pulling and pulling. This will string them out to make the edges curl up and look better. To keep all the strings together, take the seam you cut off and wrap it around one part of the strings. Tie a tight knot and cut off the excess. Tada! A scarf!

Remember the neck part we cut off? Here’s what you can do with that!

DIY headband
Twist it all up and sew two ends to keep it that way. It will probably work better if you sew it in four places like 12, 3, 6, 9 o’ clock but I just sewed it 3 and 9. (Does that make sense?) You might have to twist it every time you wear it but because it’s the perfect head size for me the twist stays in place. Add a flower or wear alone! Tada! A headband!


What would you do with a bleached shirt? I’ve got several more coming at you so keep your ideas coming!


xx

Posted in DIY

Bleached Out

vscocam390vscocam392vscocam394vscocam391vscocam395vscocam396vscocam393

shirt: Old Navy, shorts: DIY, sandals: Target, necklaces: F21/H&M, watch: thrifted

These shorts were so fun to do! I cut them, frayed them a little, then dipped them in a bleach and water solution for an hour since they are such a dark wash. They lightened up significantly when I washed them, but they still smell like bleach. Yeesh!

So what’s new with you guys? How was your memorial day? Eat a lot of steak? We had watermelon mojitos, steak, potatoes, and zucchini. Yum!

Any of you watch Arrested Development? You really should. 🙂

Happy Thursday!